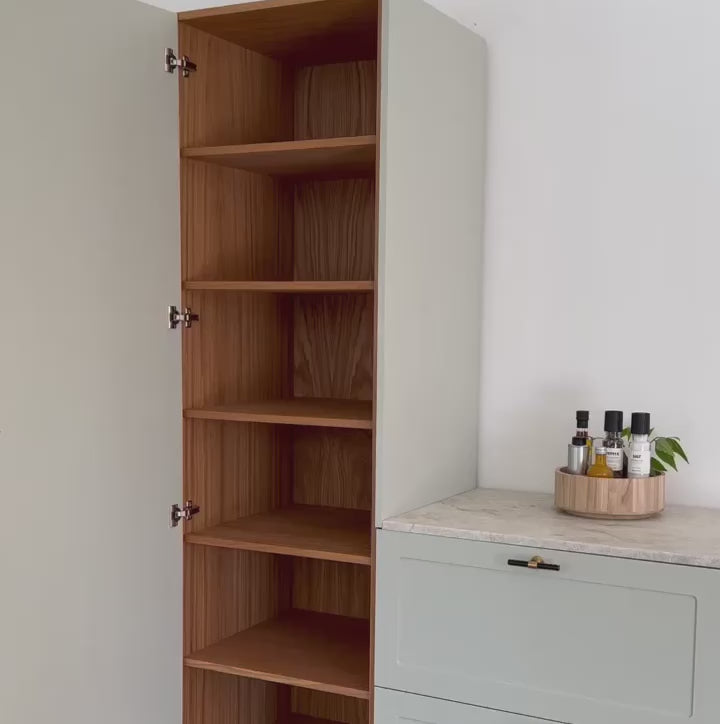
Pantry shelves are all about clear storage, where you quickly find what you need. Start by measuring the room and planning zones so that the most frequently used groceries are within easy reach. Think robust materials and fixed distances between shelves, so that jars, boxes, and cans stand stably. A calm, uniform look makes the room pleasant to use every day.
Pantry design
Place shelves to follow your routines. Groceries in the middle, heavy items at the bottom, and light or rarely used items at the top. Use fixed spots and keep groups together – this prevents double purchases and keeps you organized.
How to get started
- Measure before you buy: Shelf depth 30-40 cm suits most dry goods and boxes.
- Distribute the weight: Cans and drinks at the bottom, flour and jars on middle shelves.
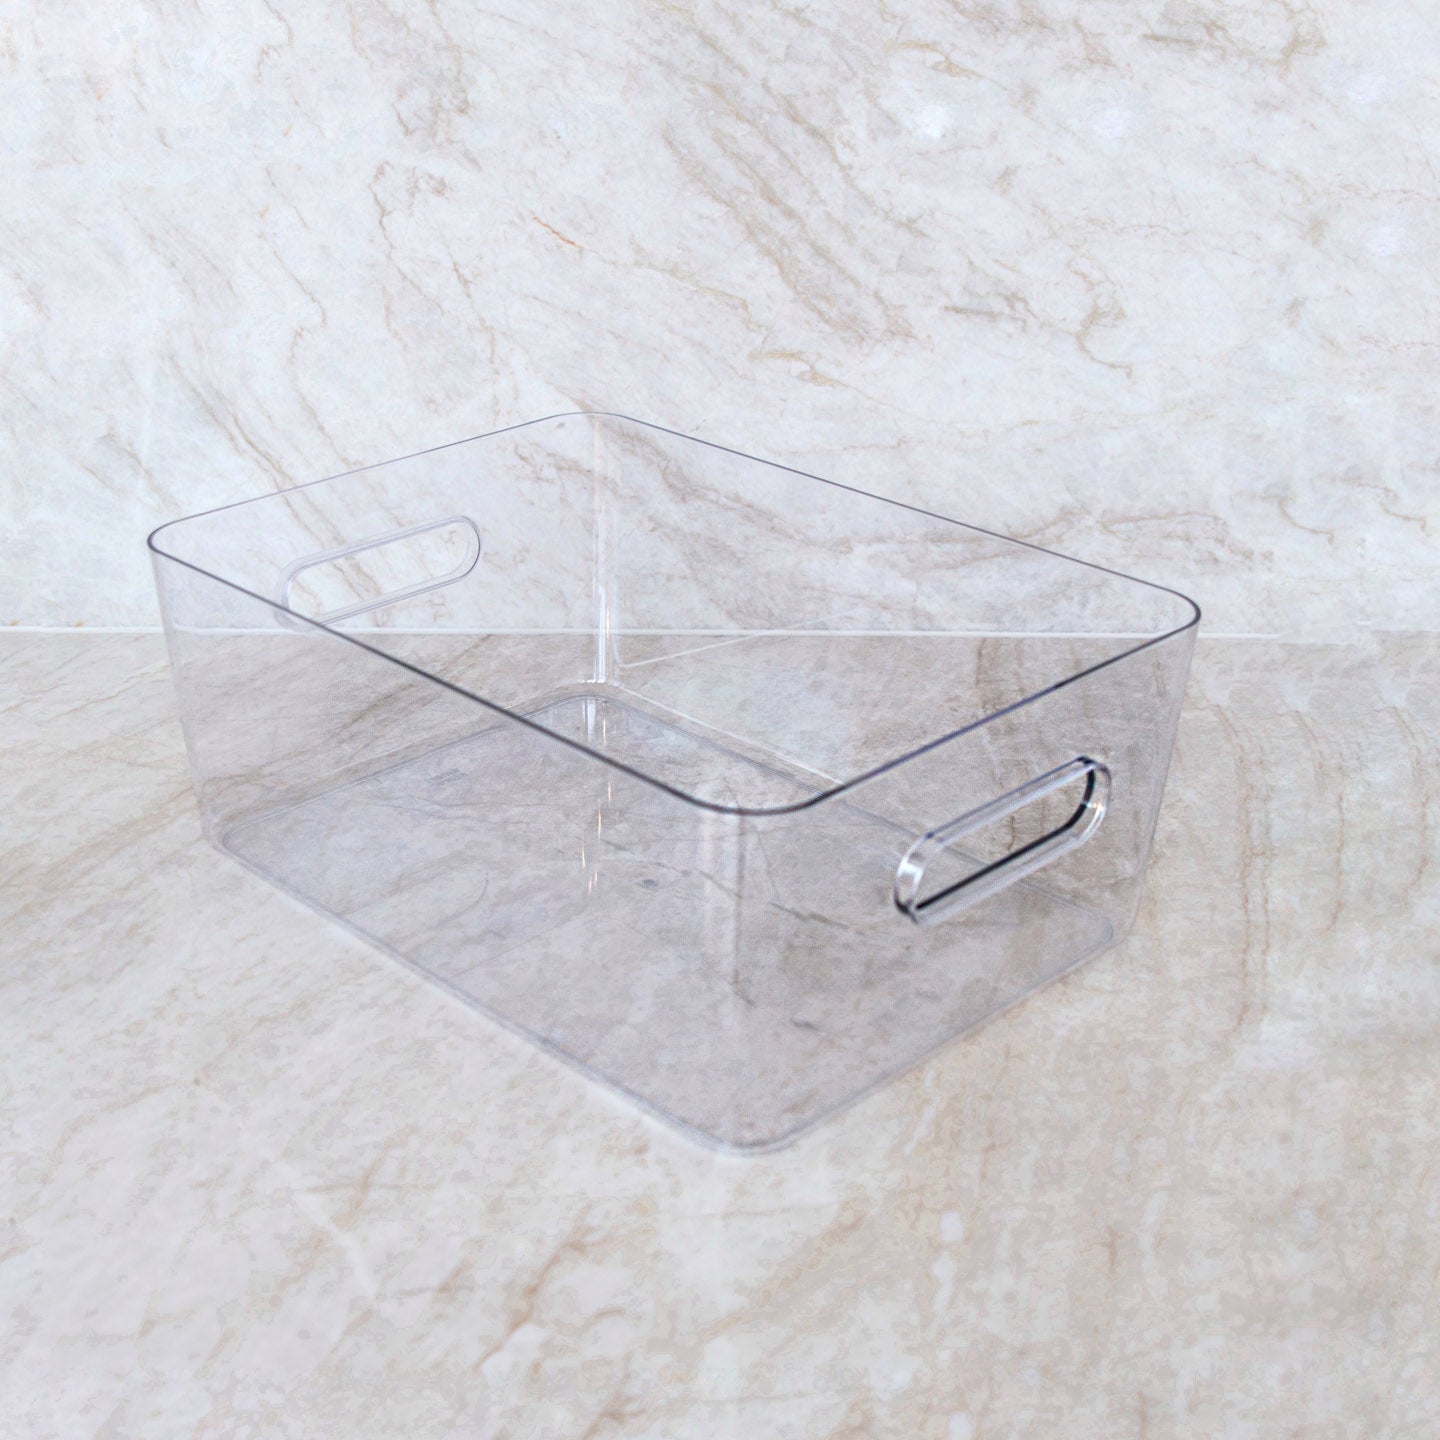
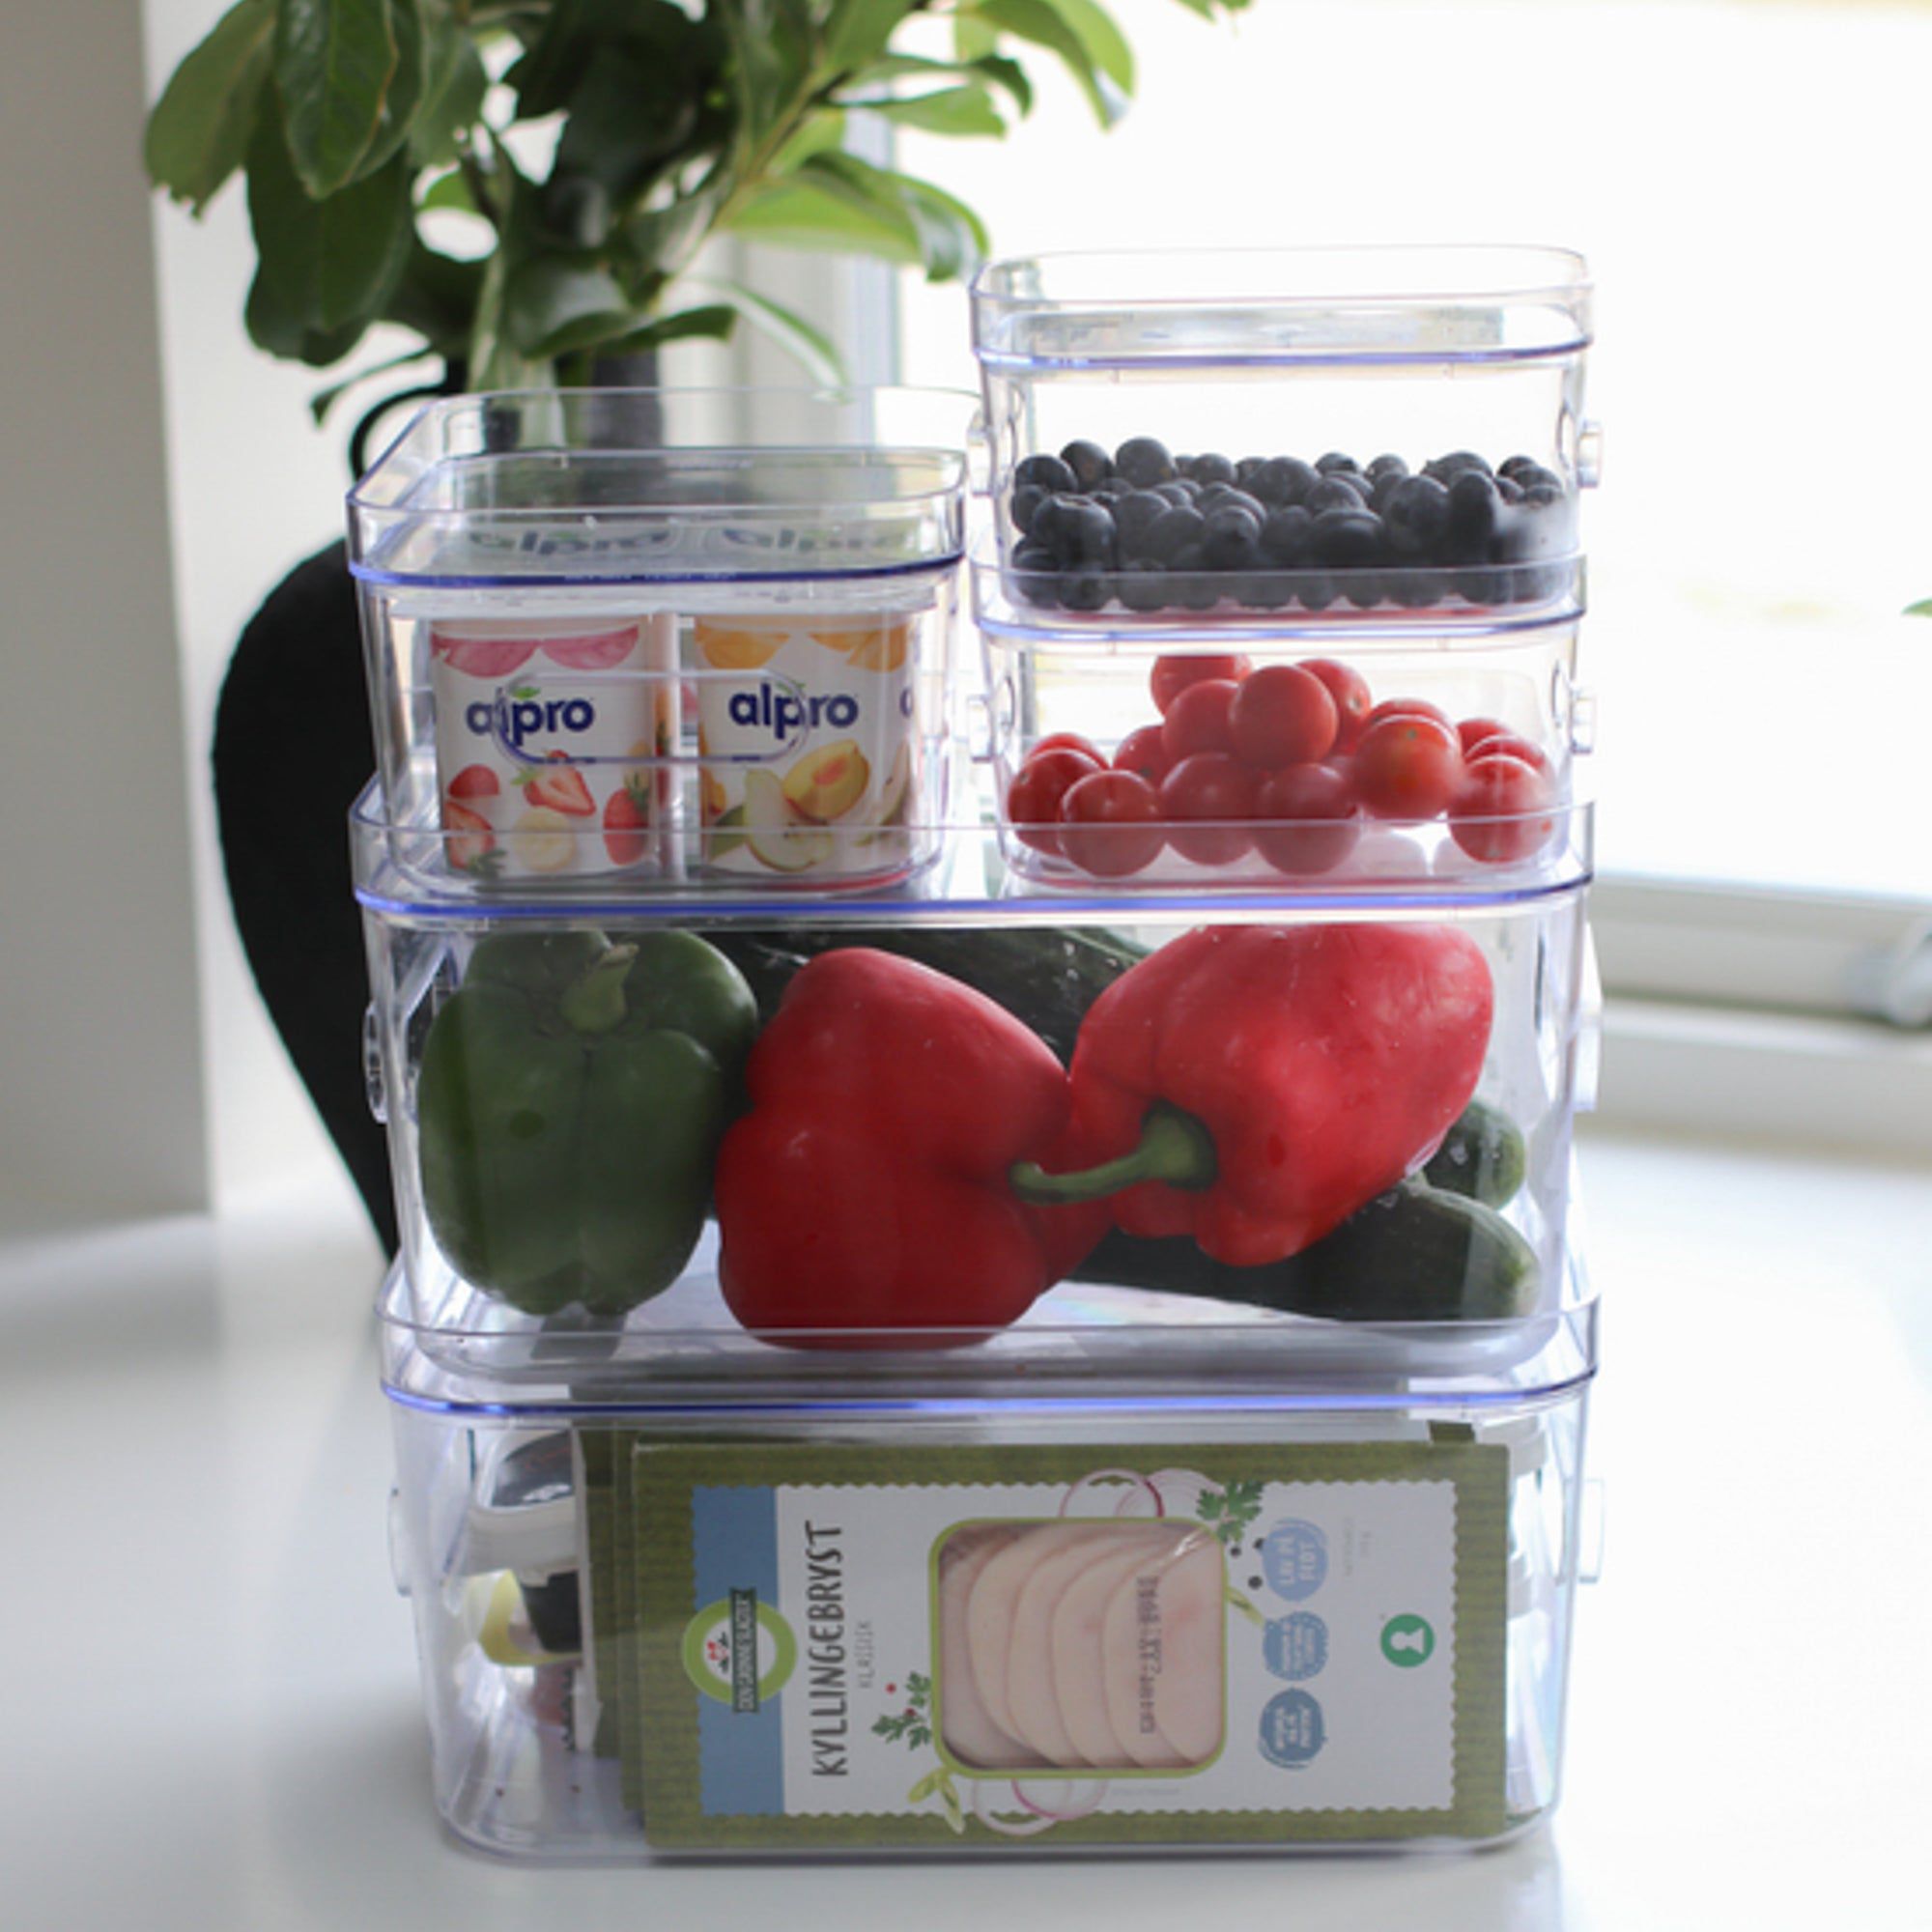
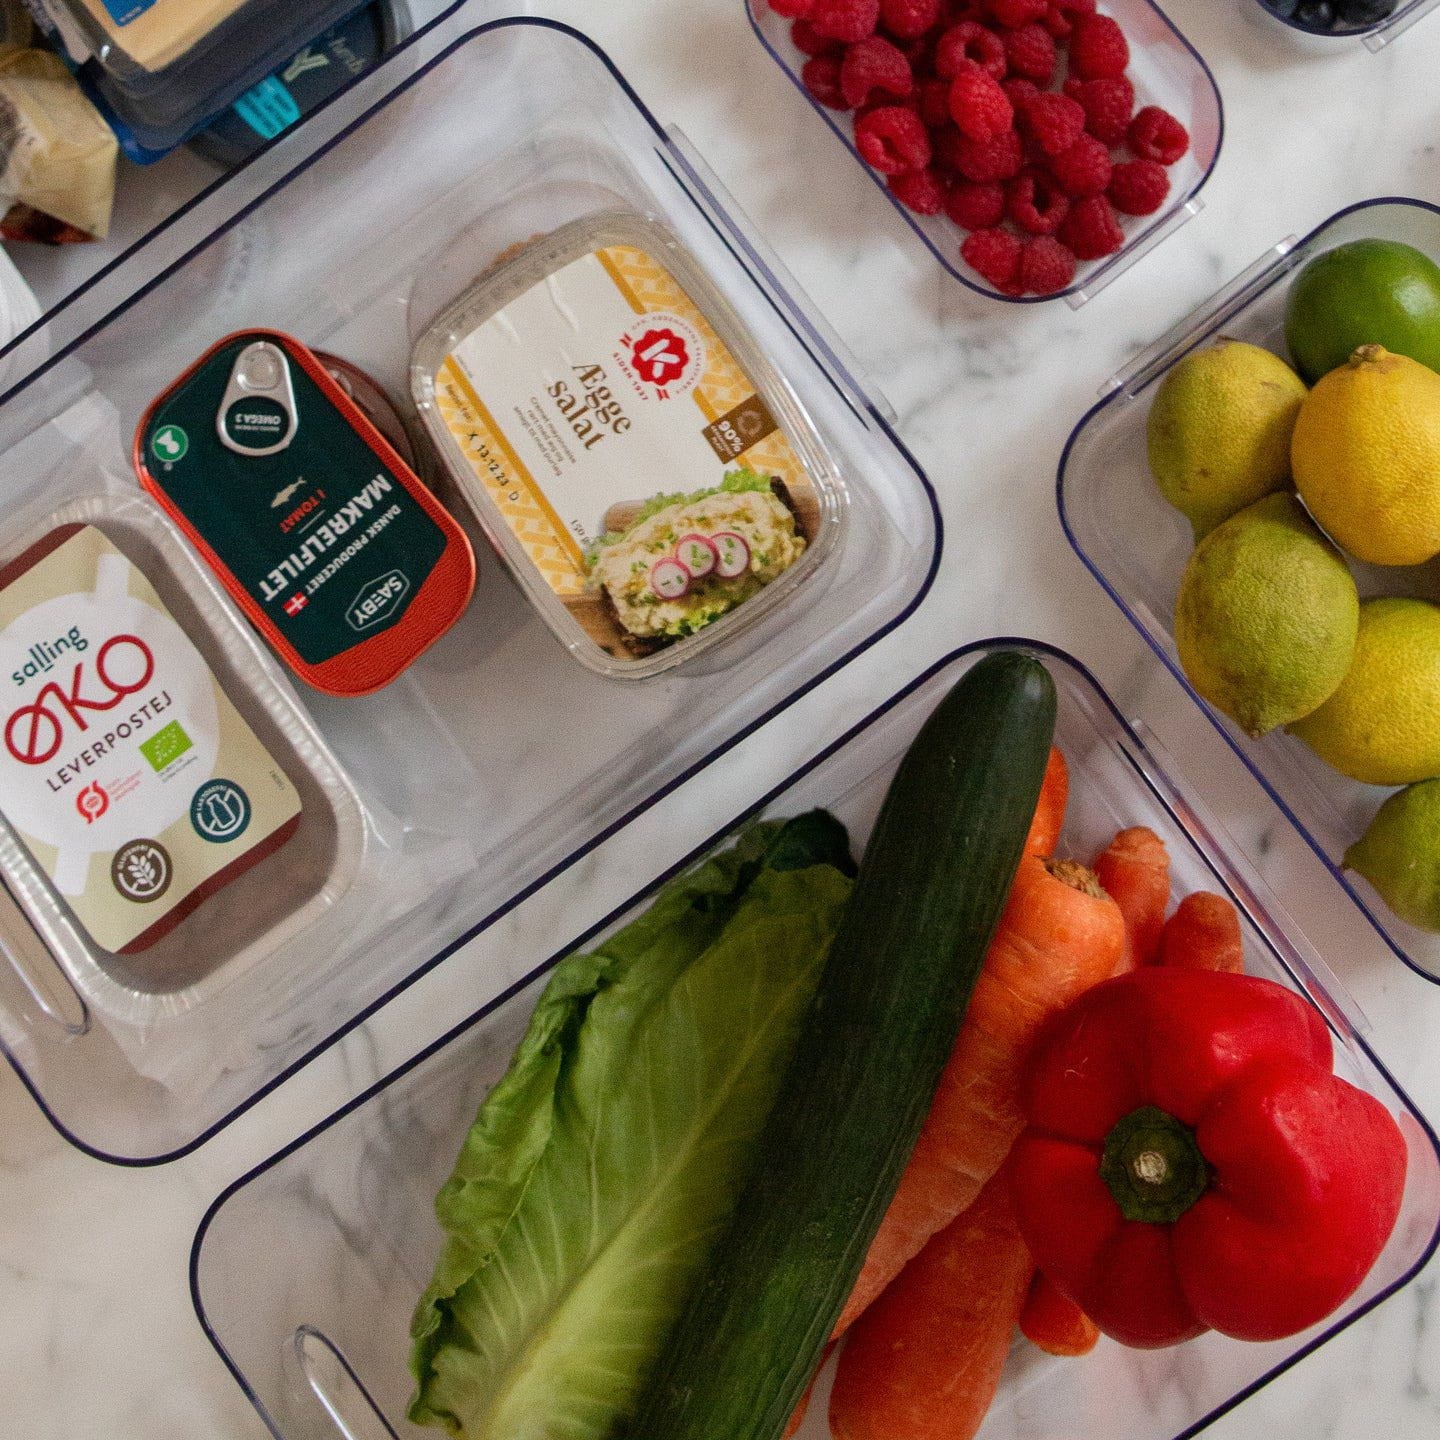
- Make it easy to see: Use transparent solutions and maintain the same type of container throughout.
Pantry shelving system
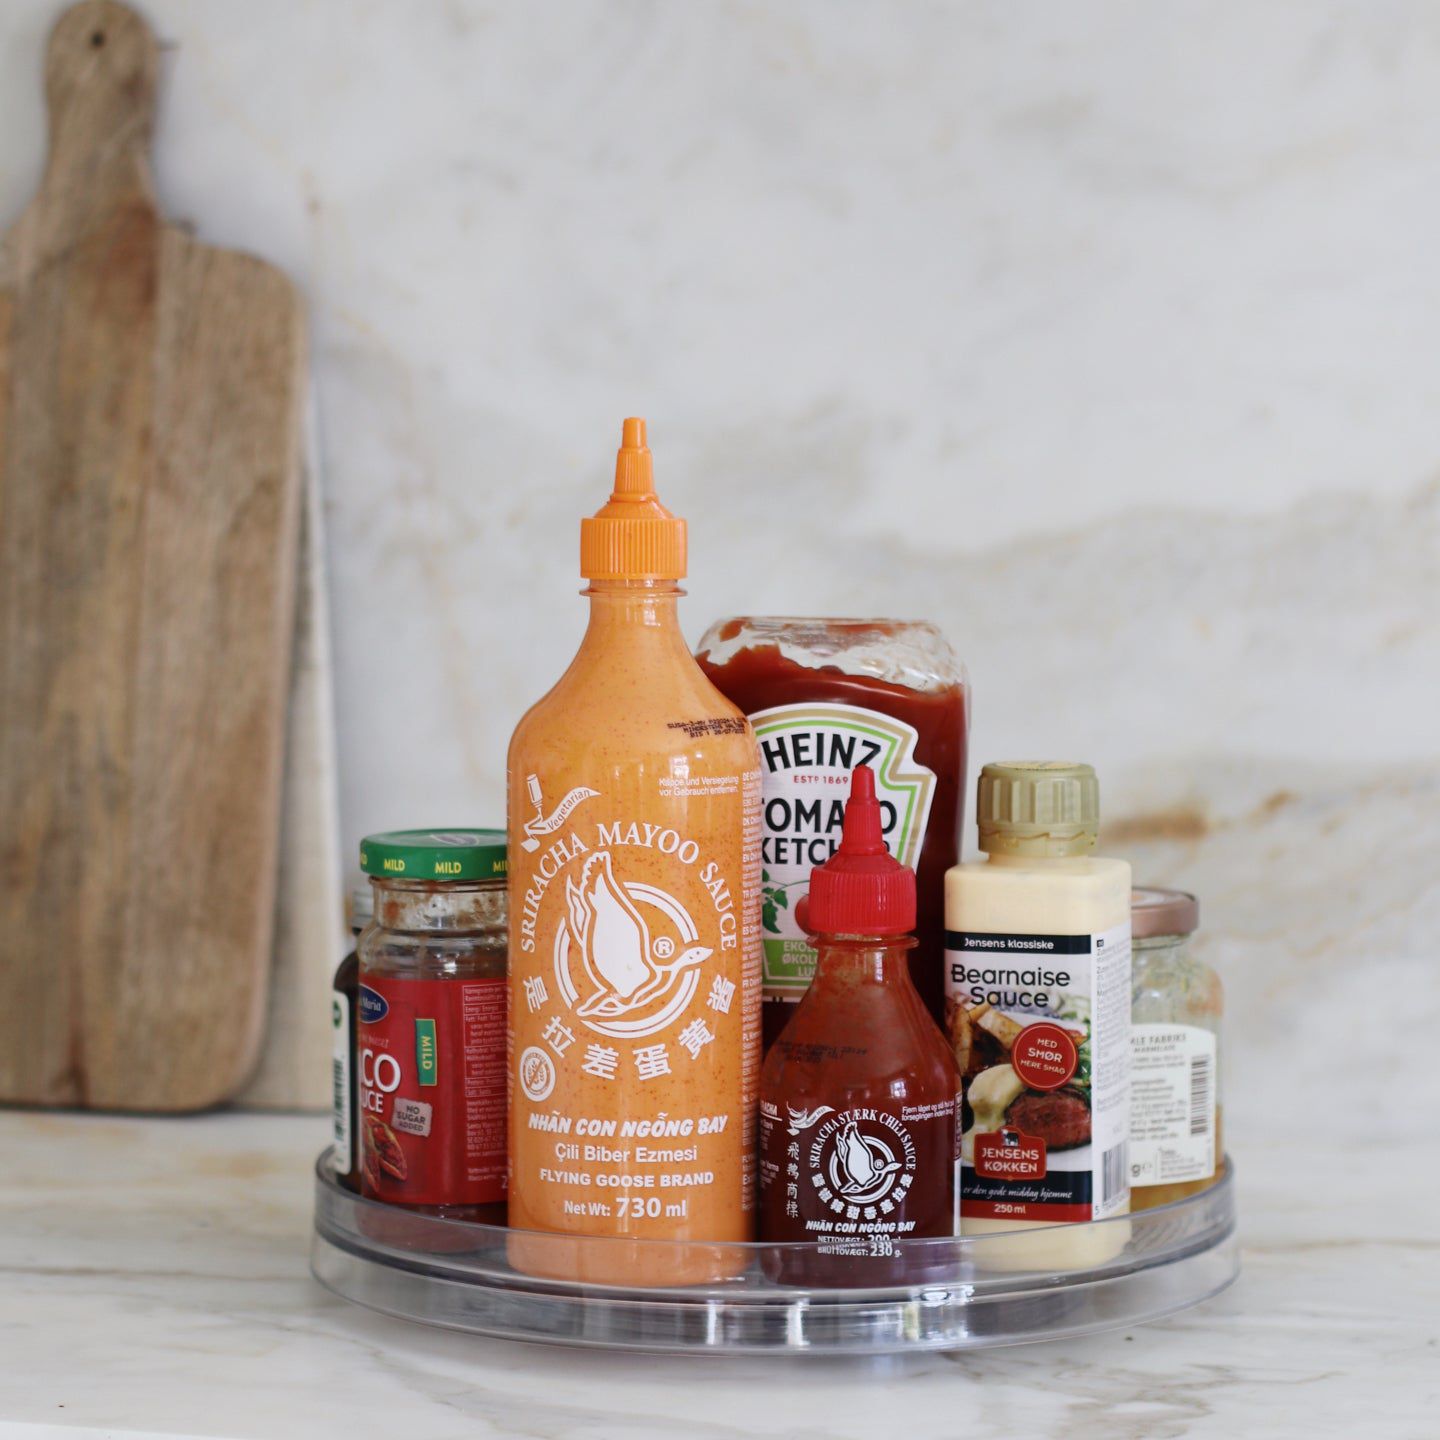
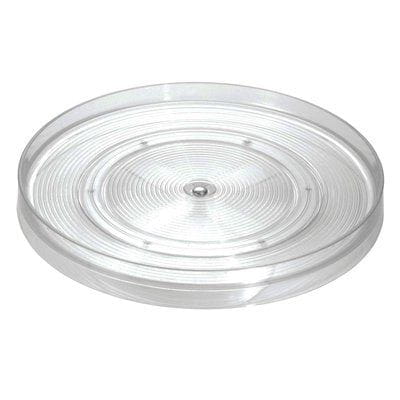
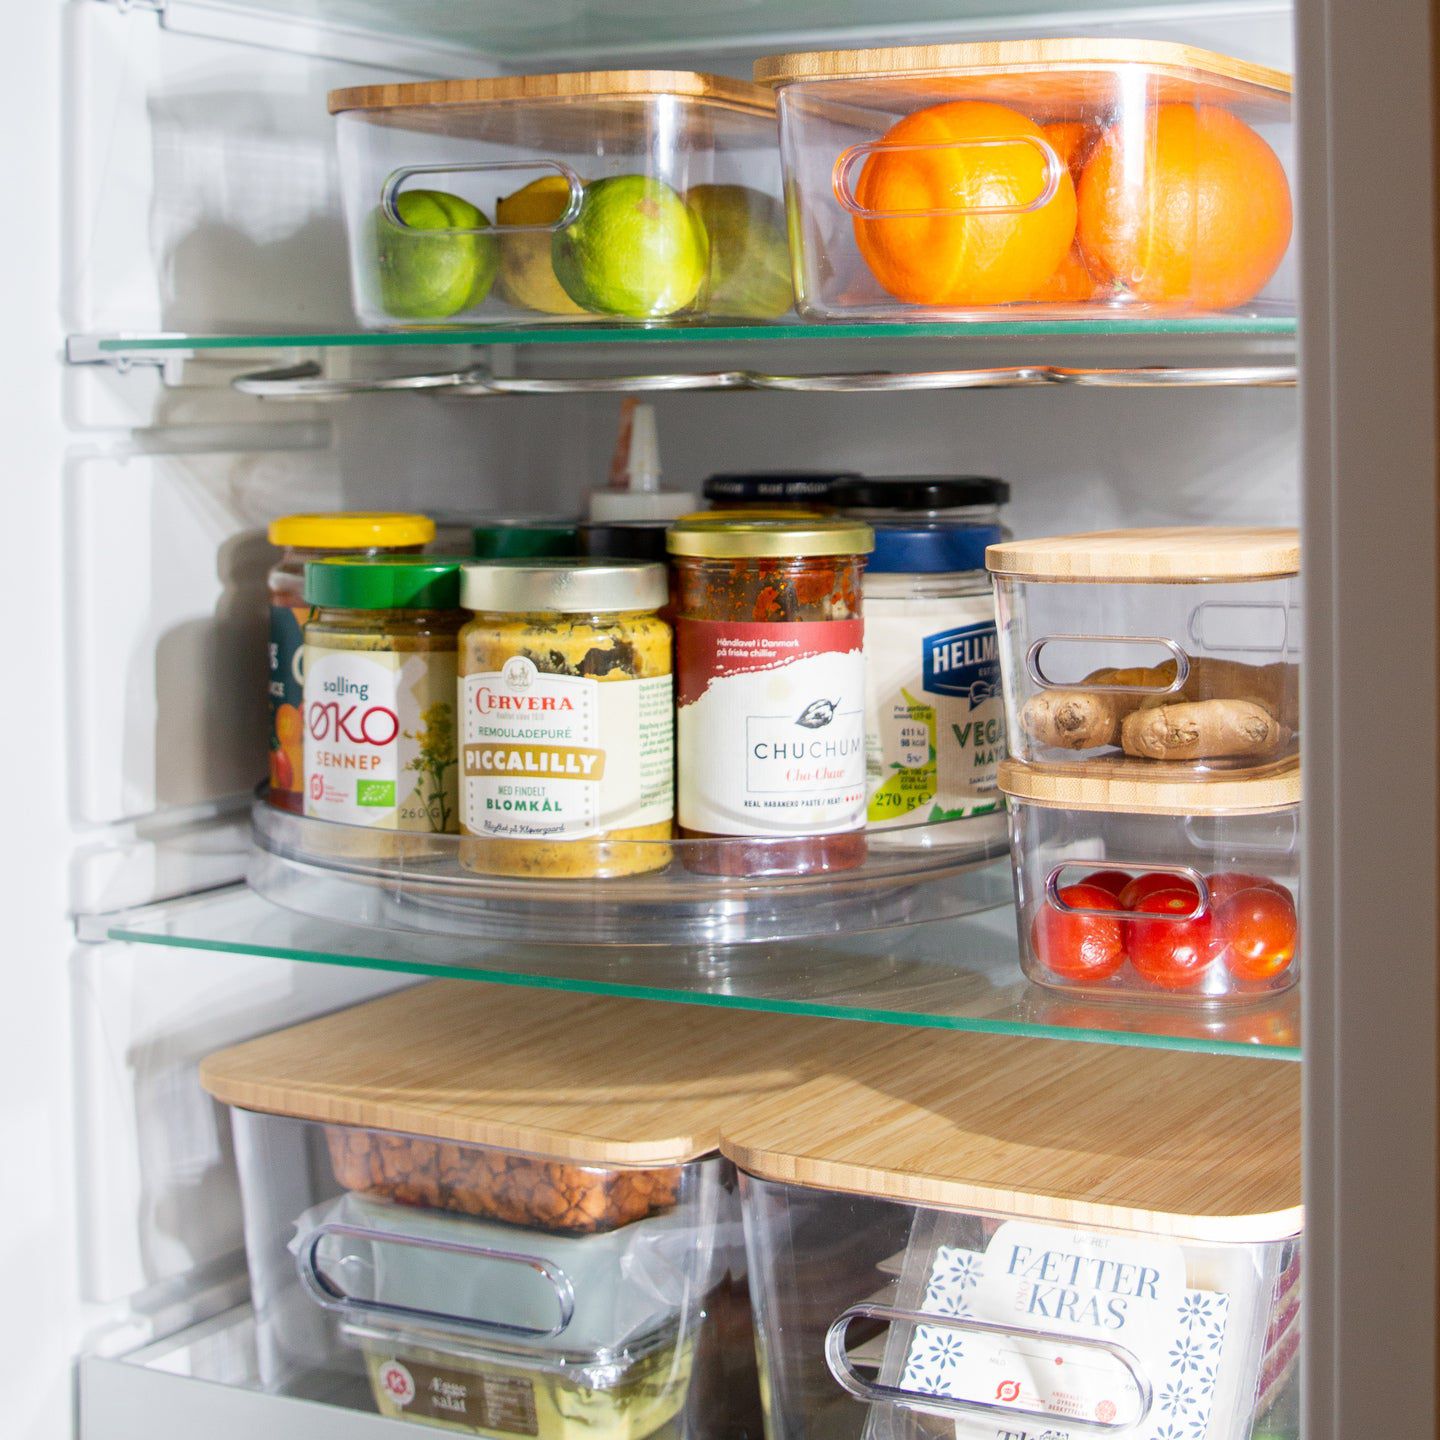
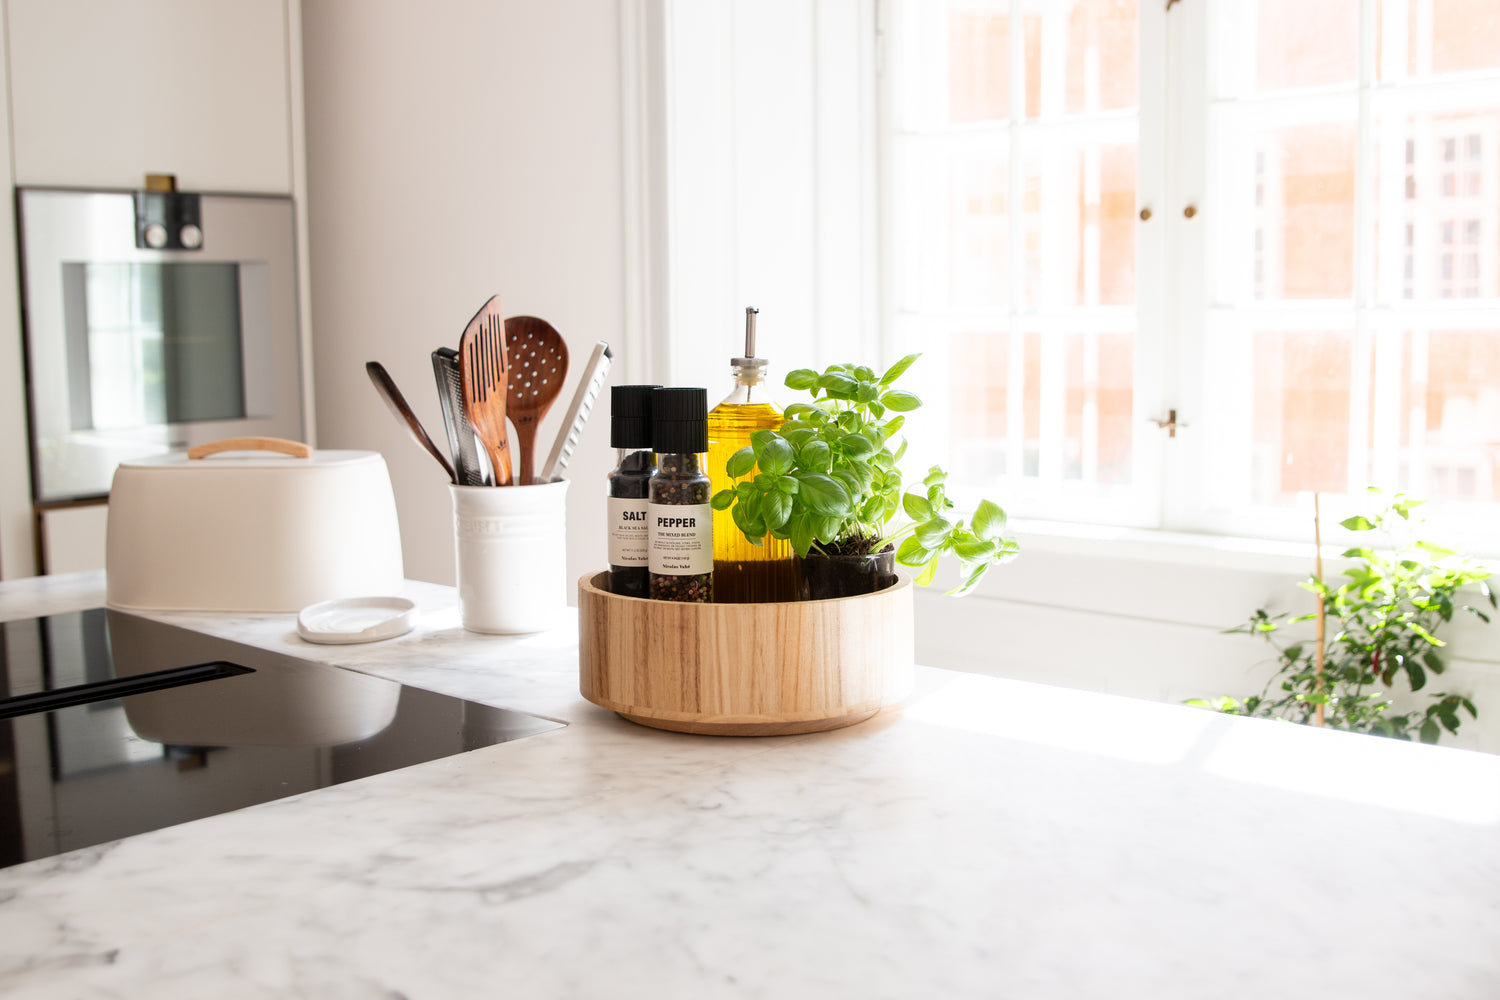
A flexible shelving system makes it easier to change heights as needs change. Create shelves for canned goods with 12-15 cm clearance and deeper shelves for large containers. Corners can be difficult to utilize – here, revolving solutions often work best. Choose materials that can withstand weight and be wiped clean, so the room remains harmonious and functional.
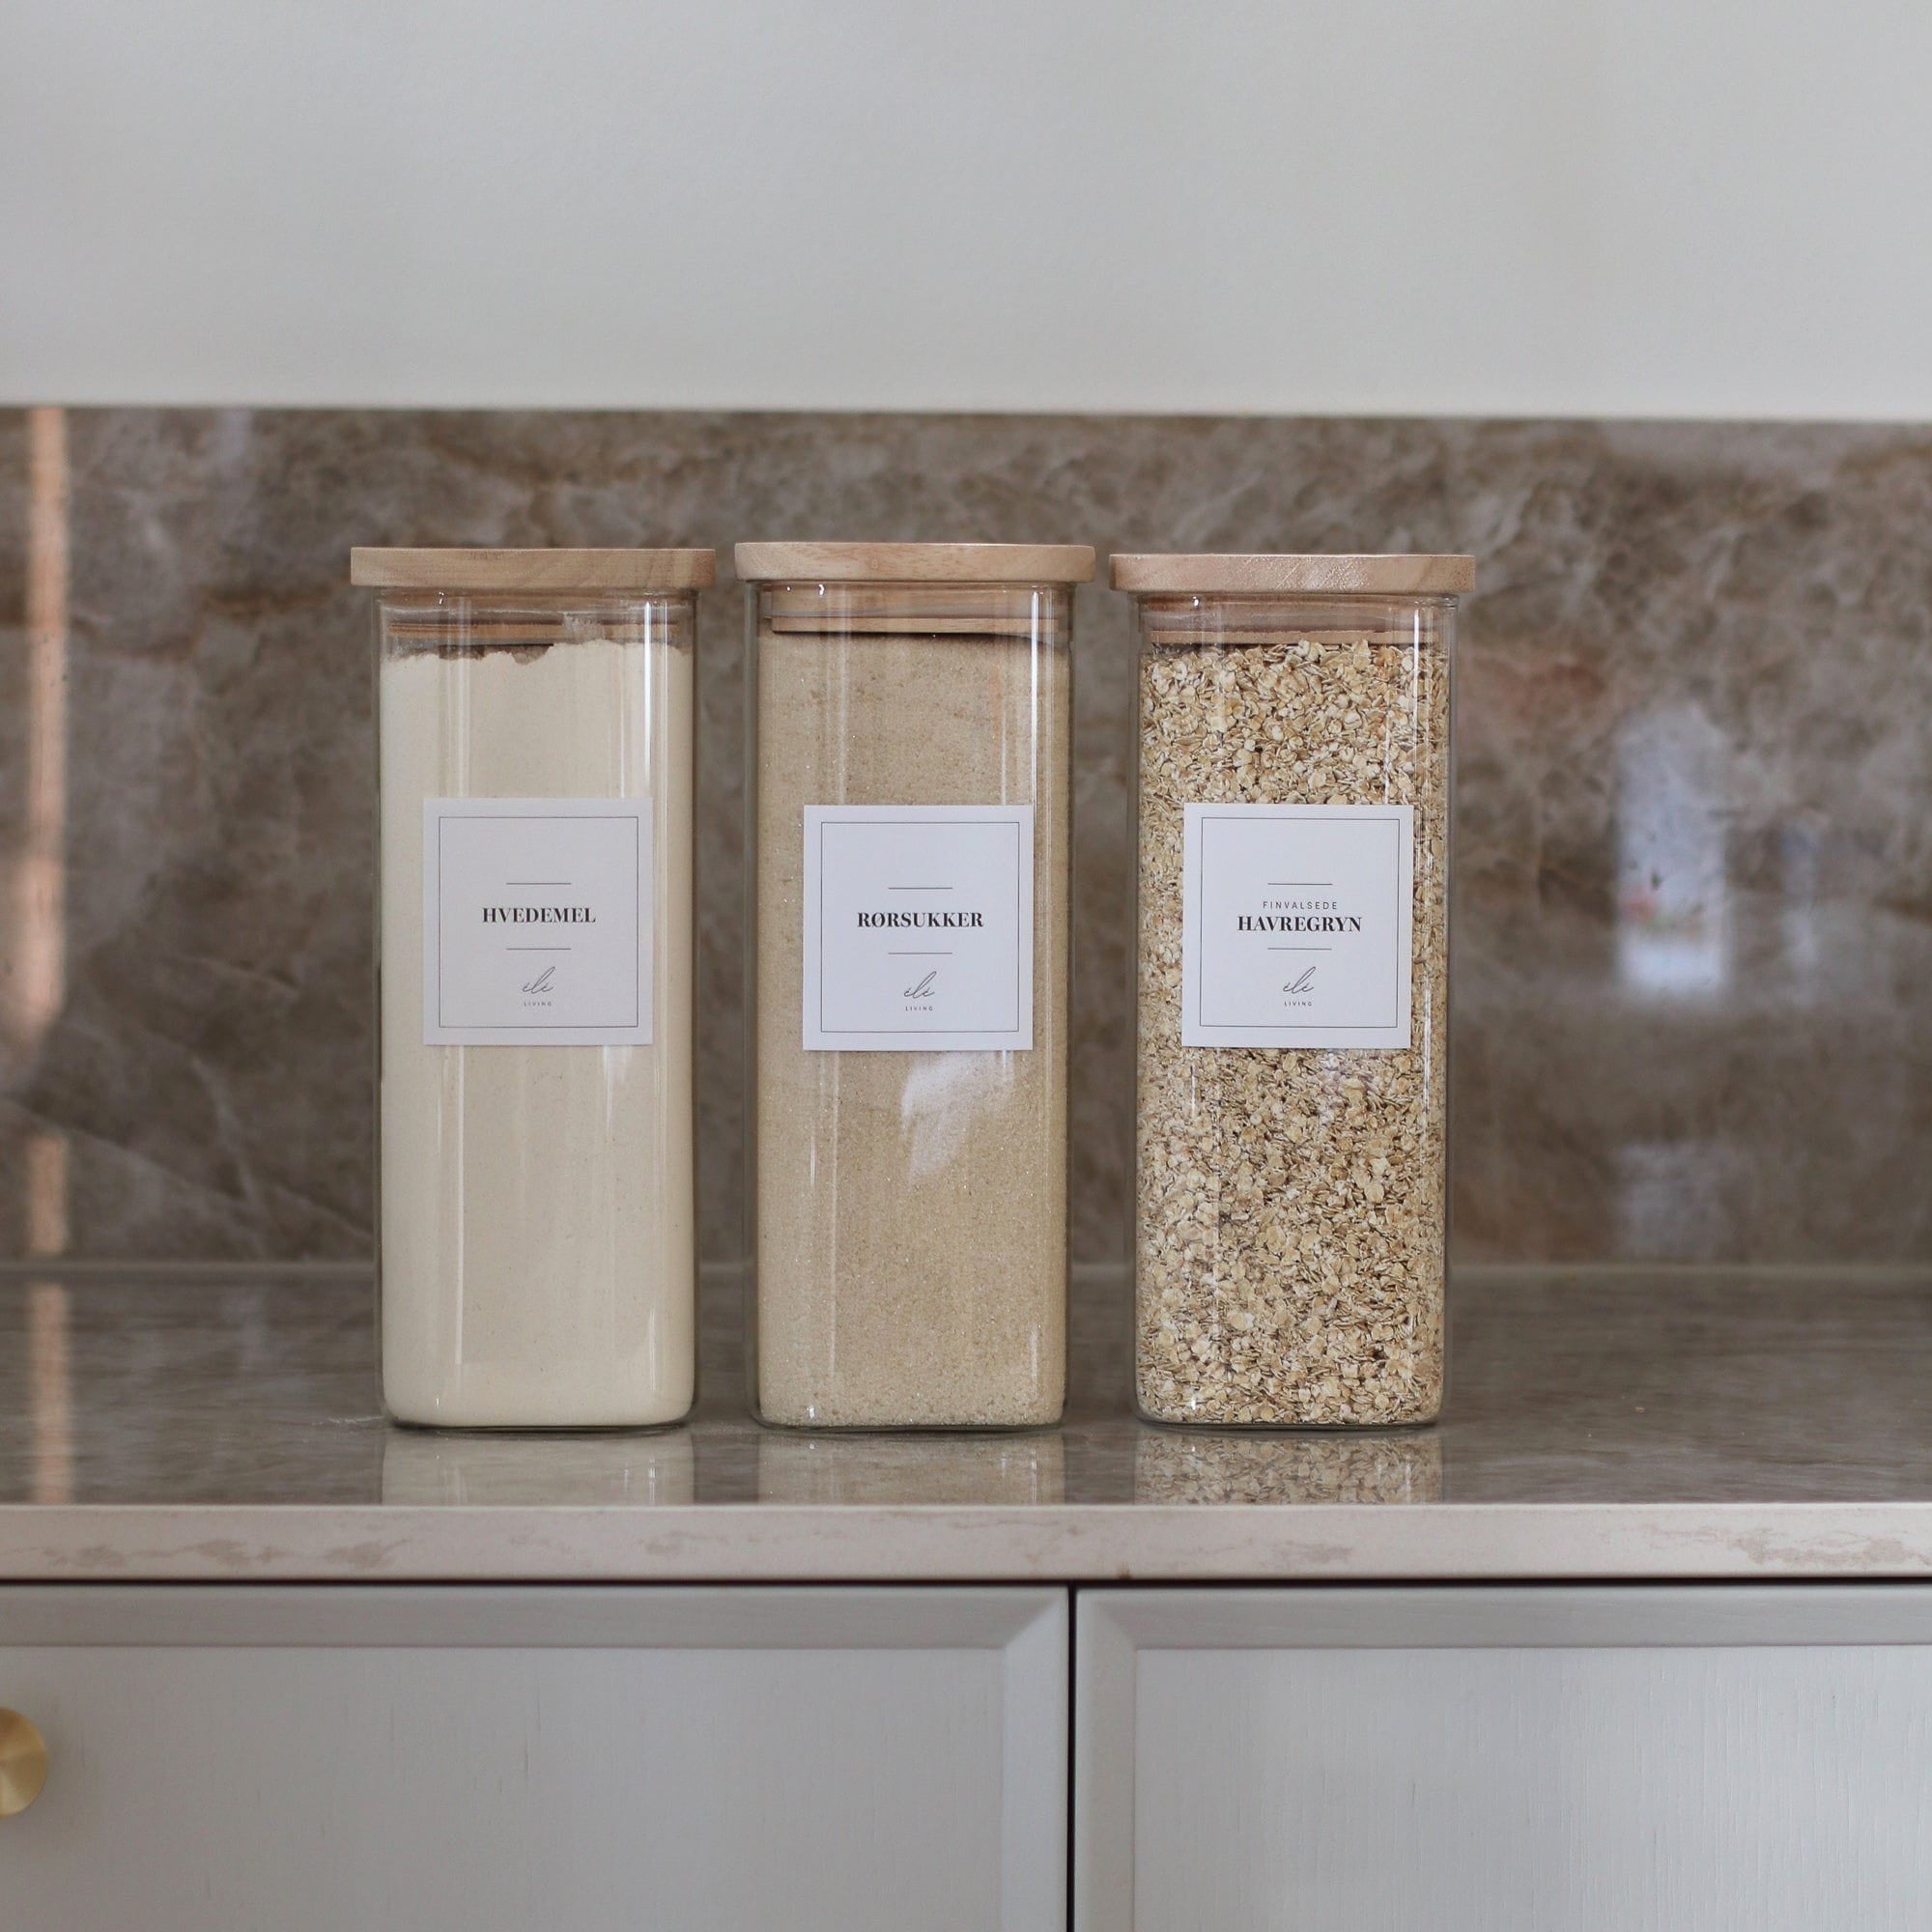
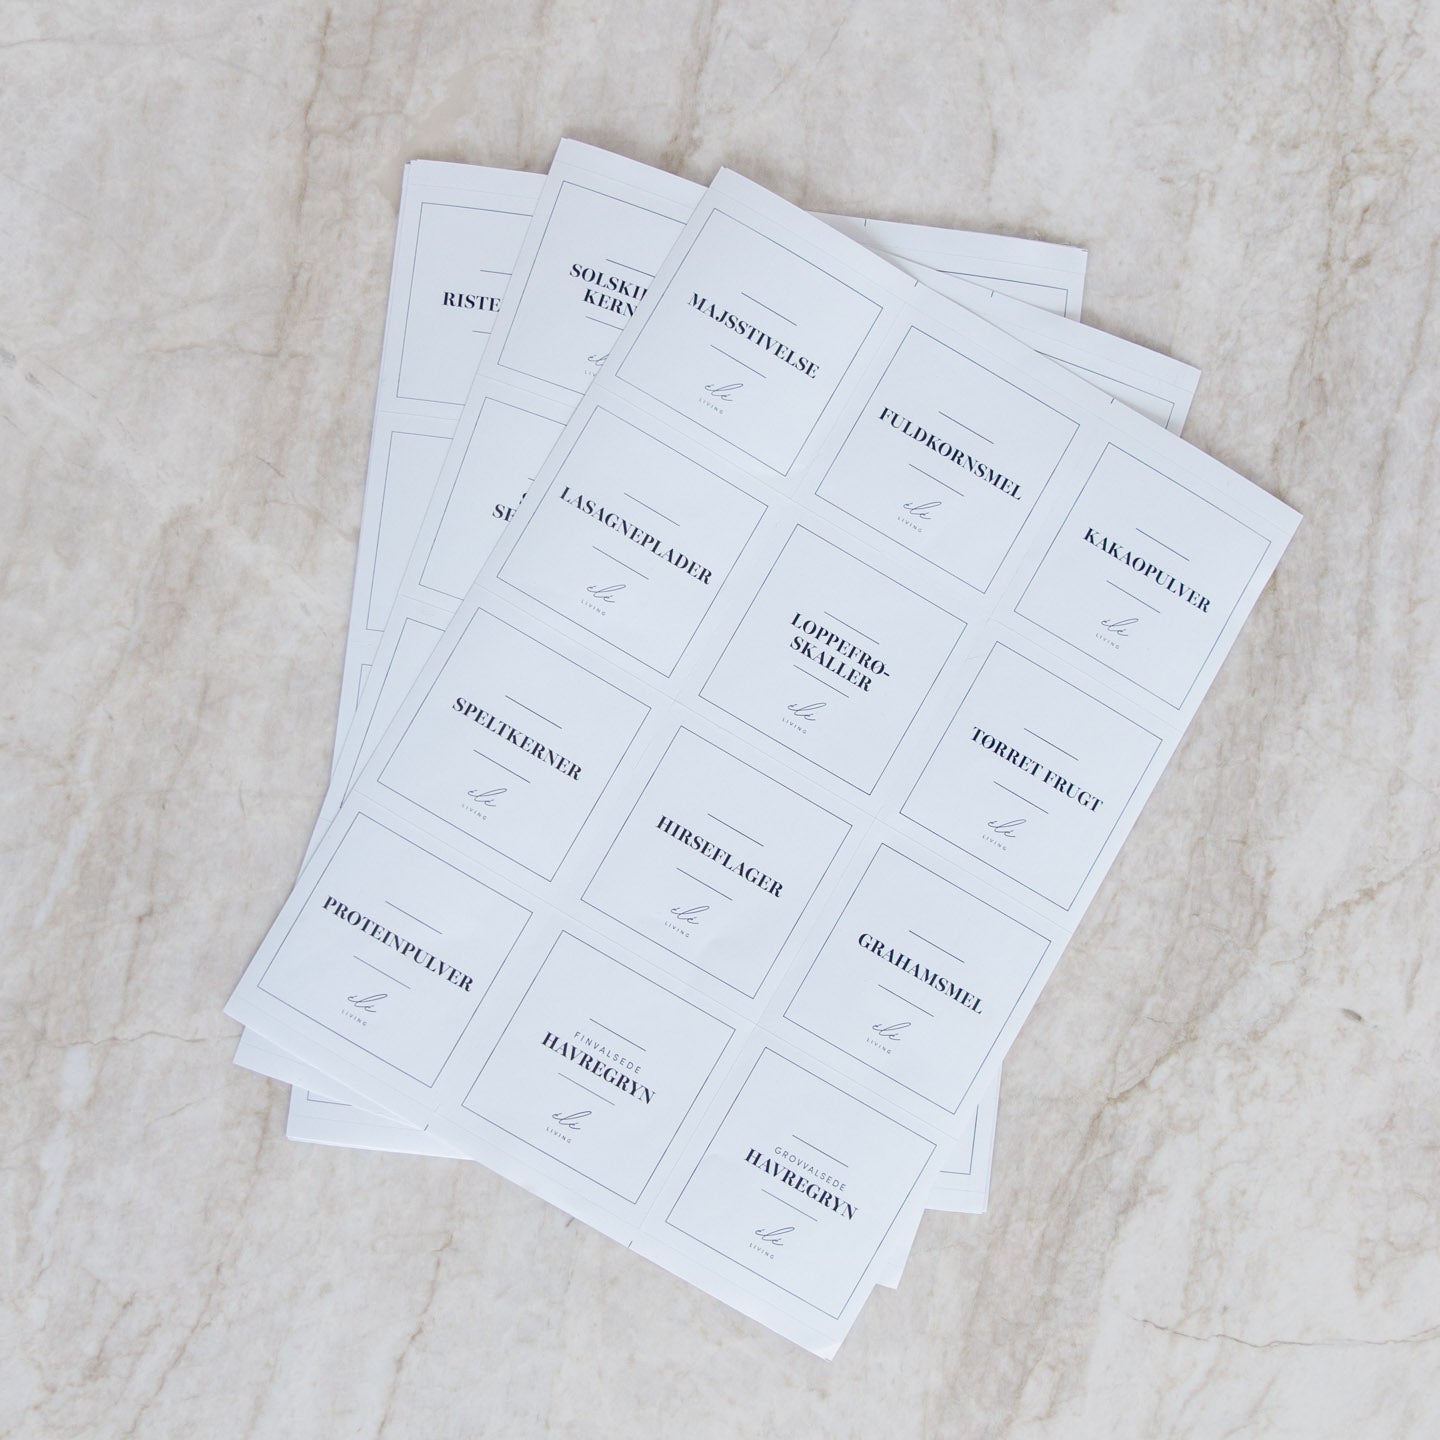
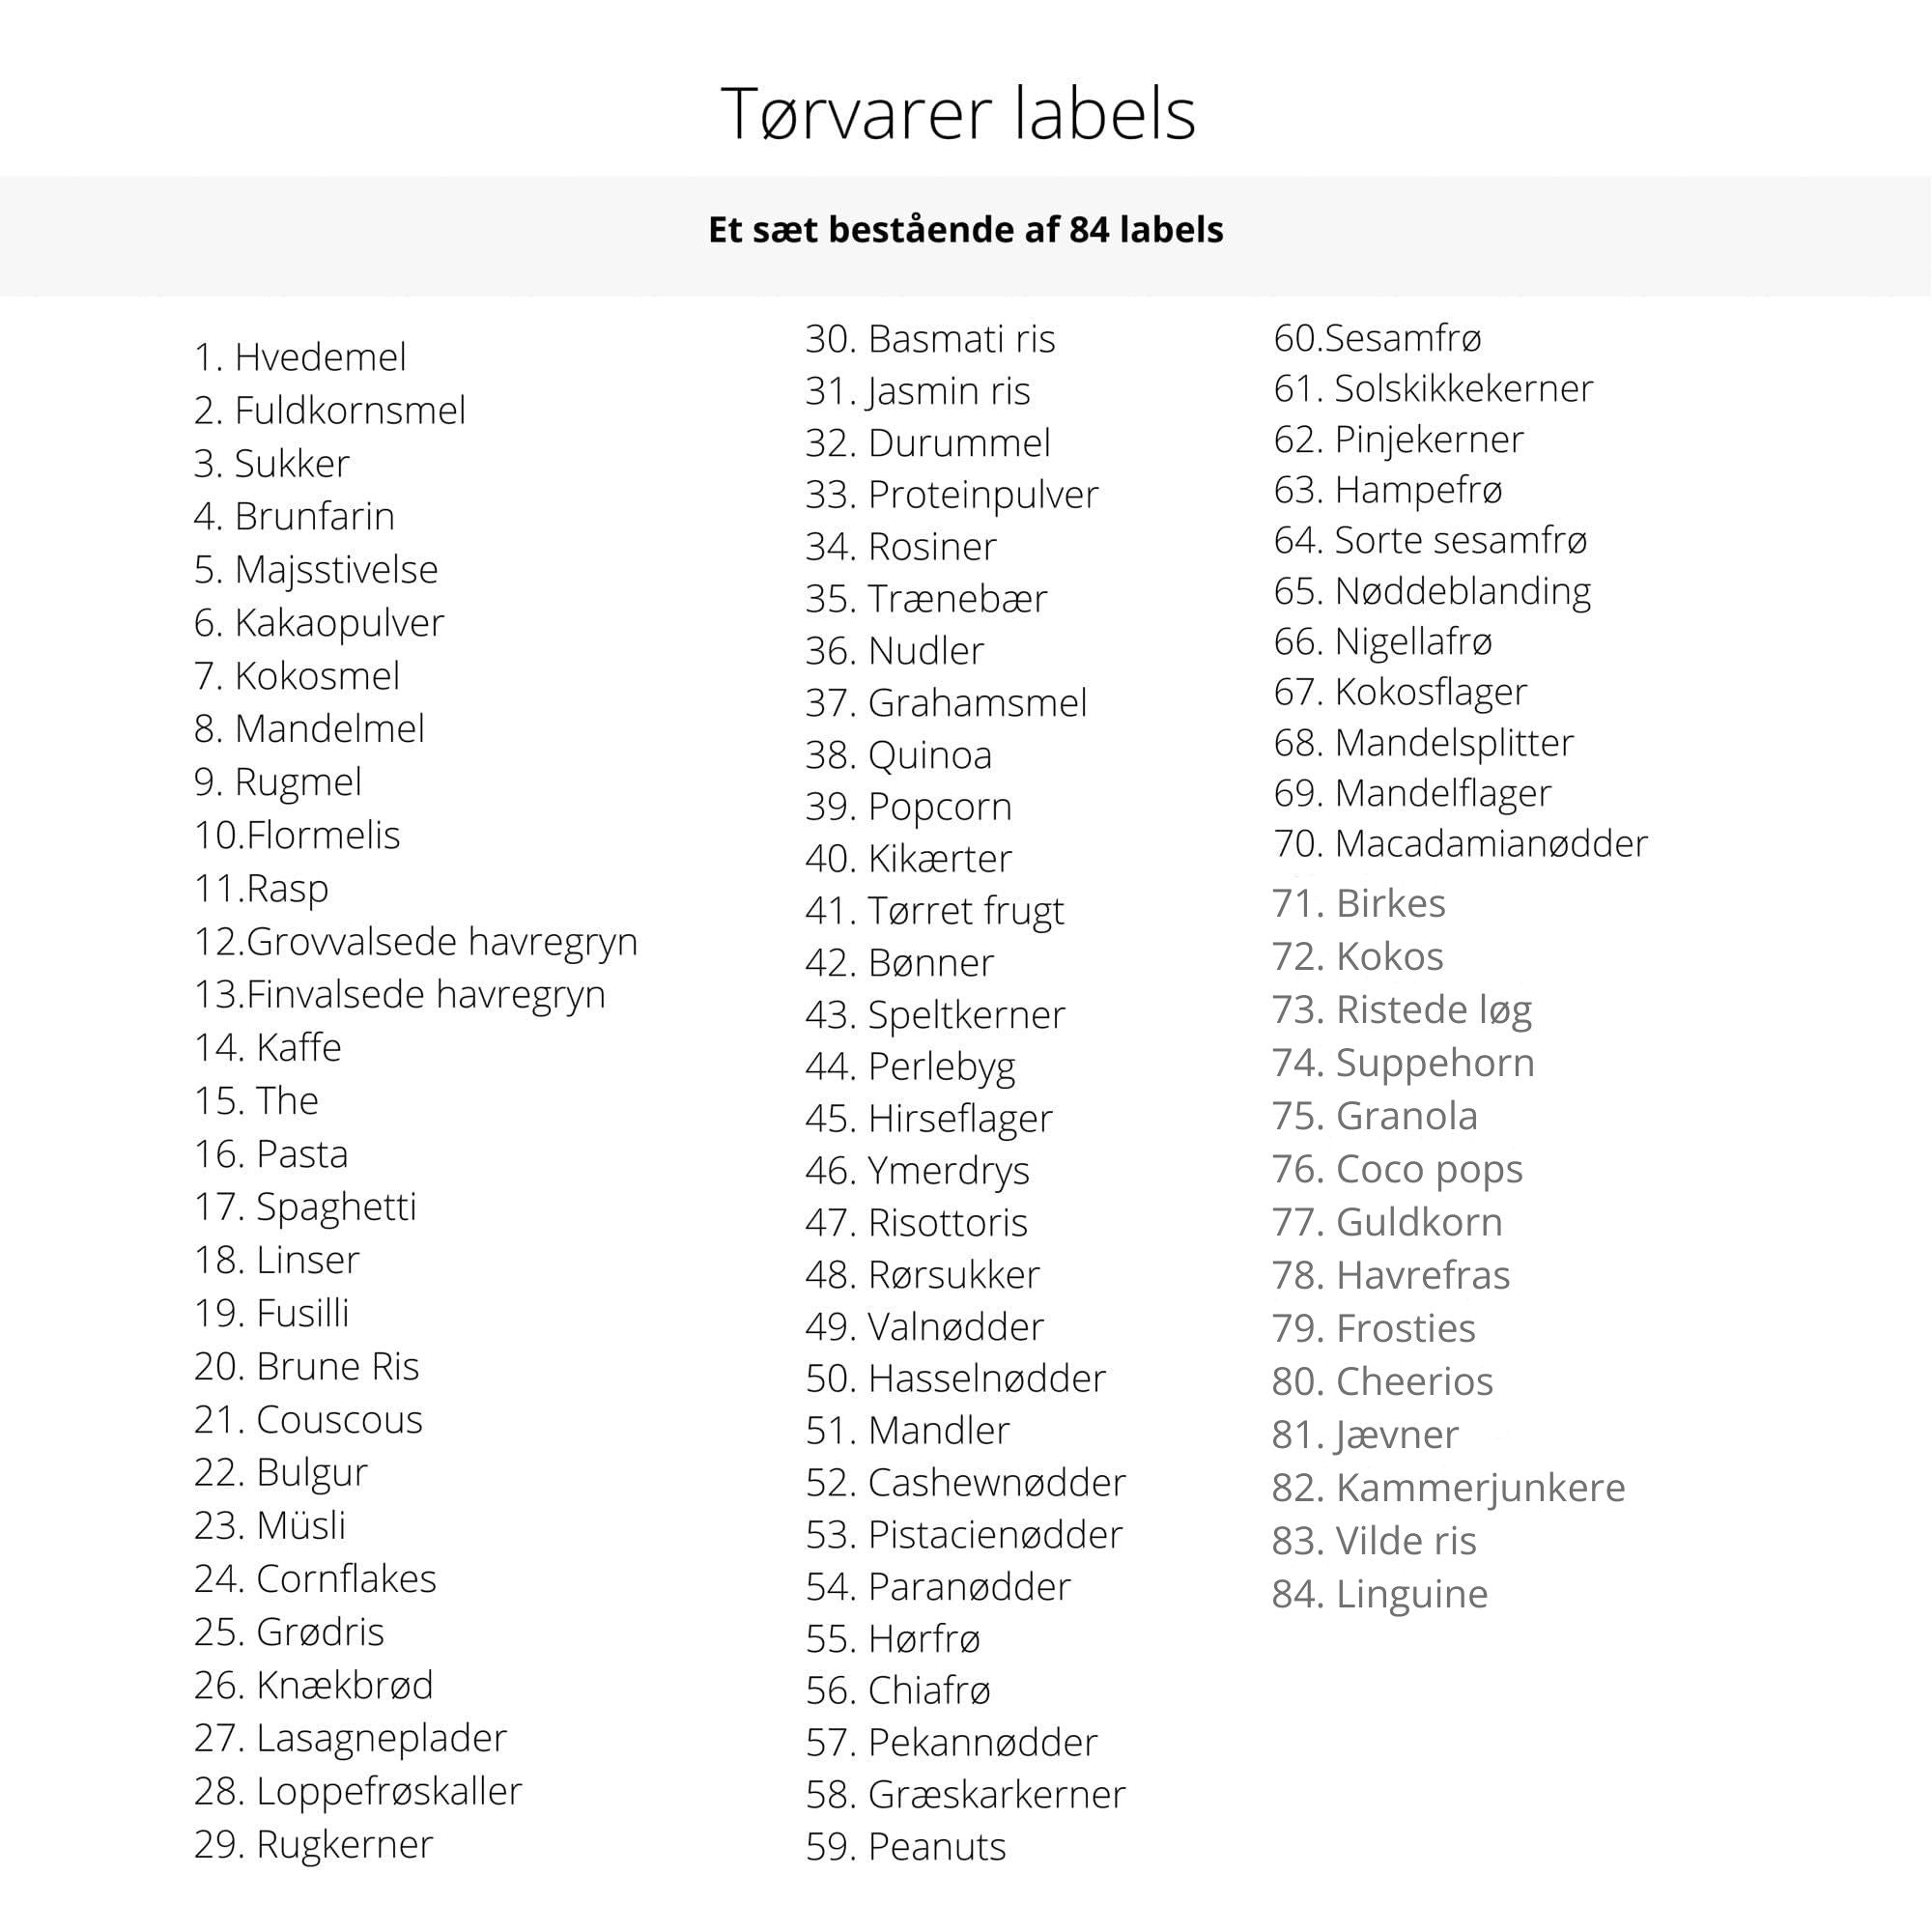
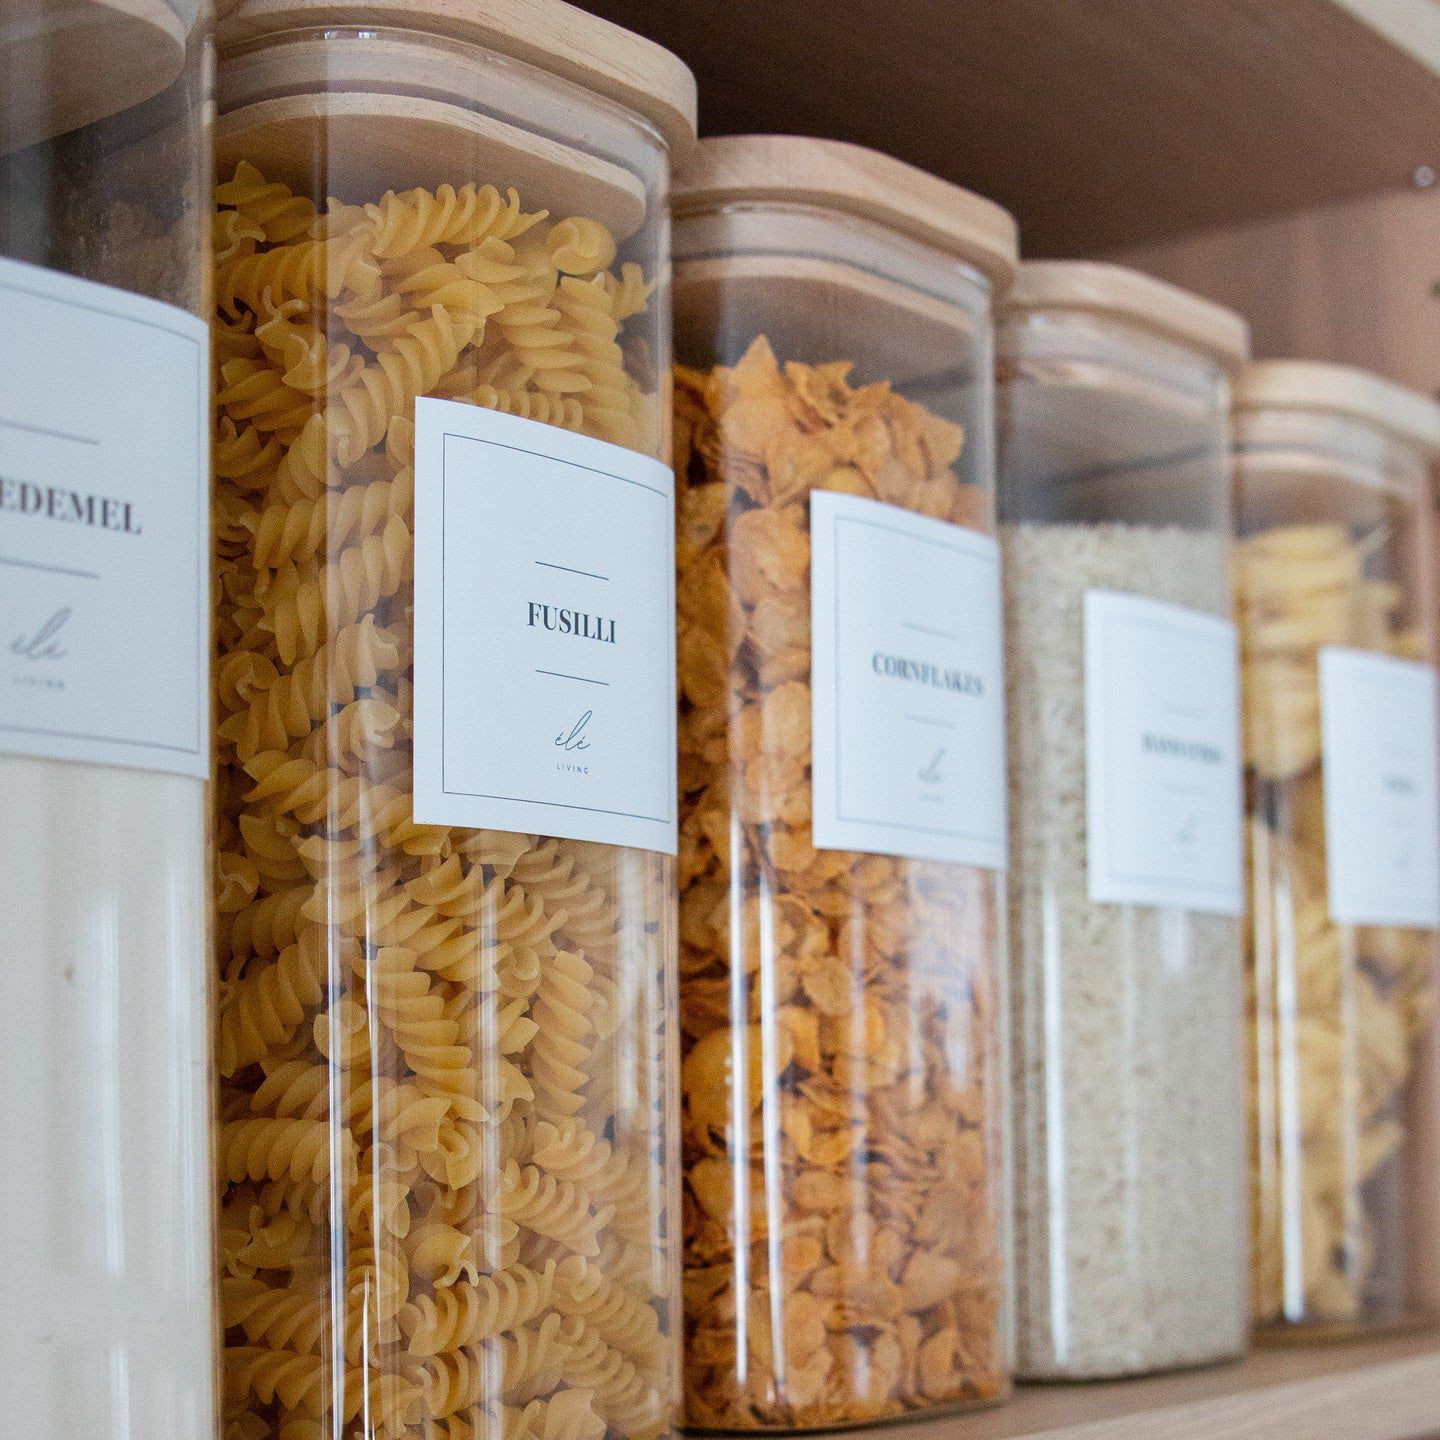
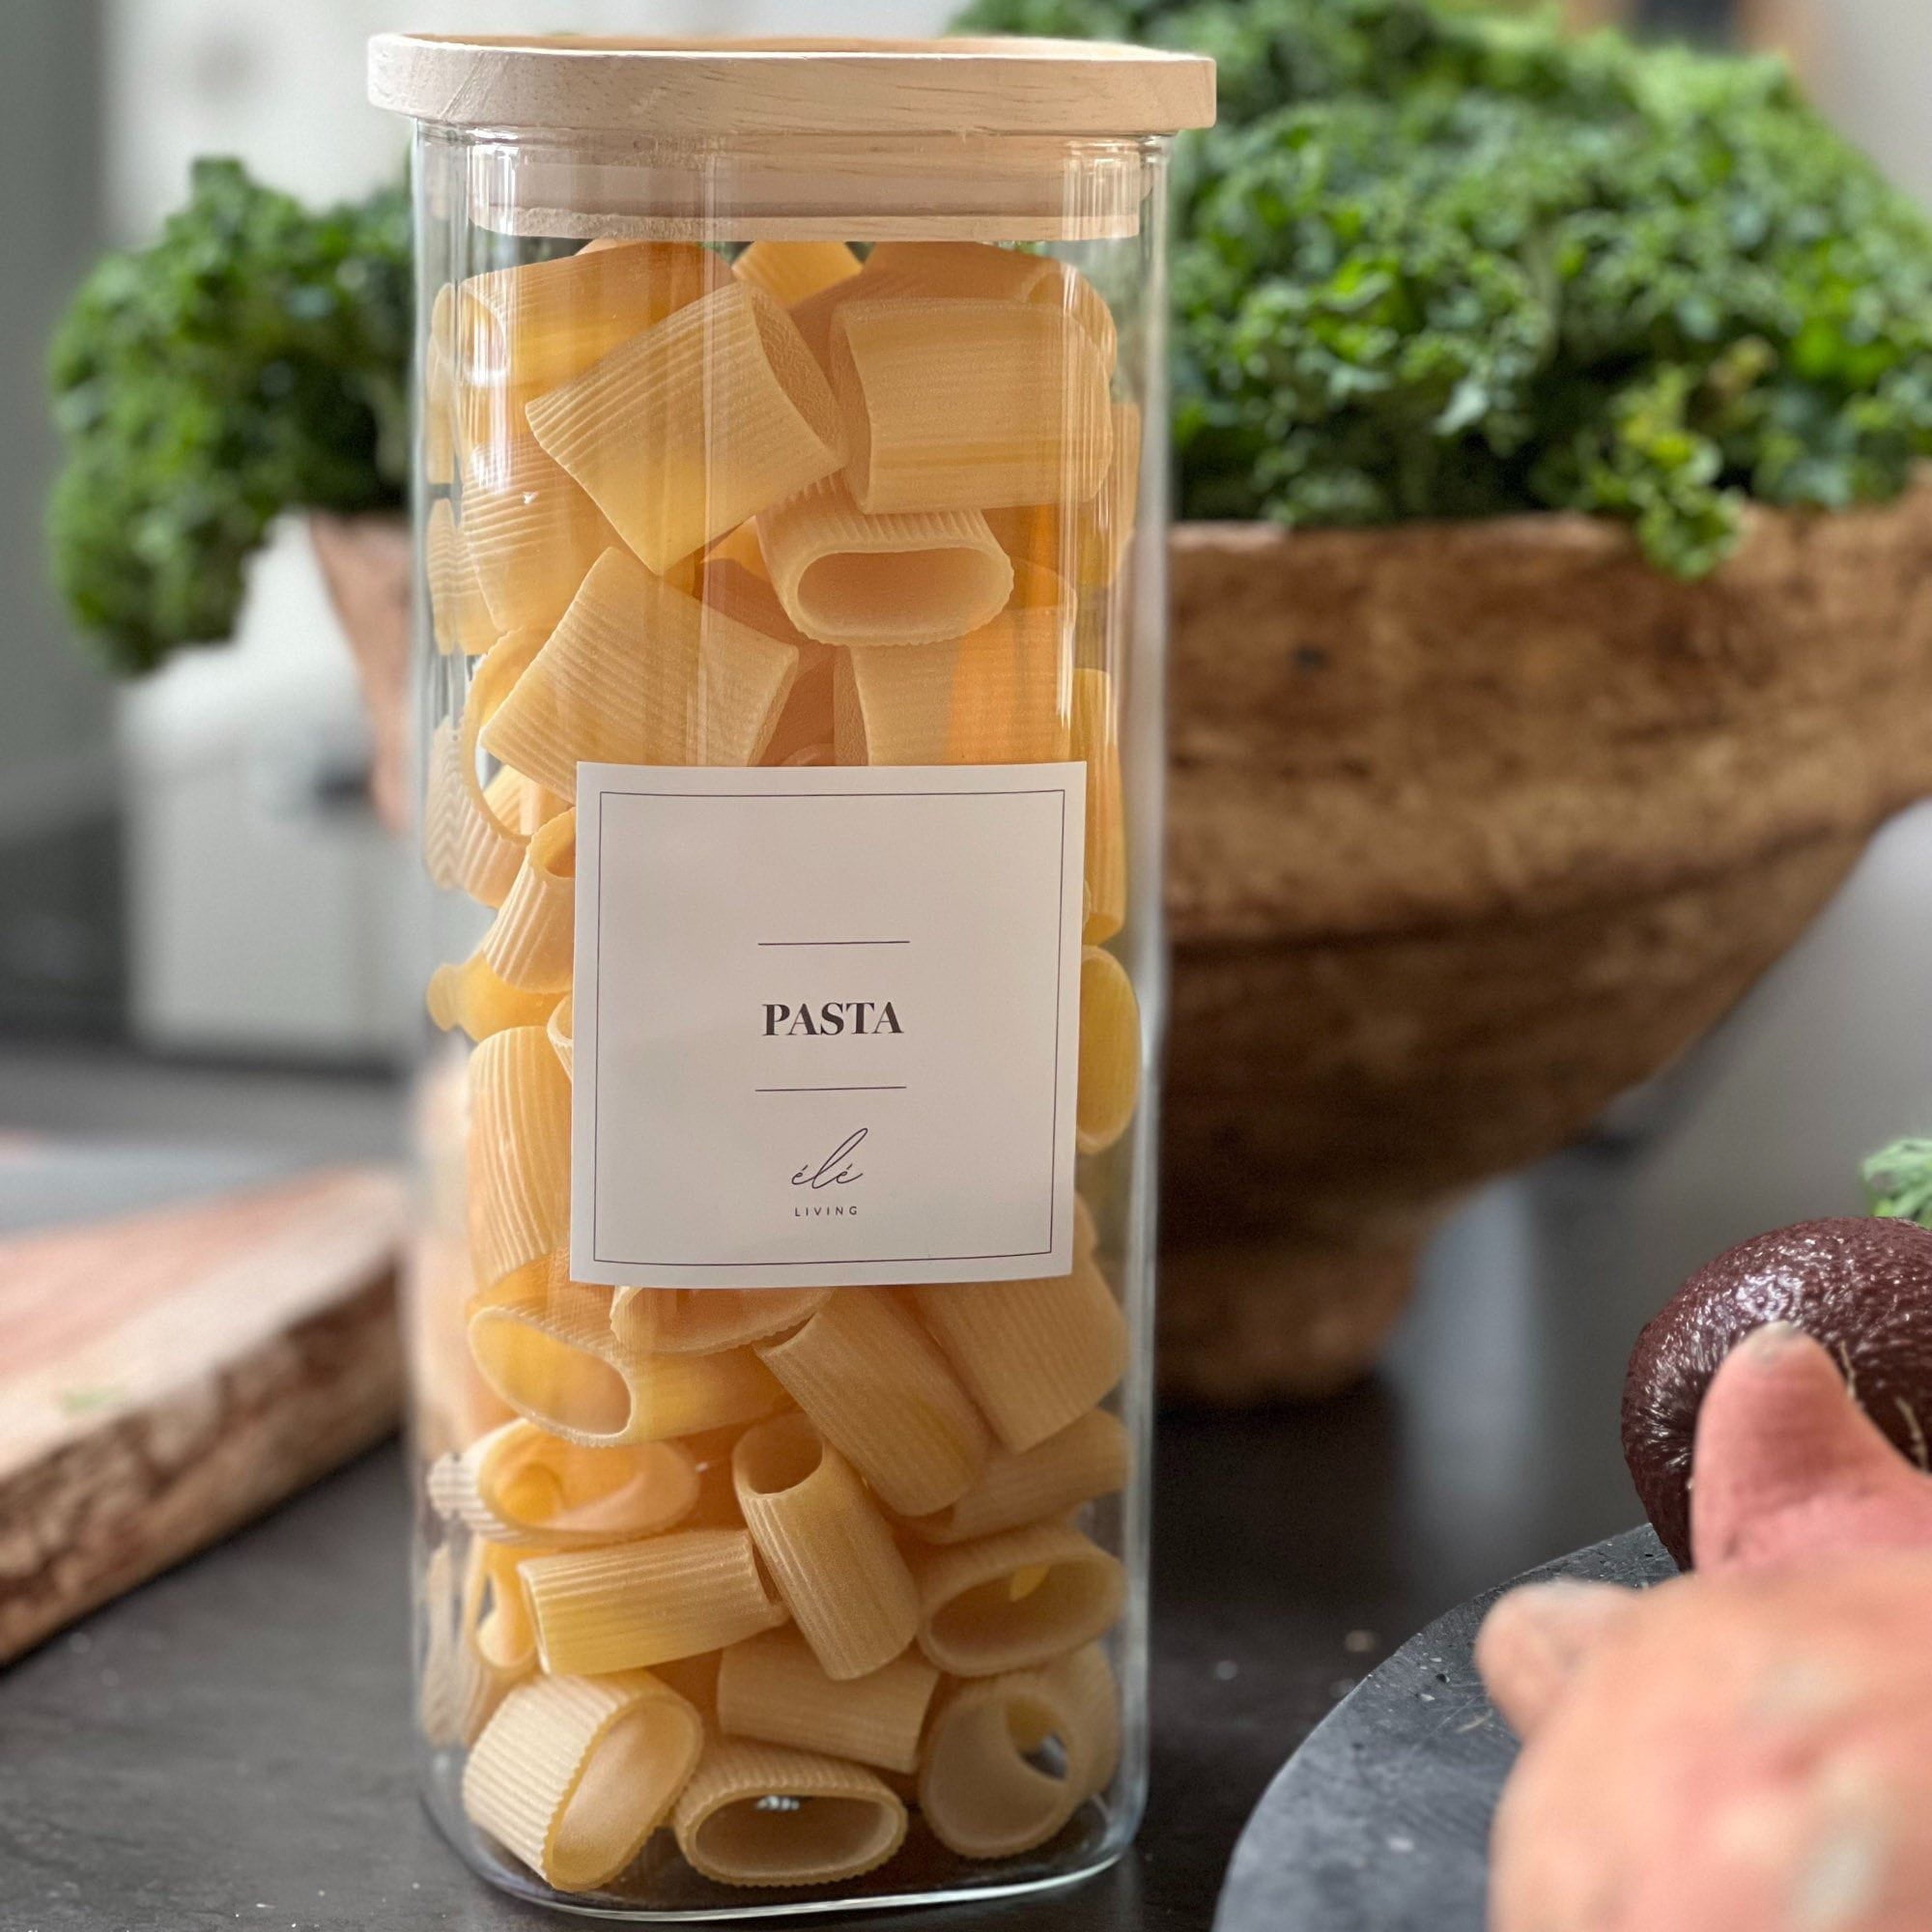
Storage of dry goods
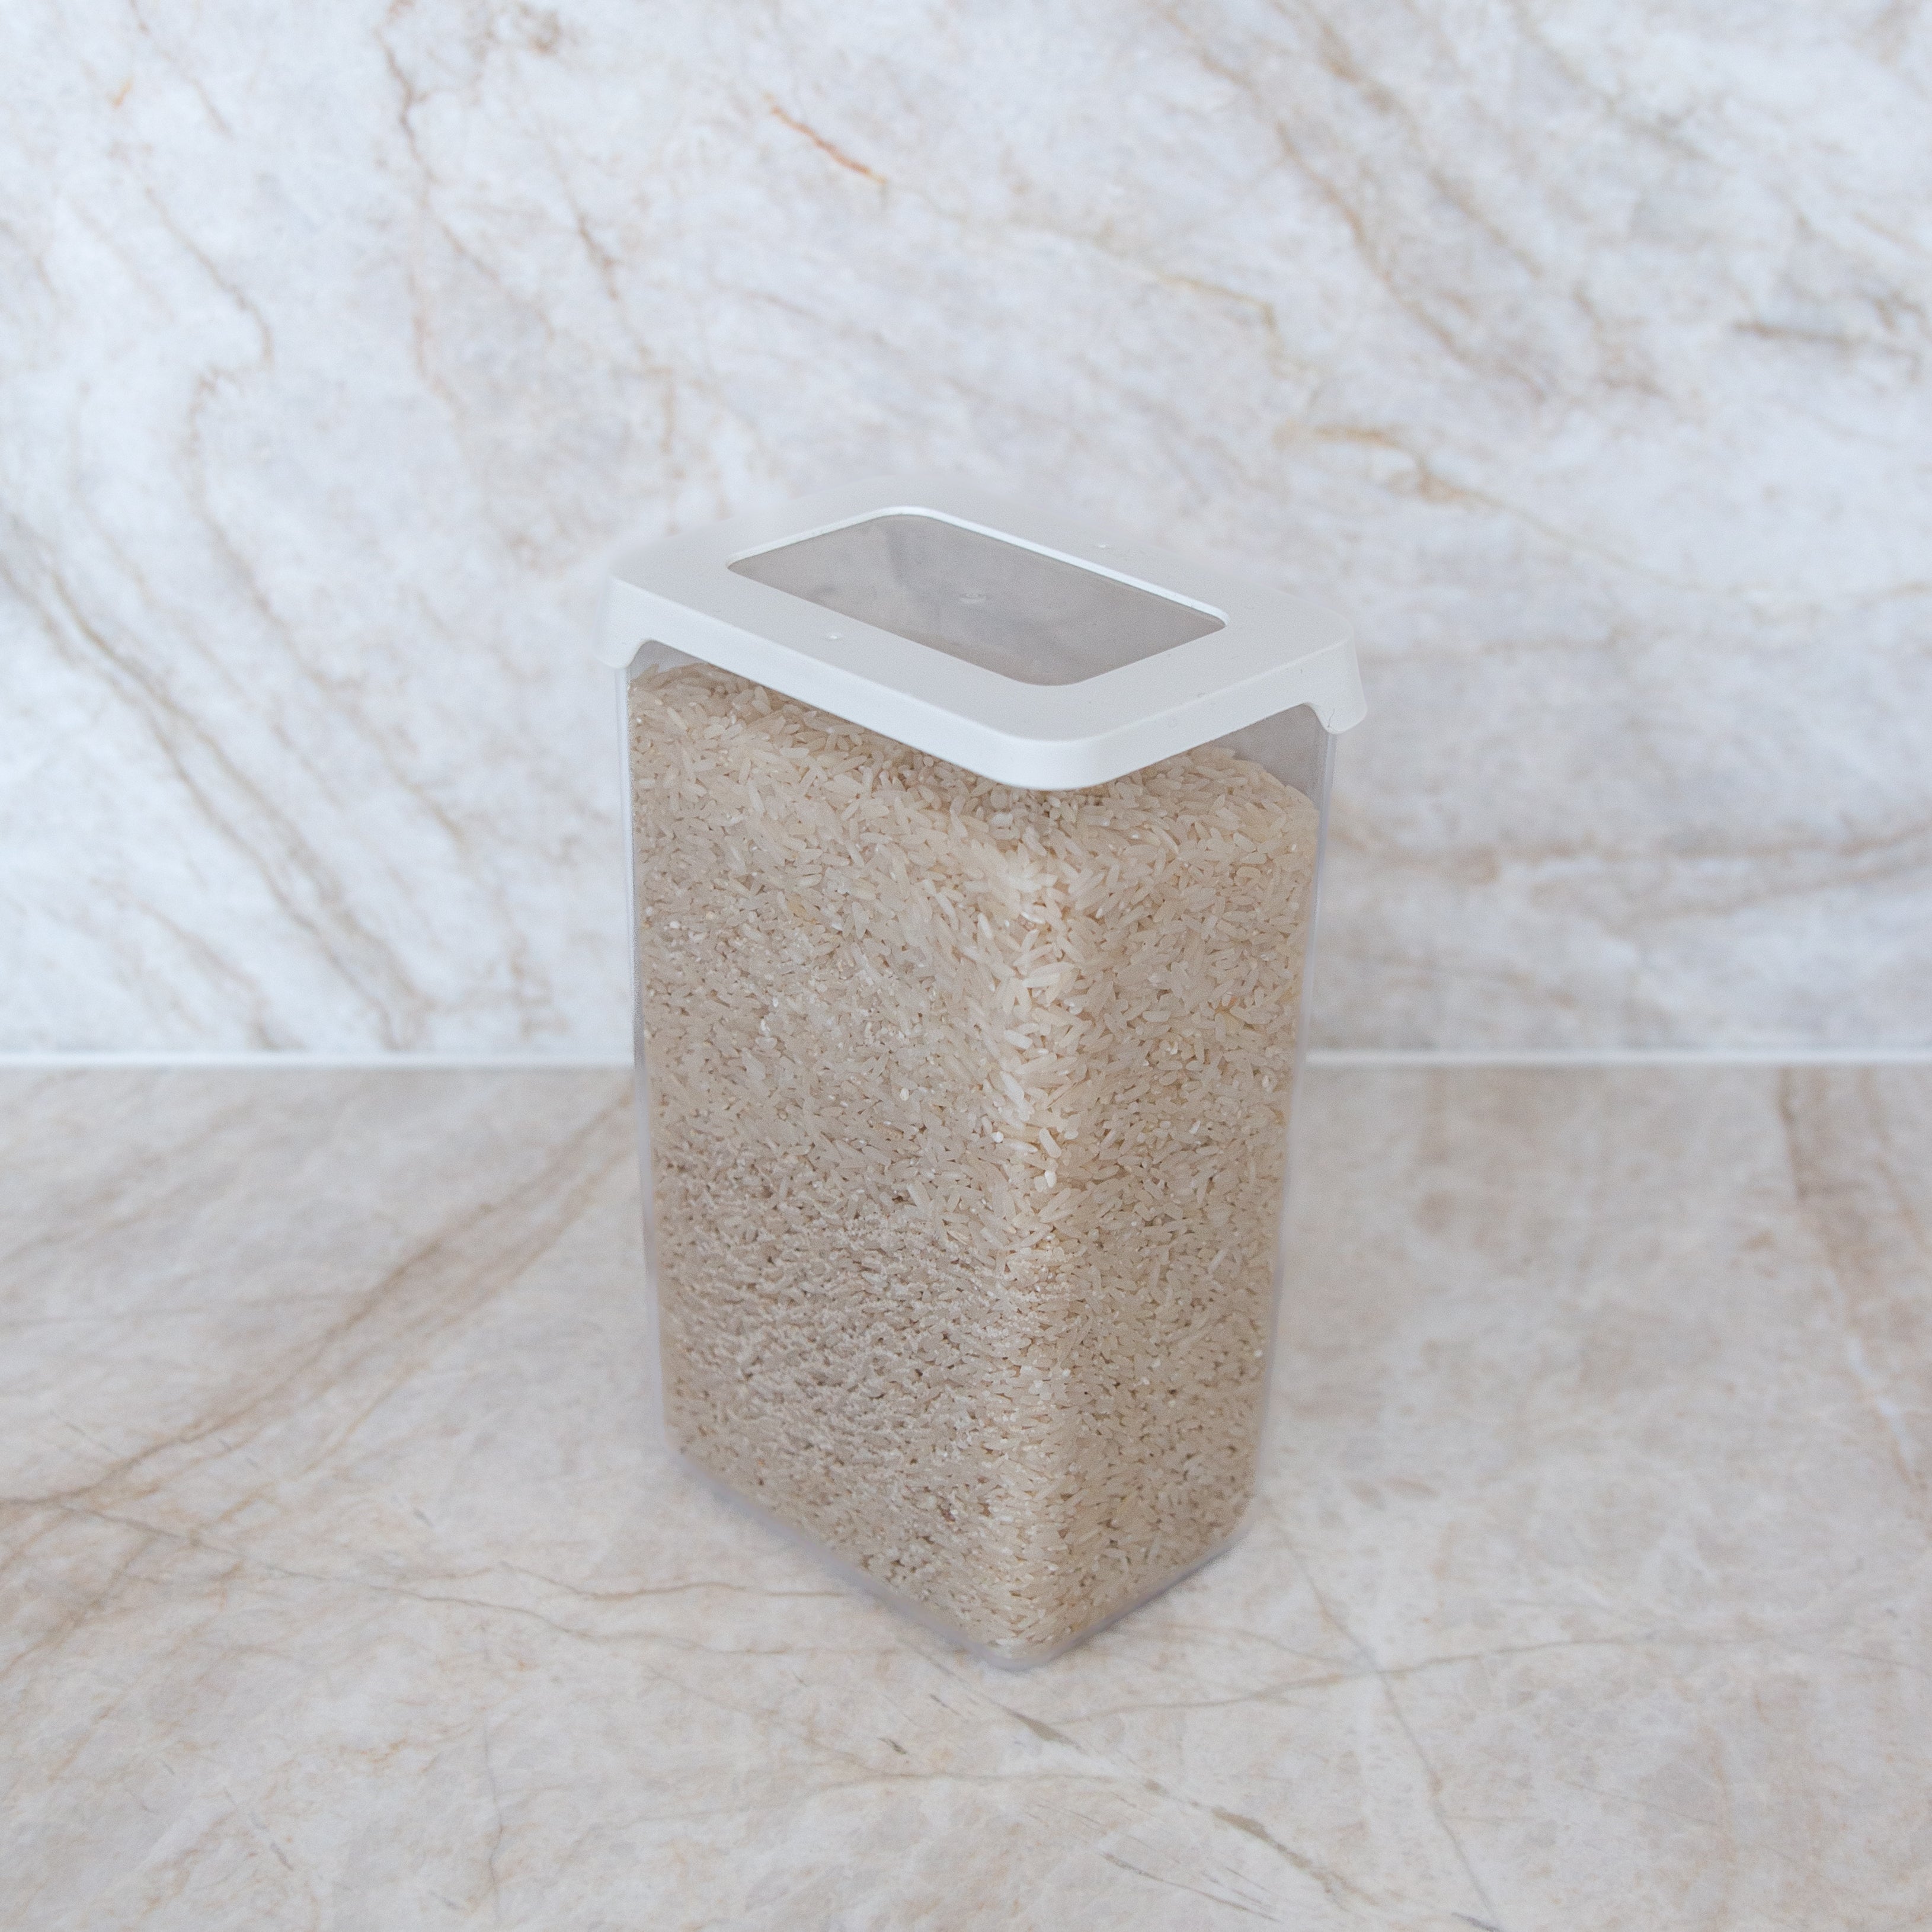
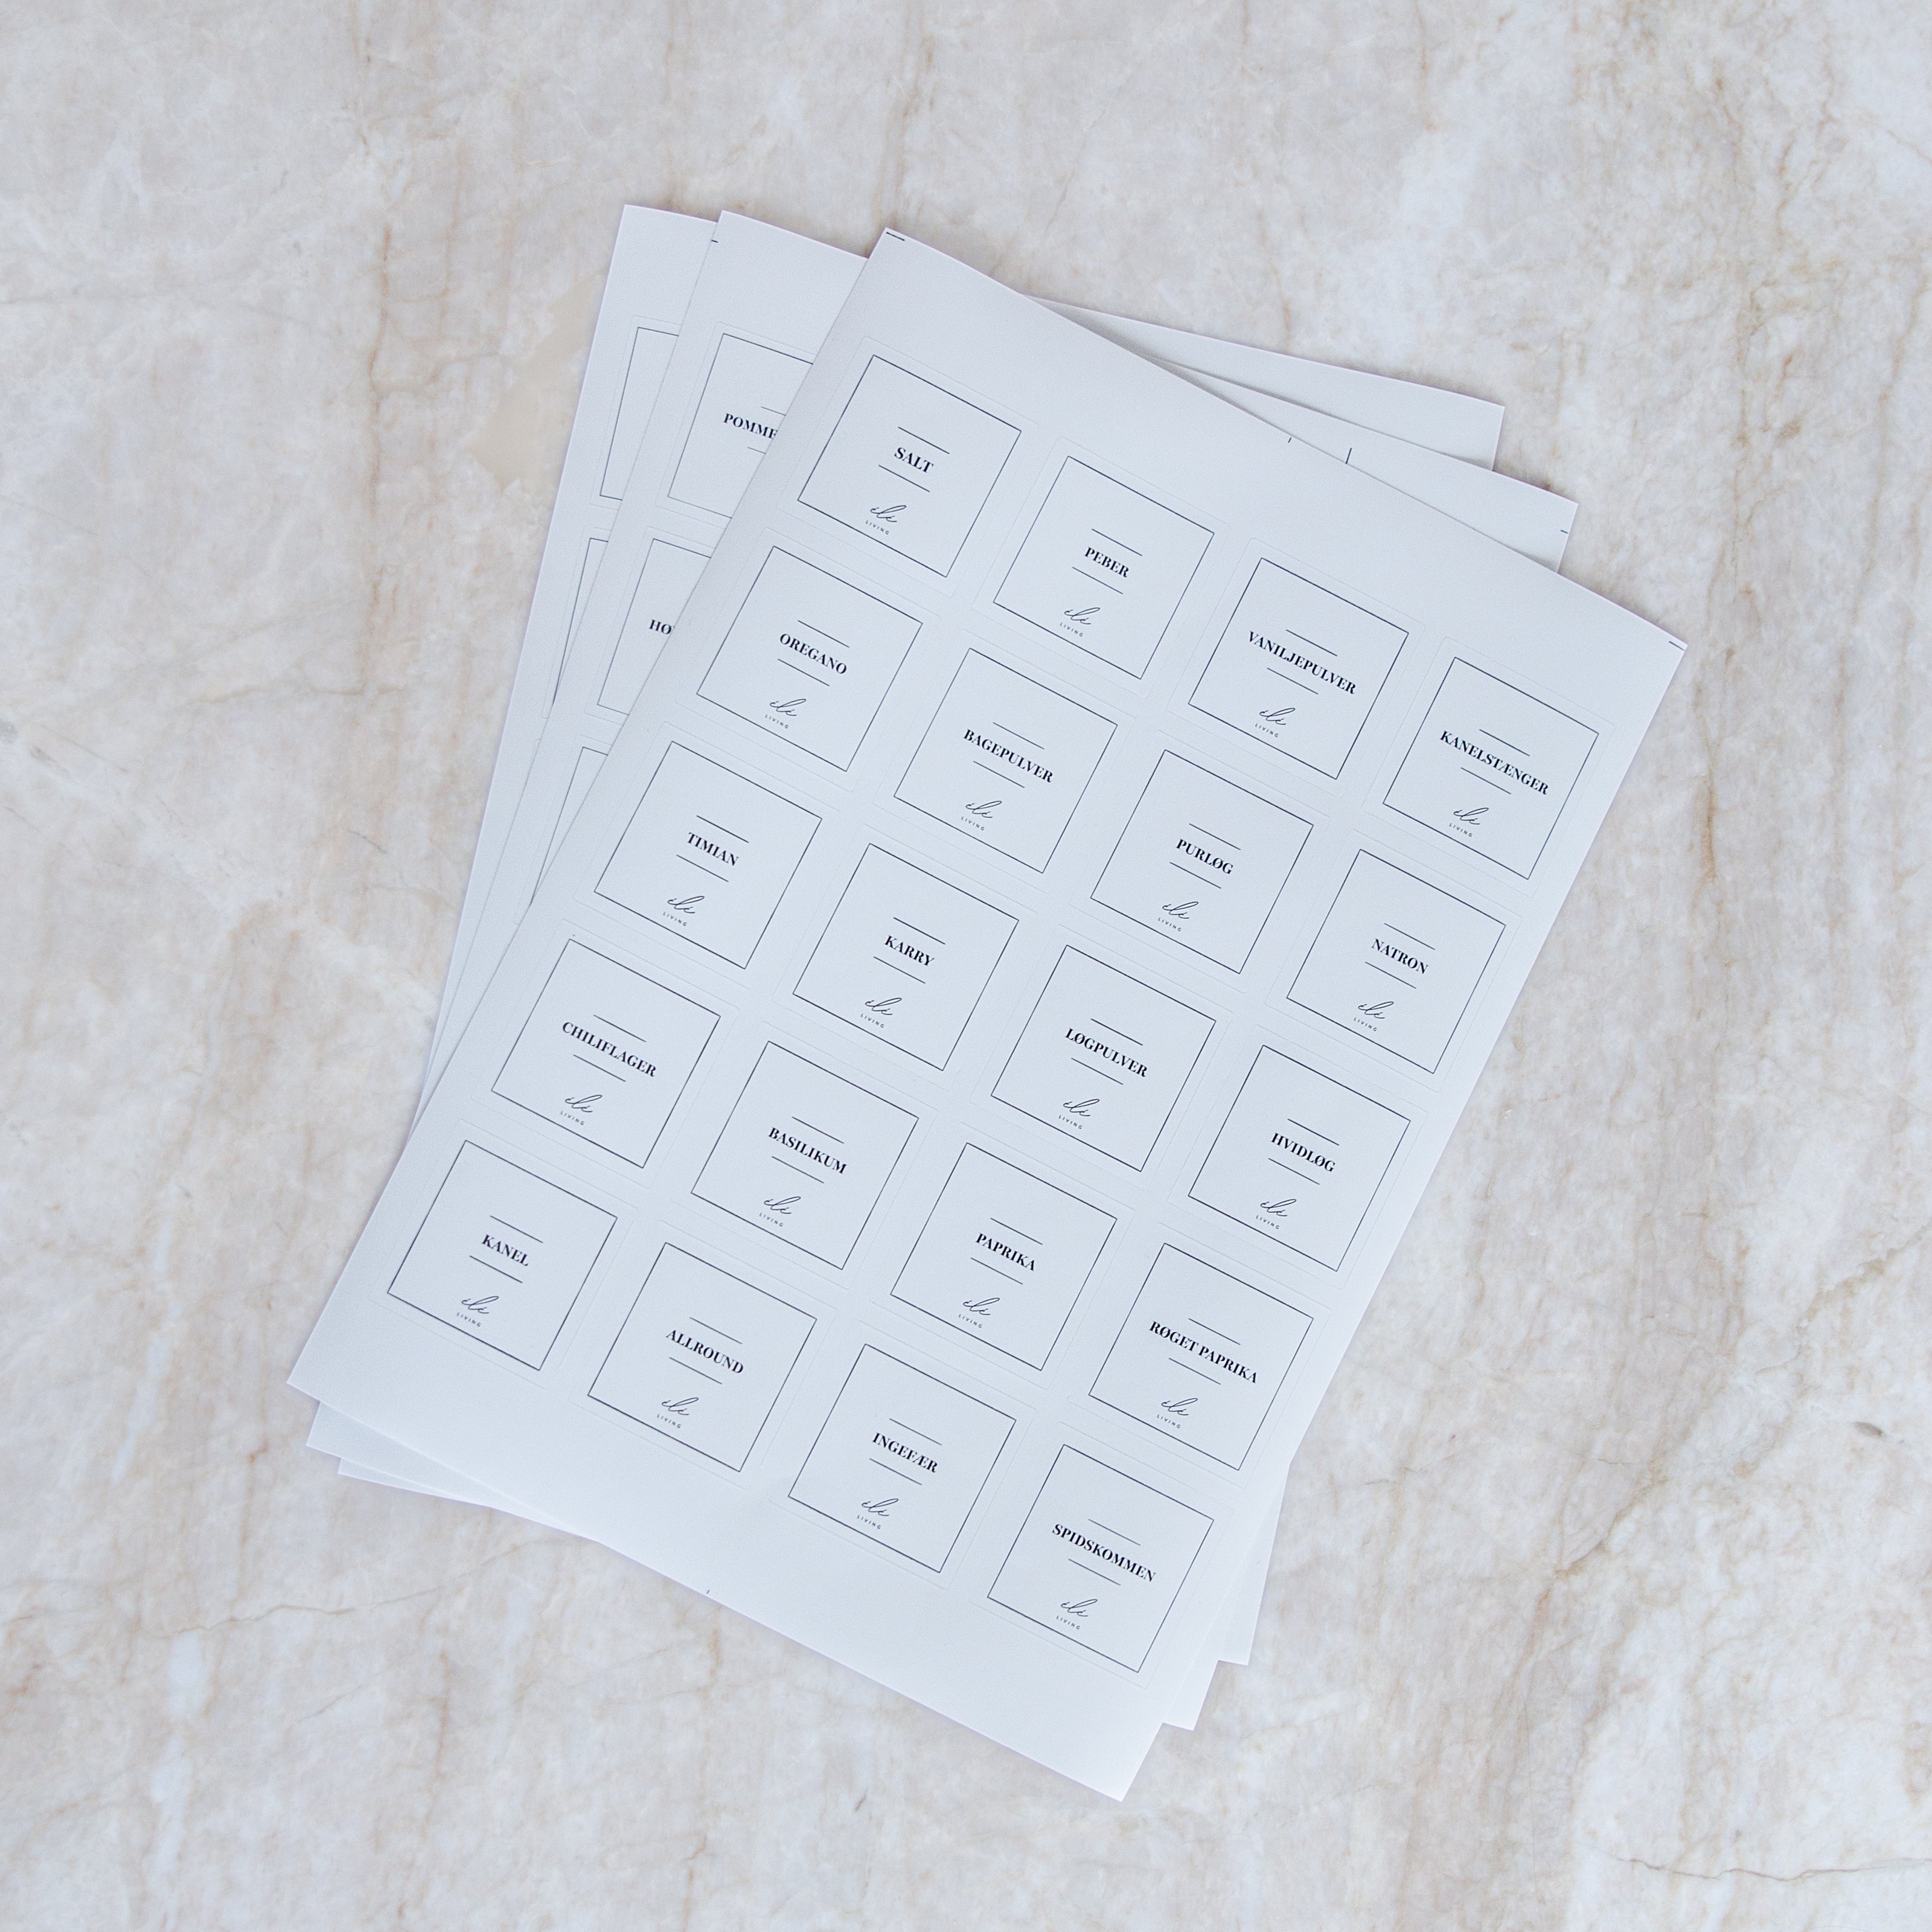
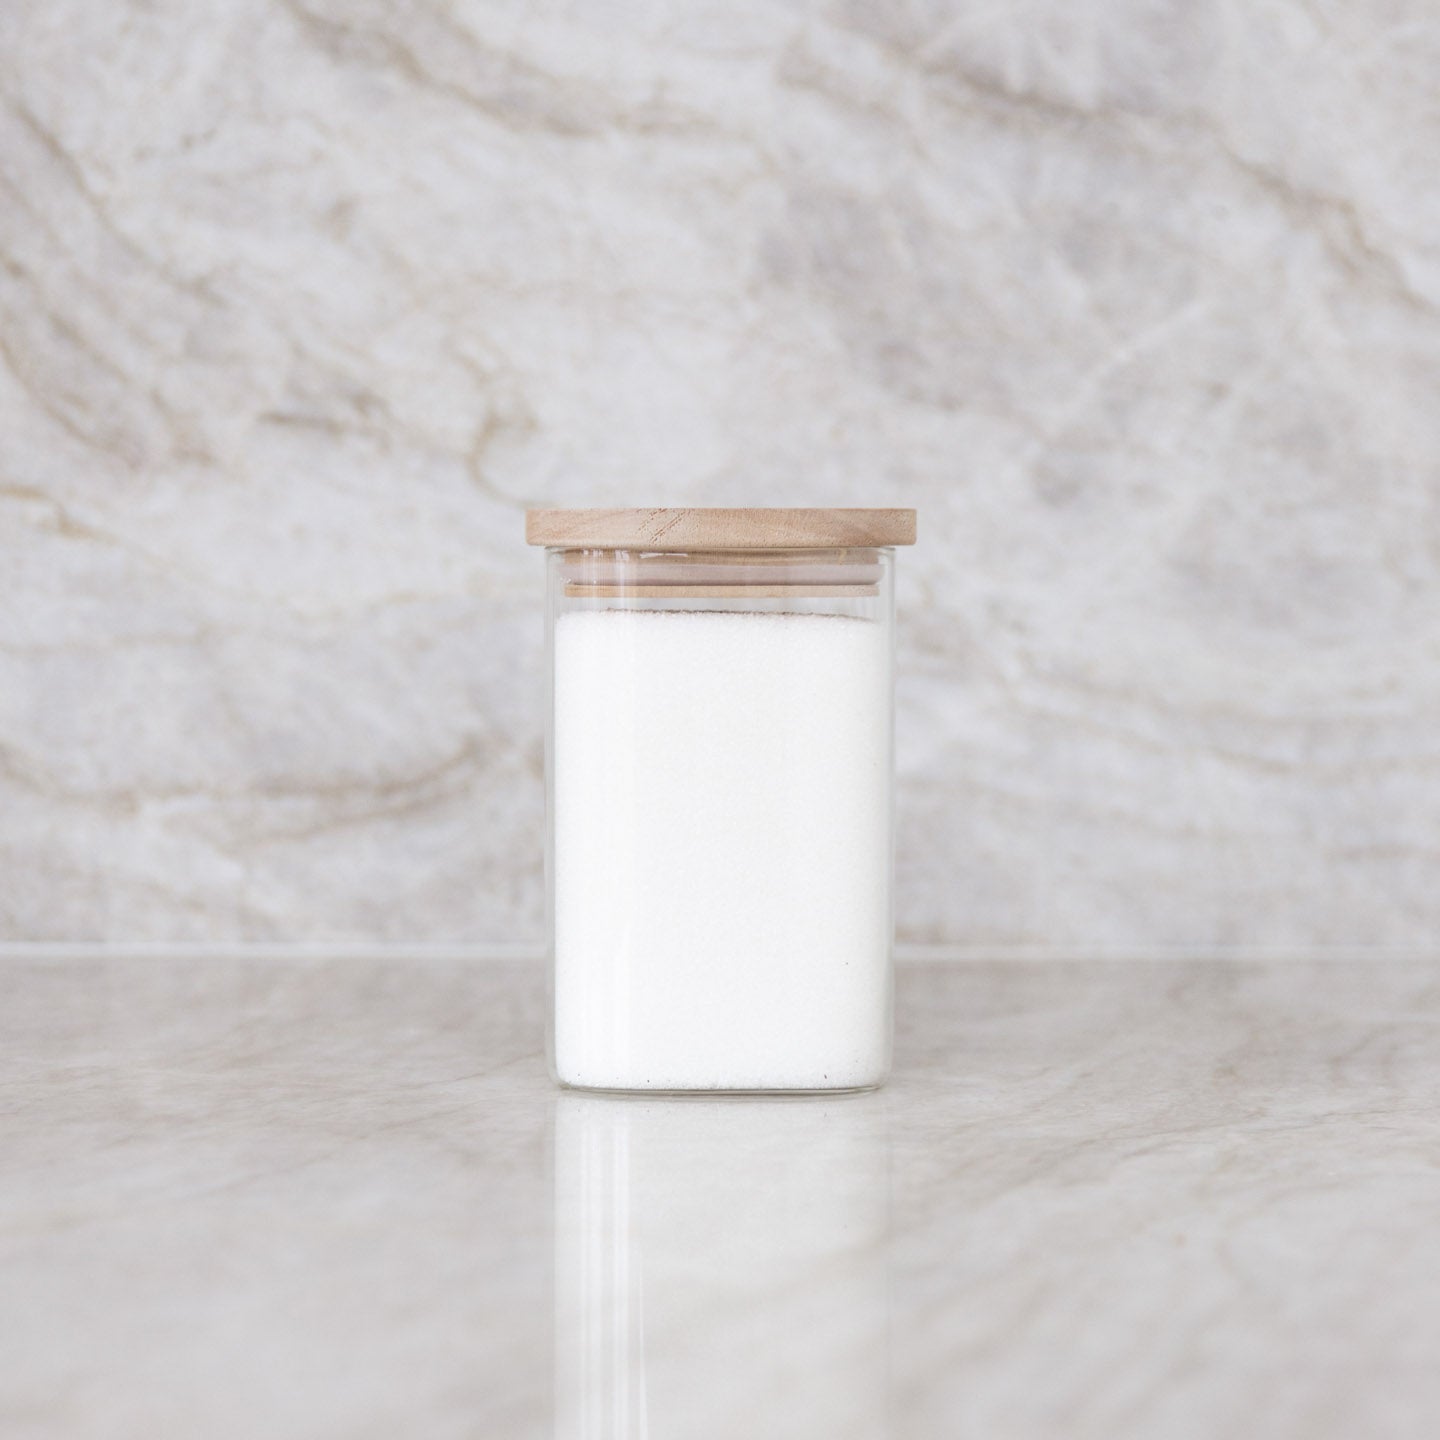
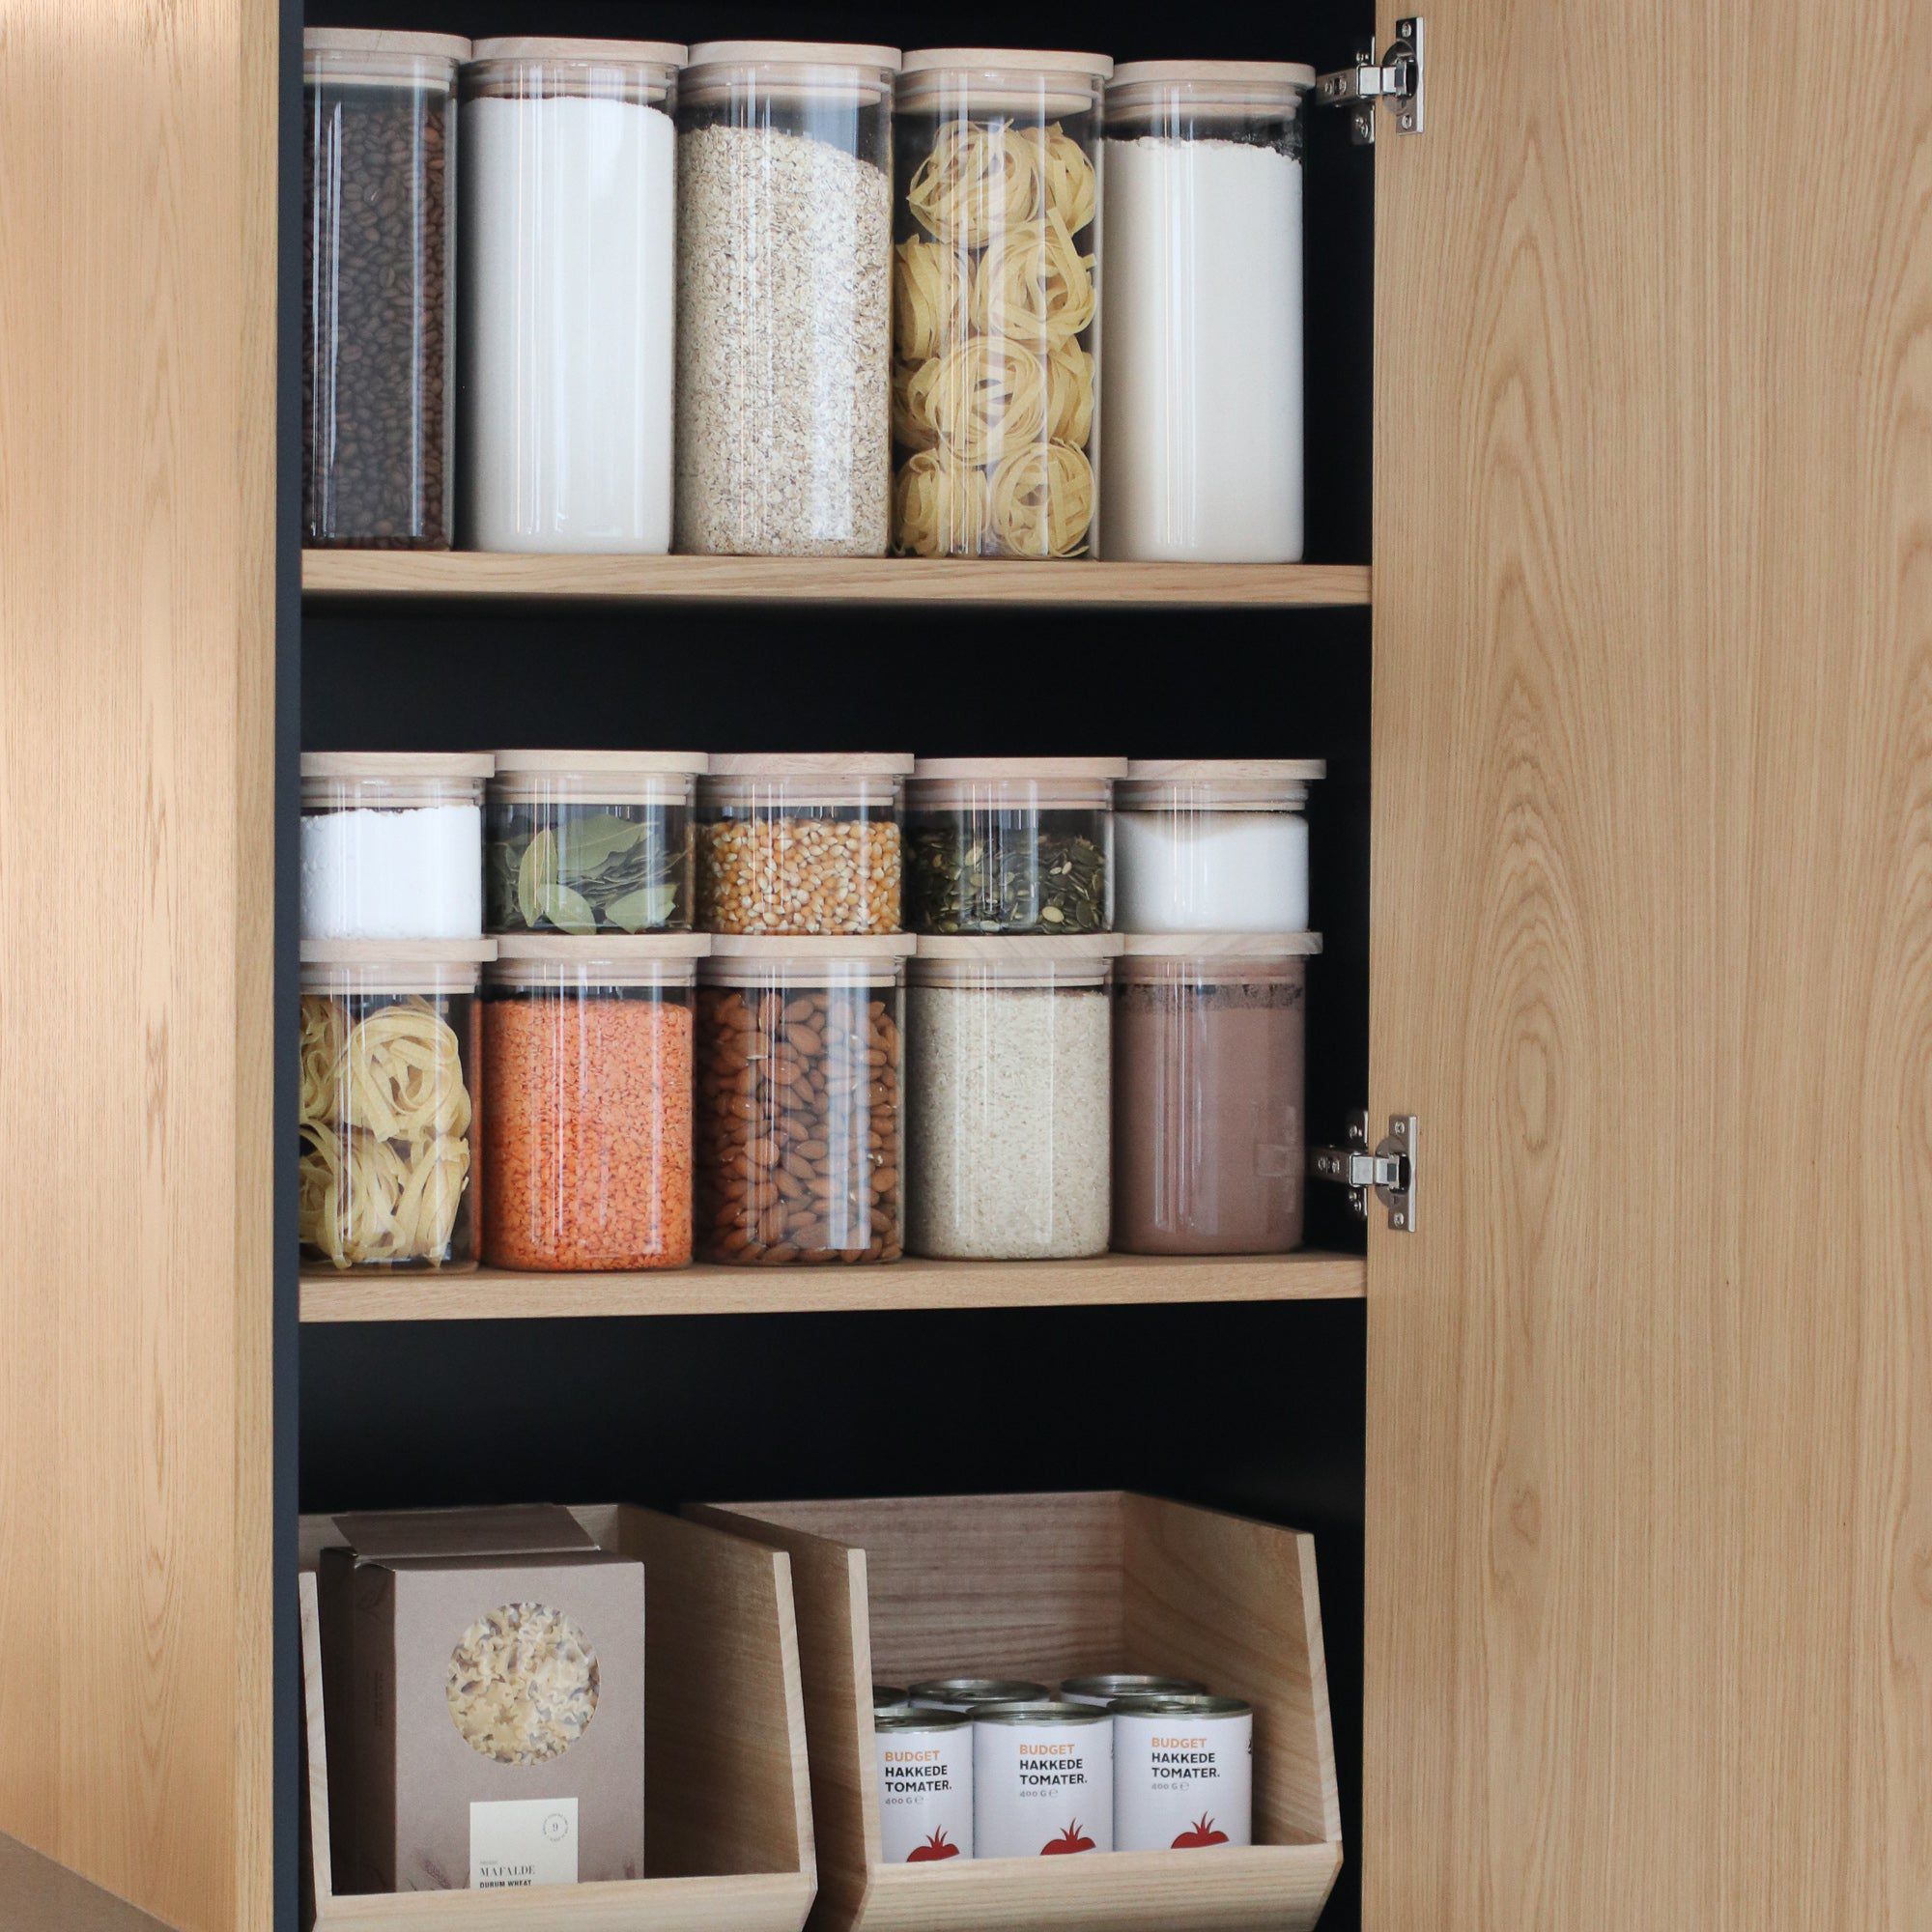
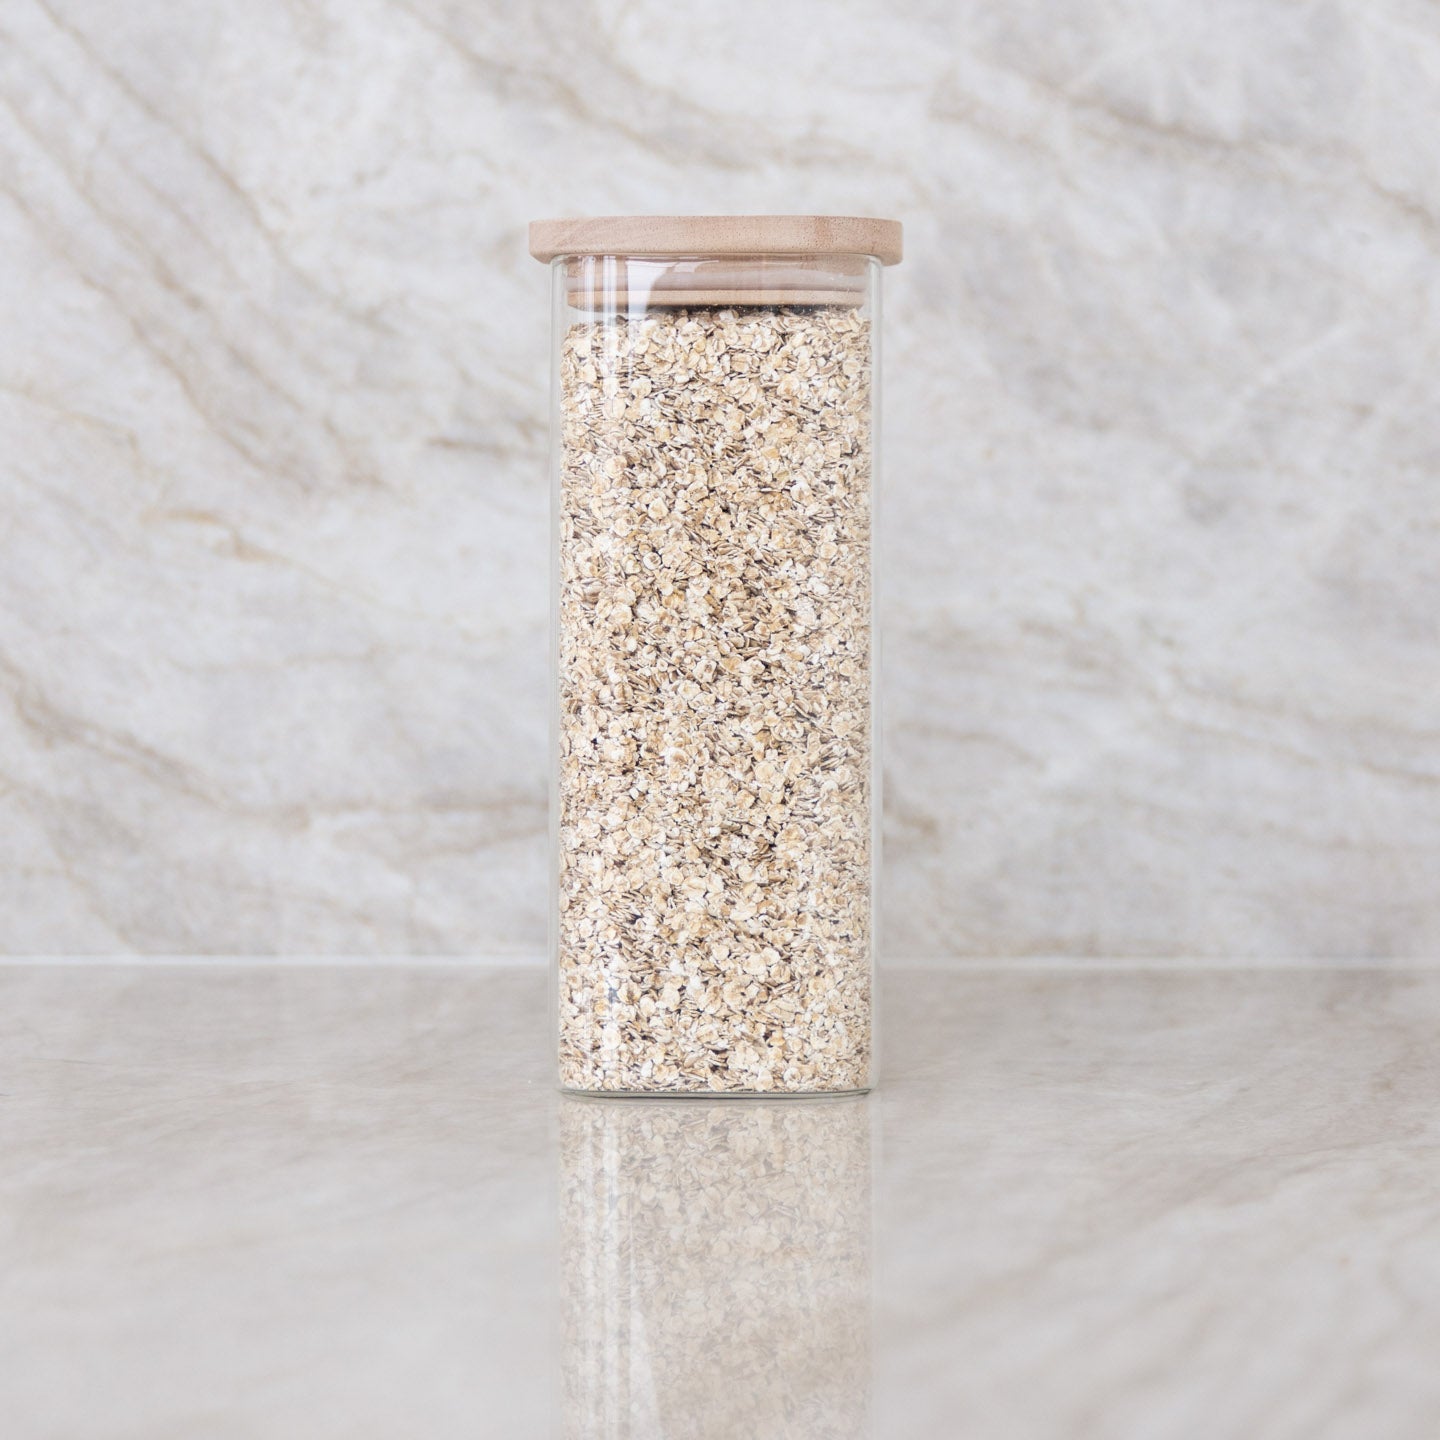
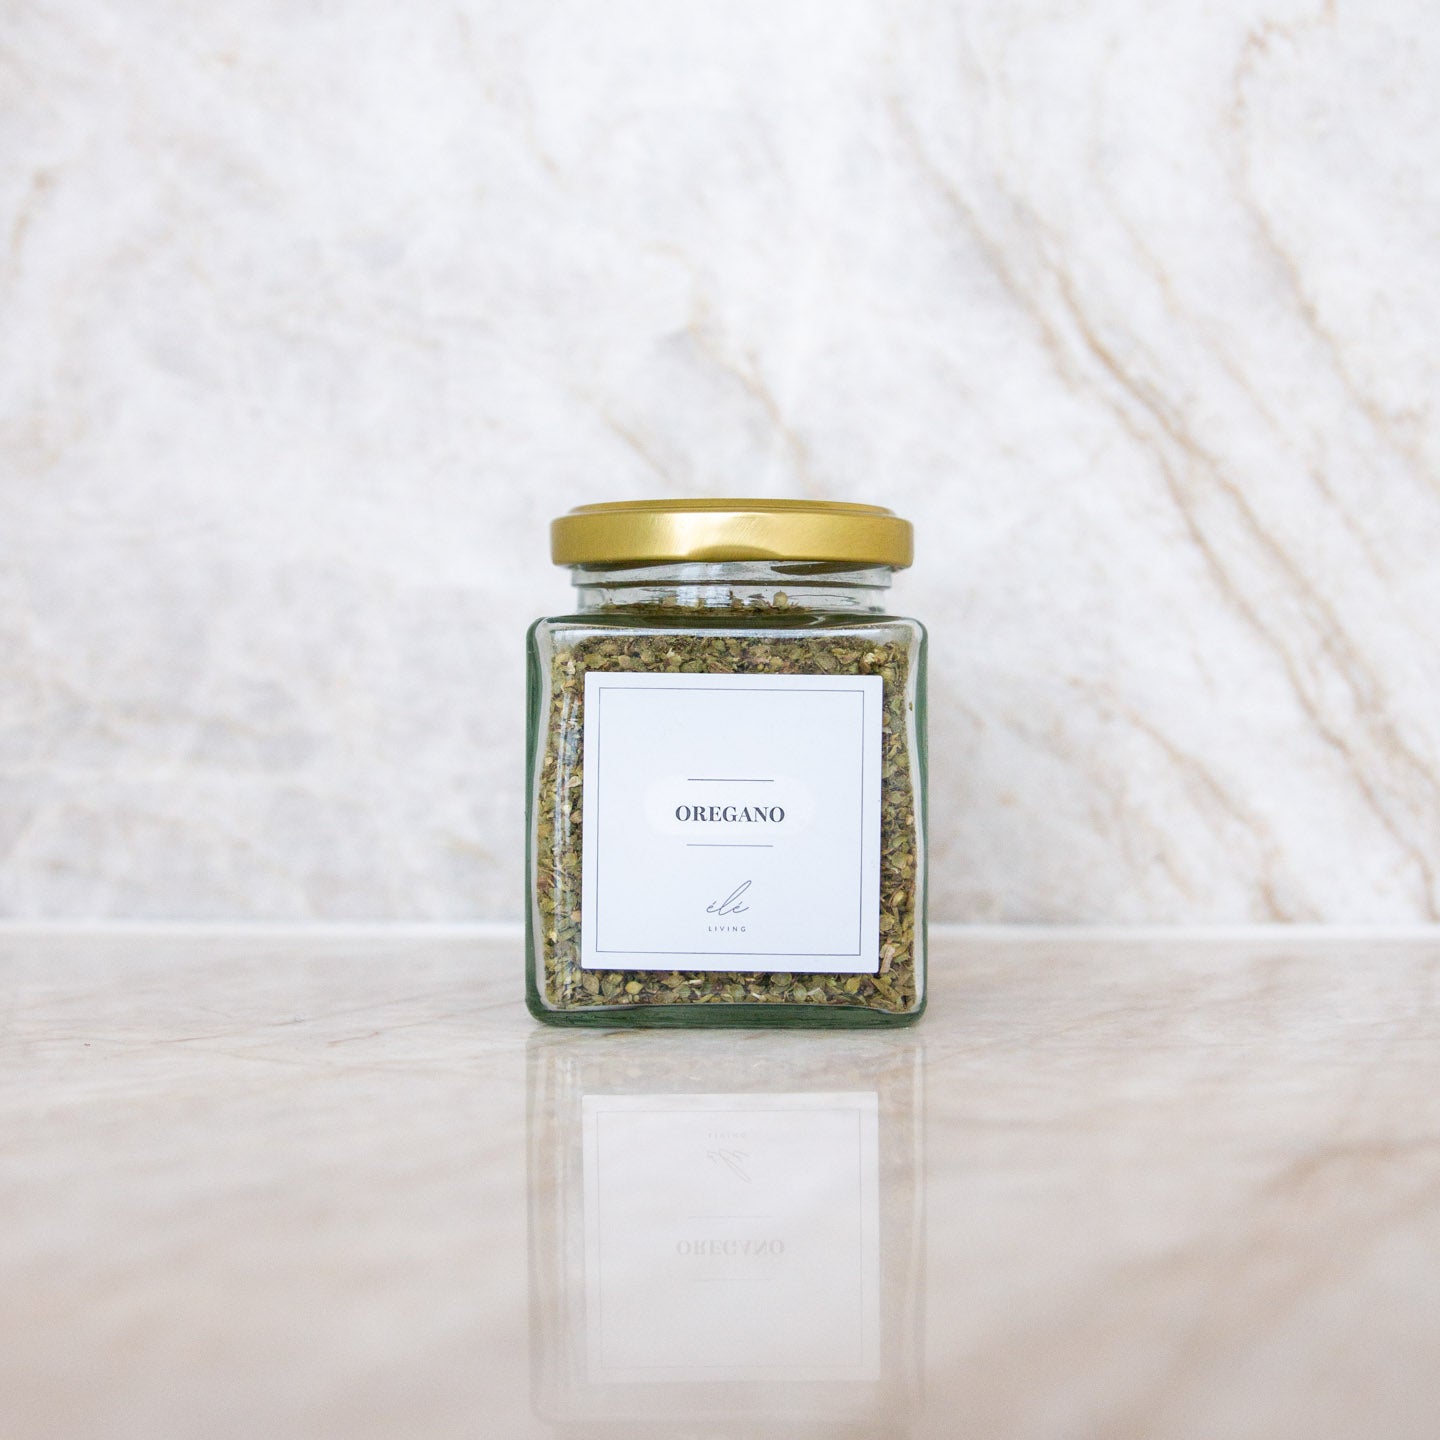
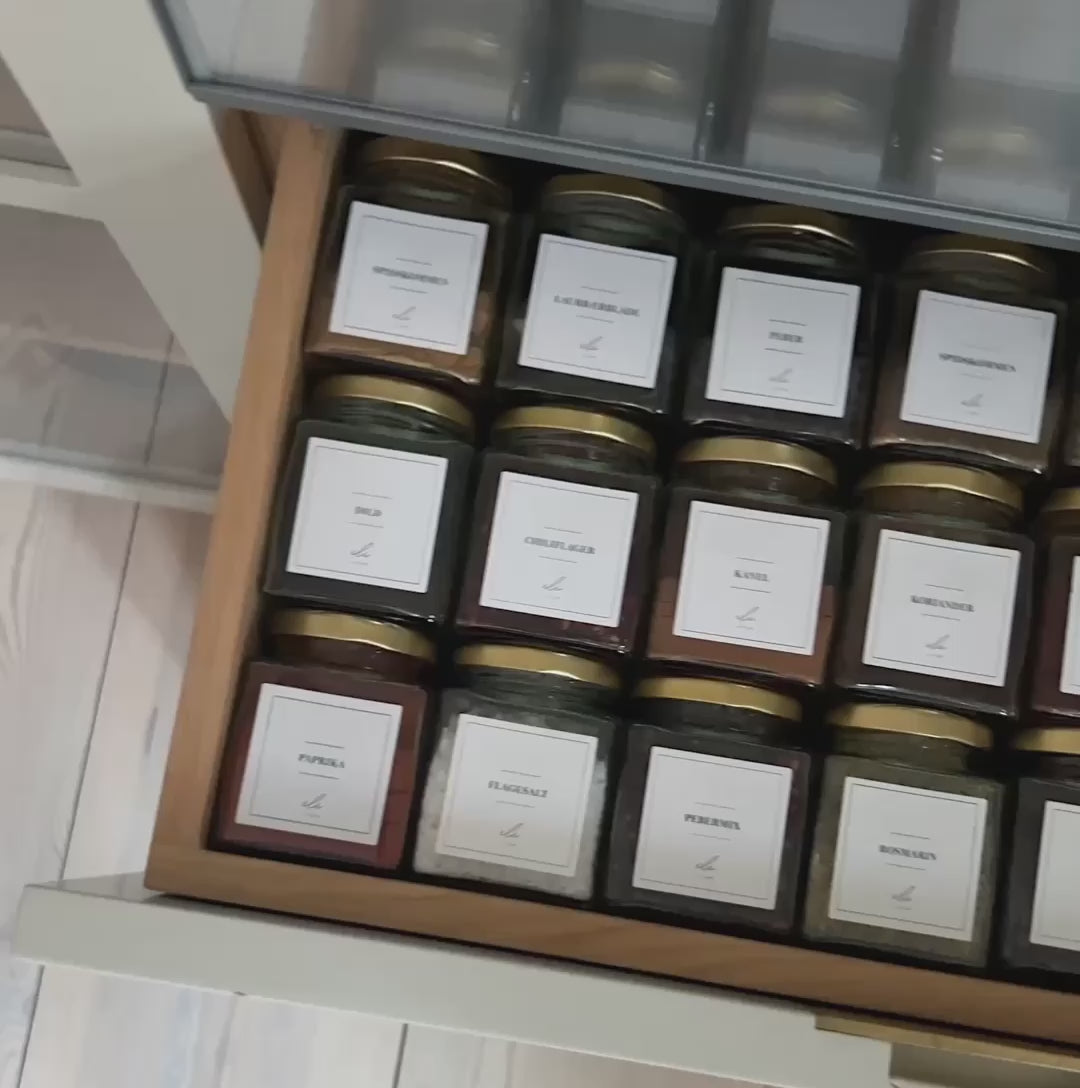
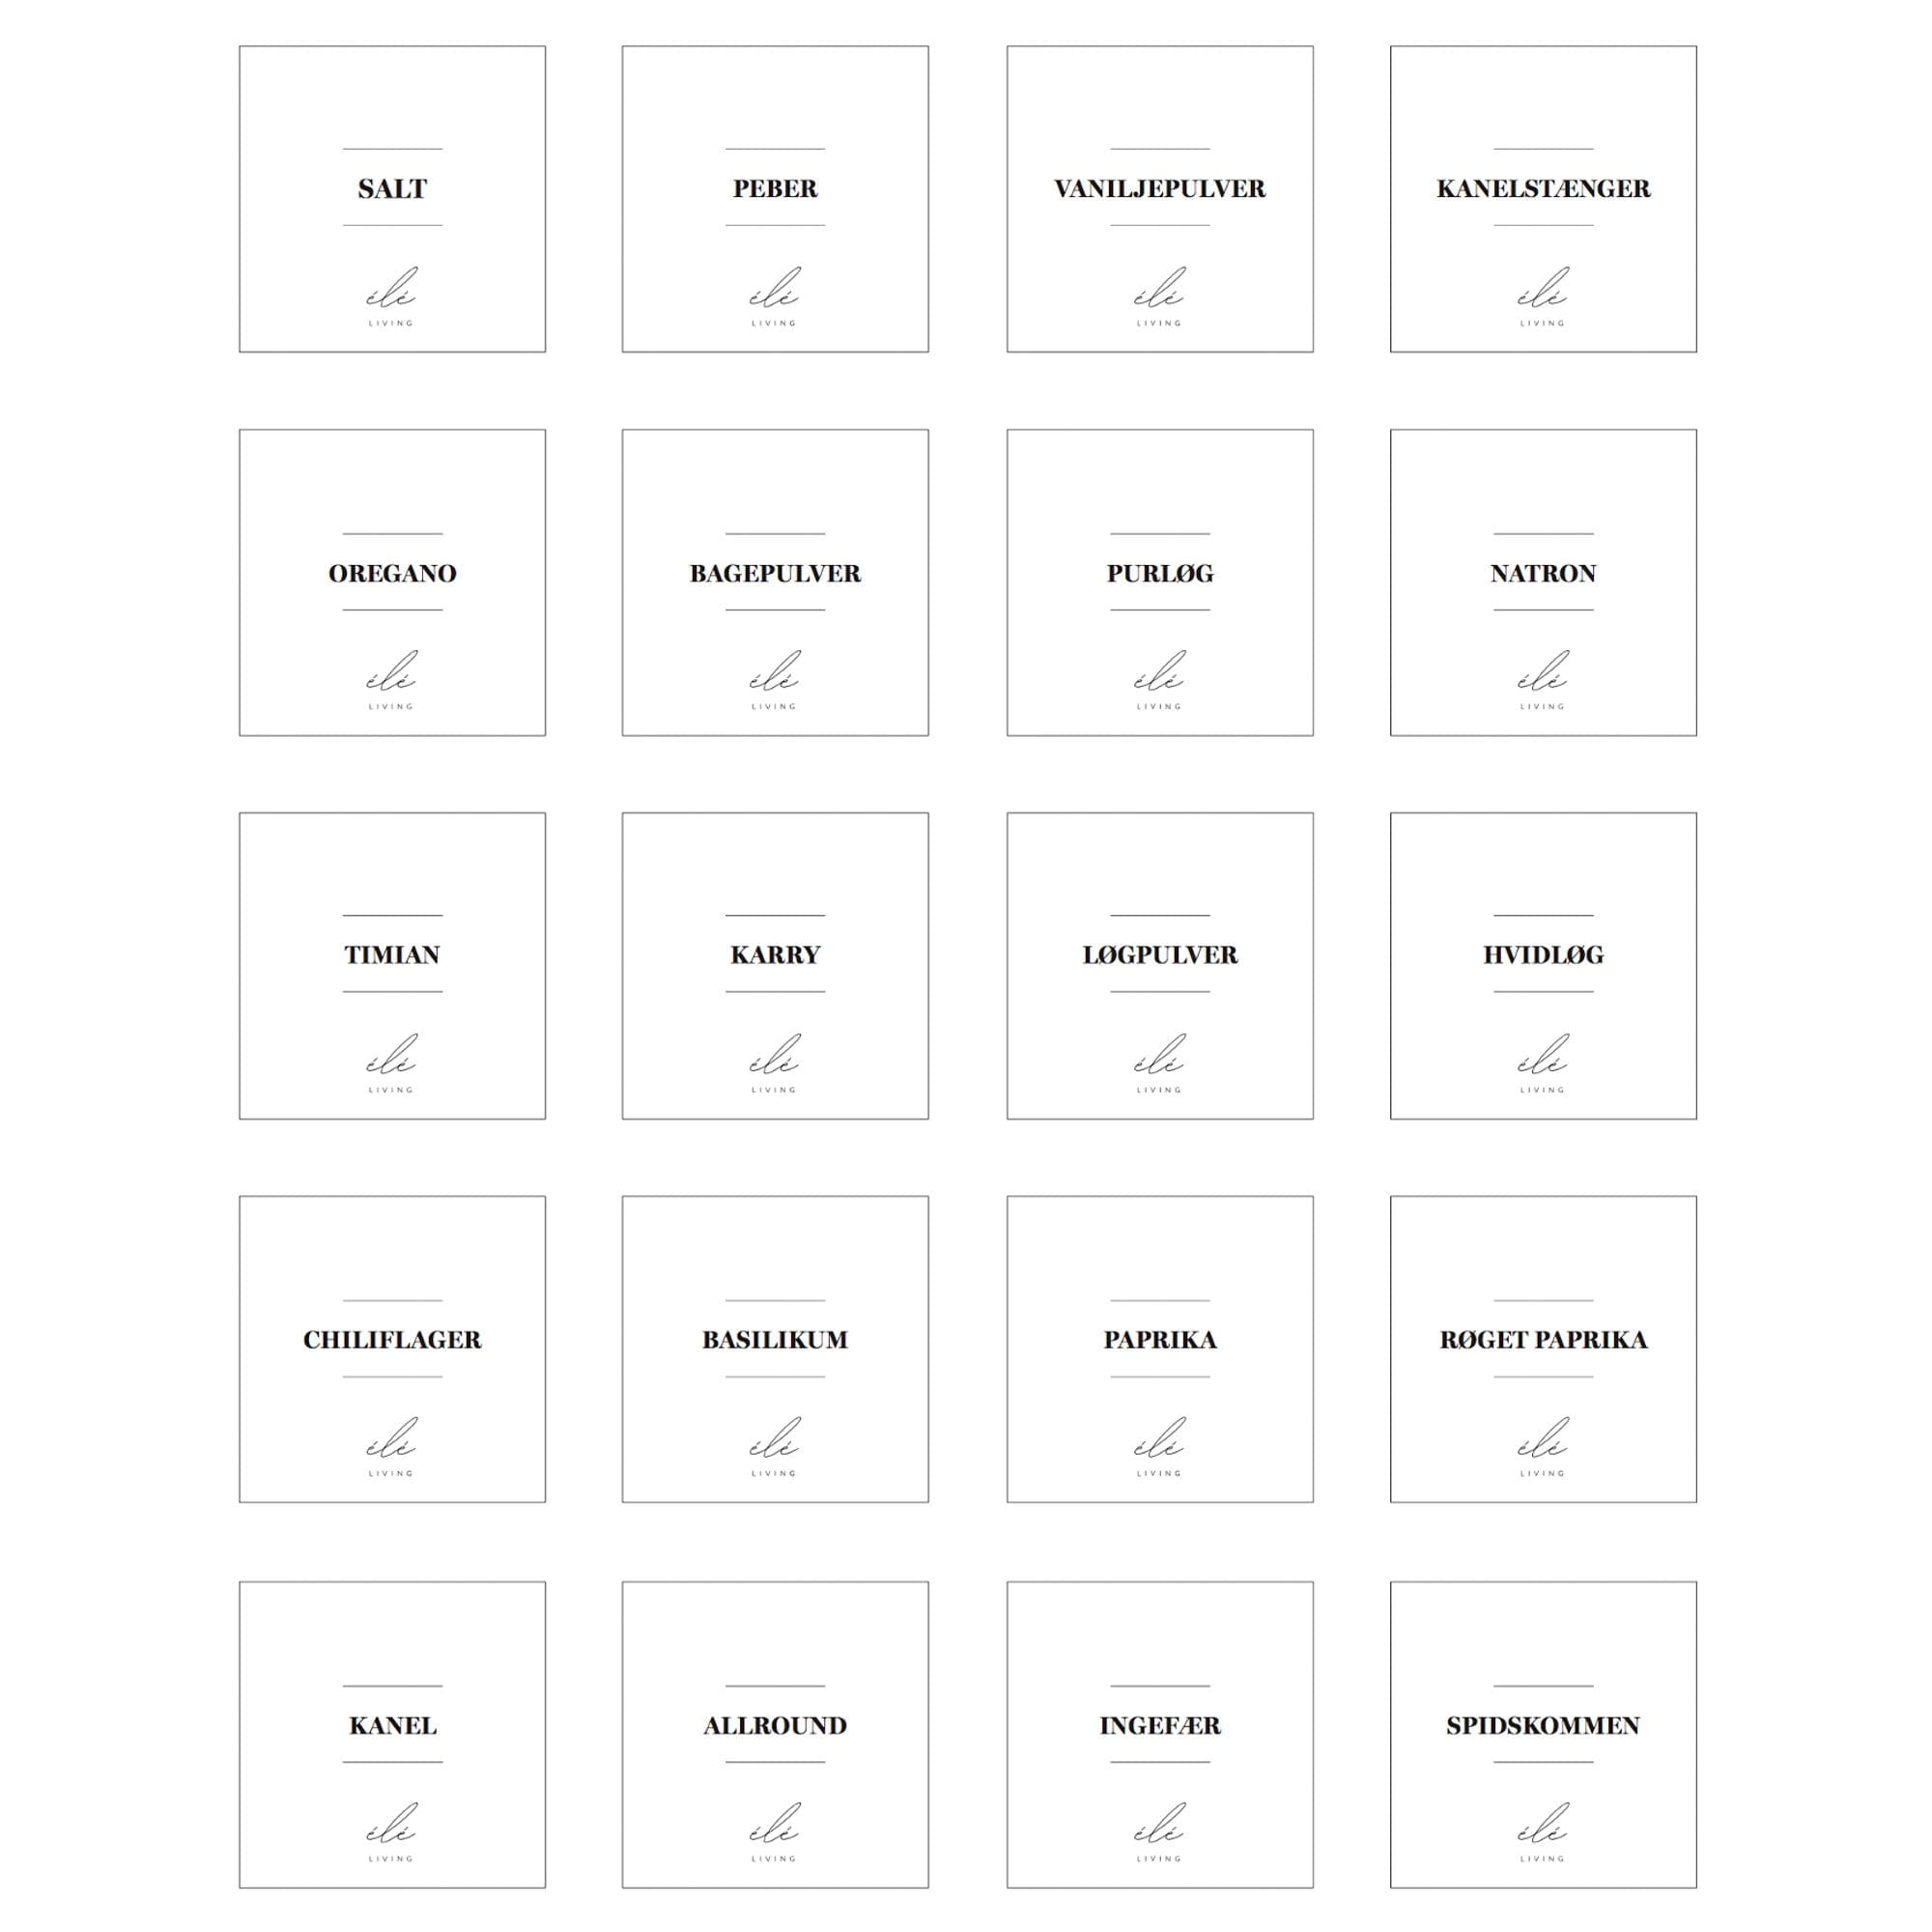
Dry goods become most manageable in uniform containers. Glass provides a quick overview and a calm appearance. Consider gathering staples like flour, pasta, and rice in storage jars. For larger quantities, square storage jar 1800 ml works well and helps keep pests out. Use labels for dry goods for clear marking of contents and best before dates – e.g., Labels for dry goods, design 1. Group jars by category and maintain uniform heights on the same shelf for a calm look.
Effective placement
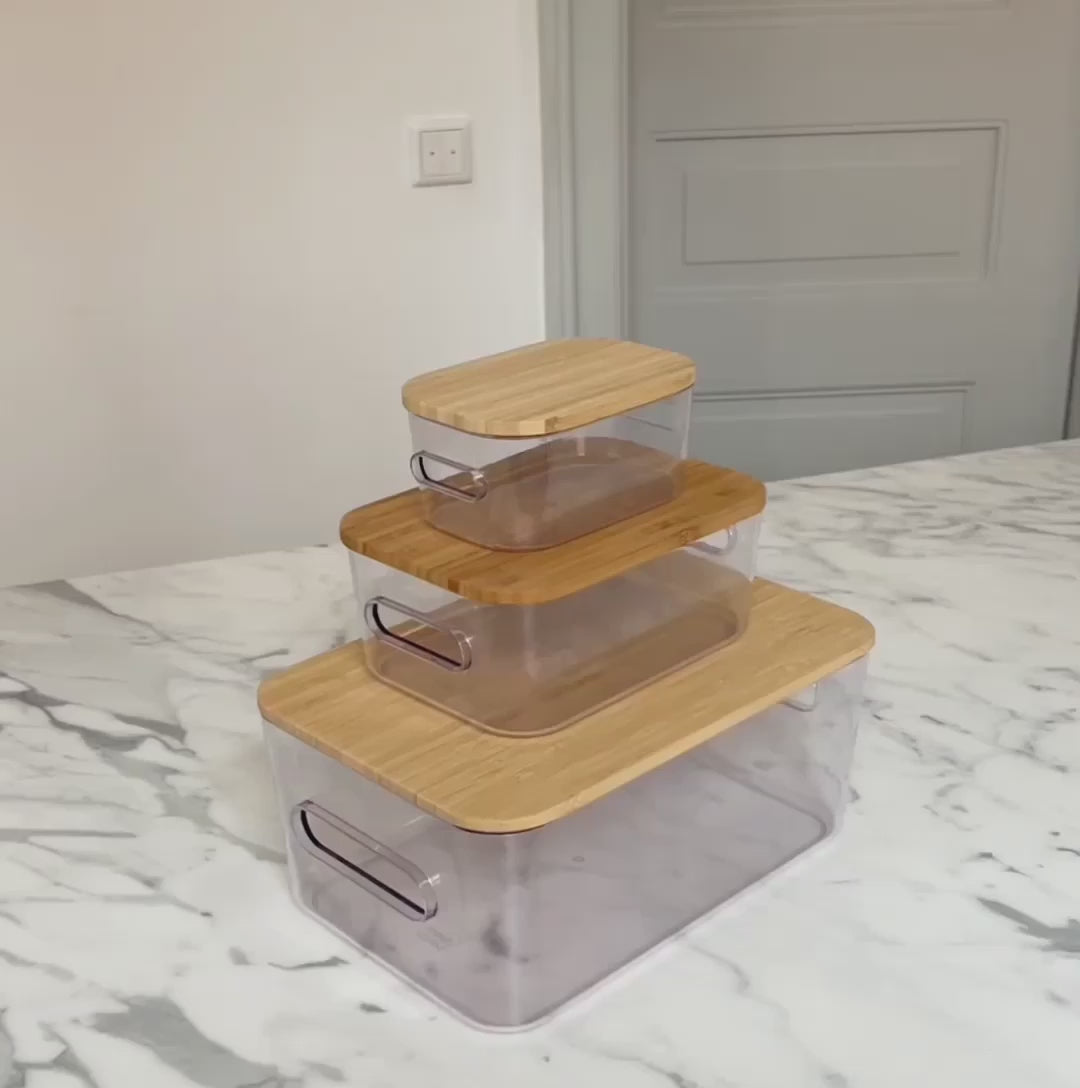
- Small containers at the top, medium-sized at eye-level, and large containers at the bottom.
- Place reserve packages at the back, open ones at the front, so the front items are used first.
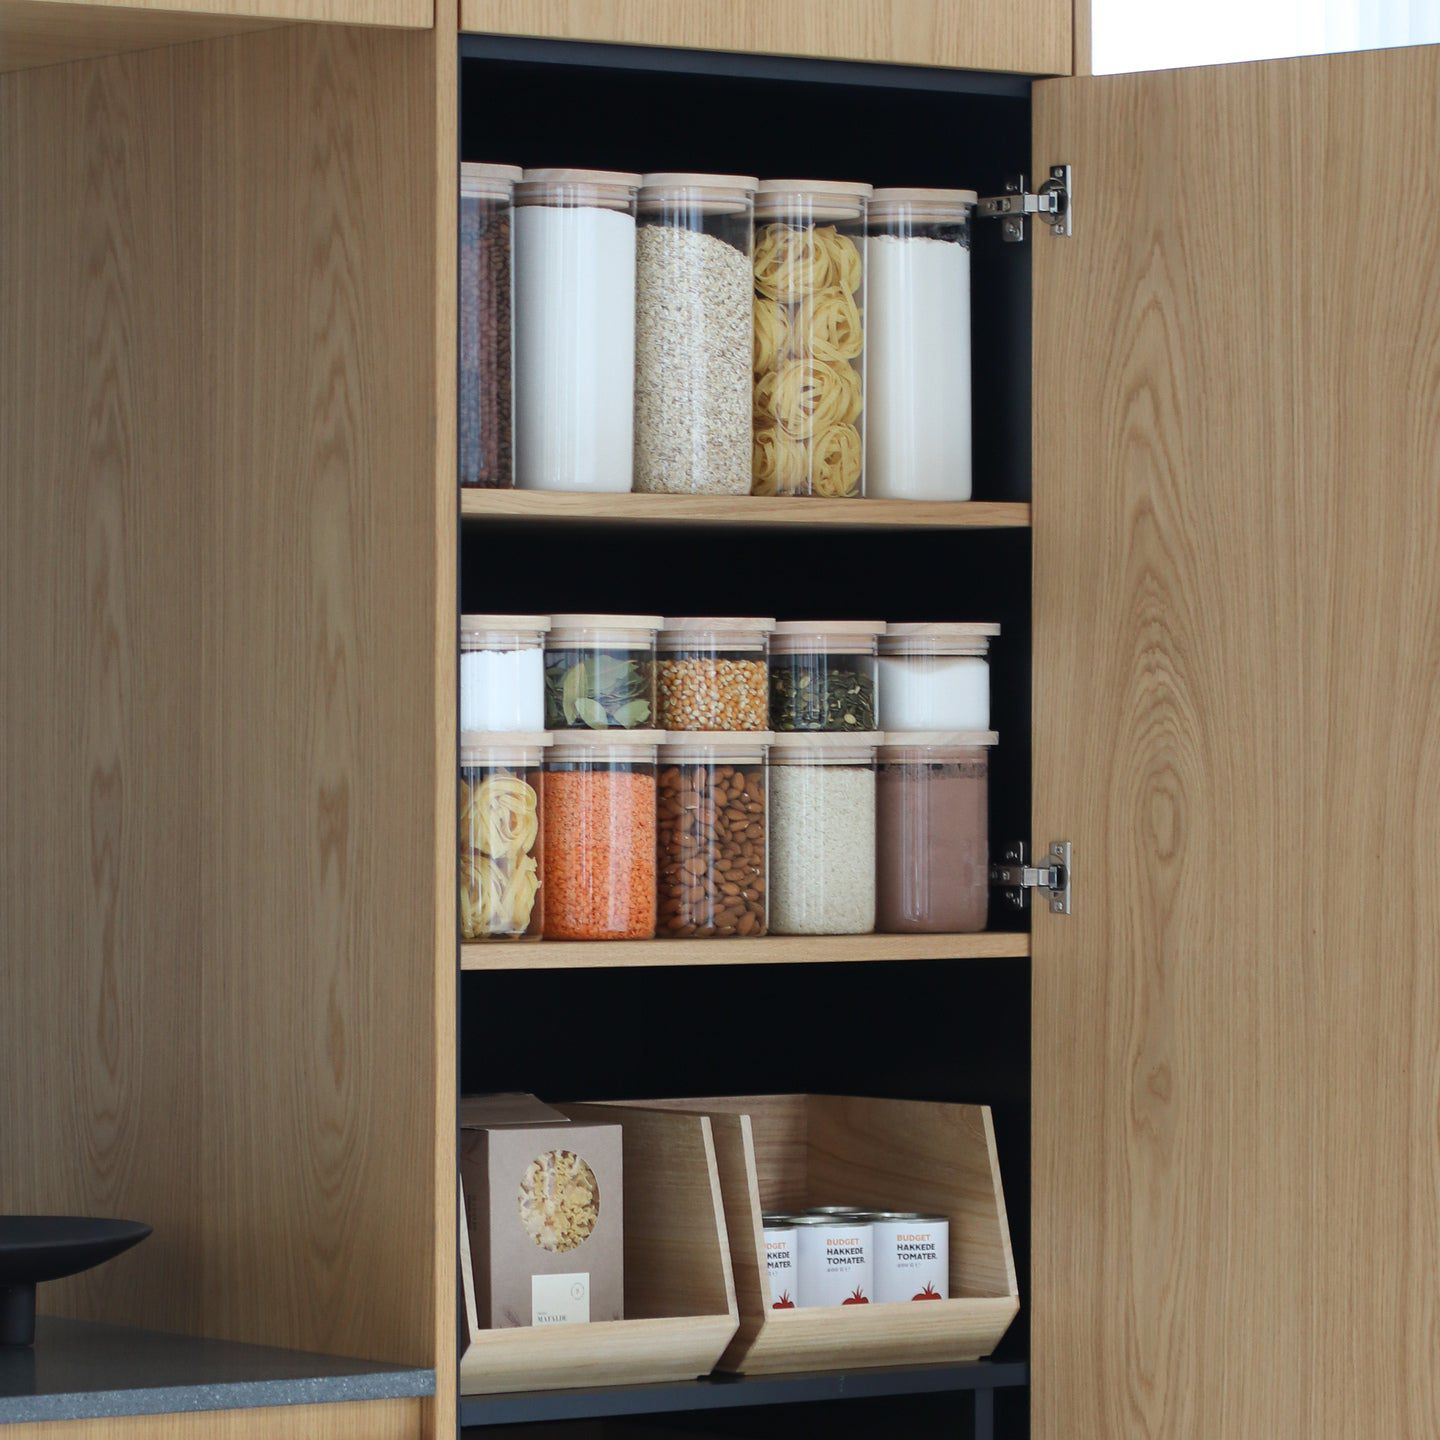
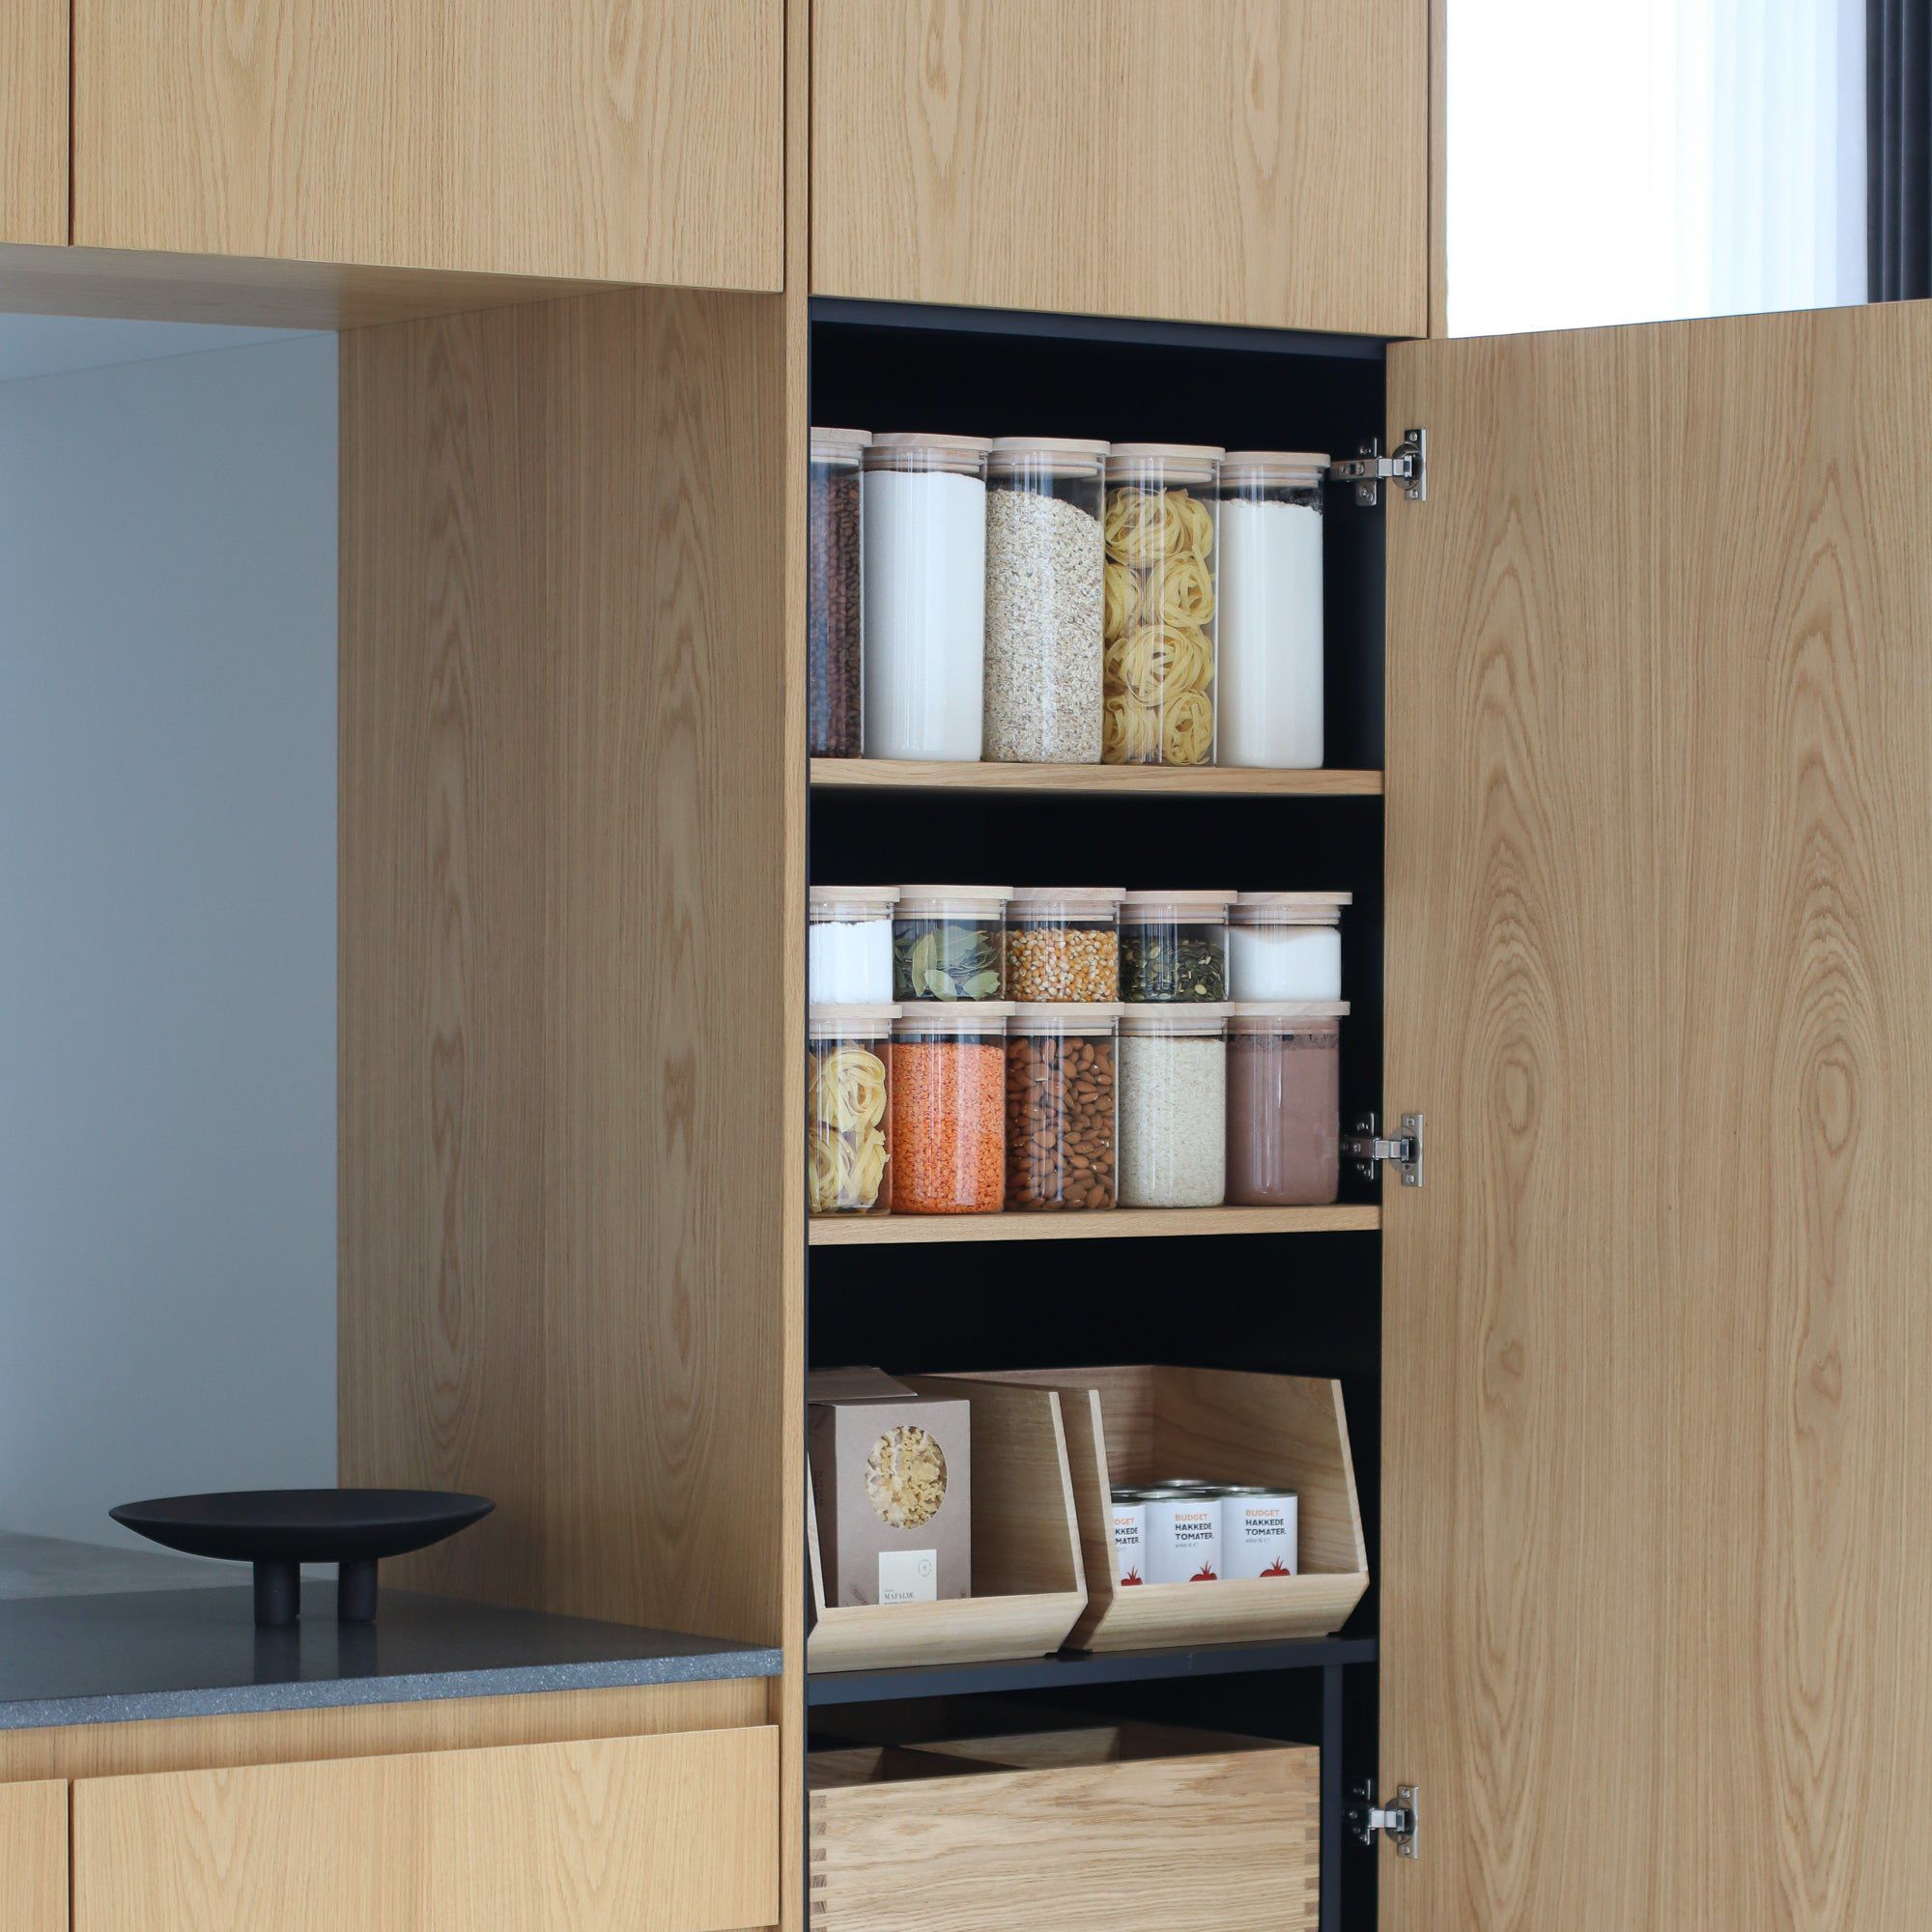
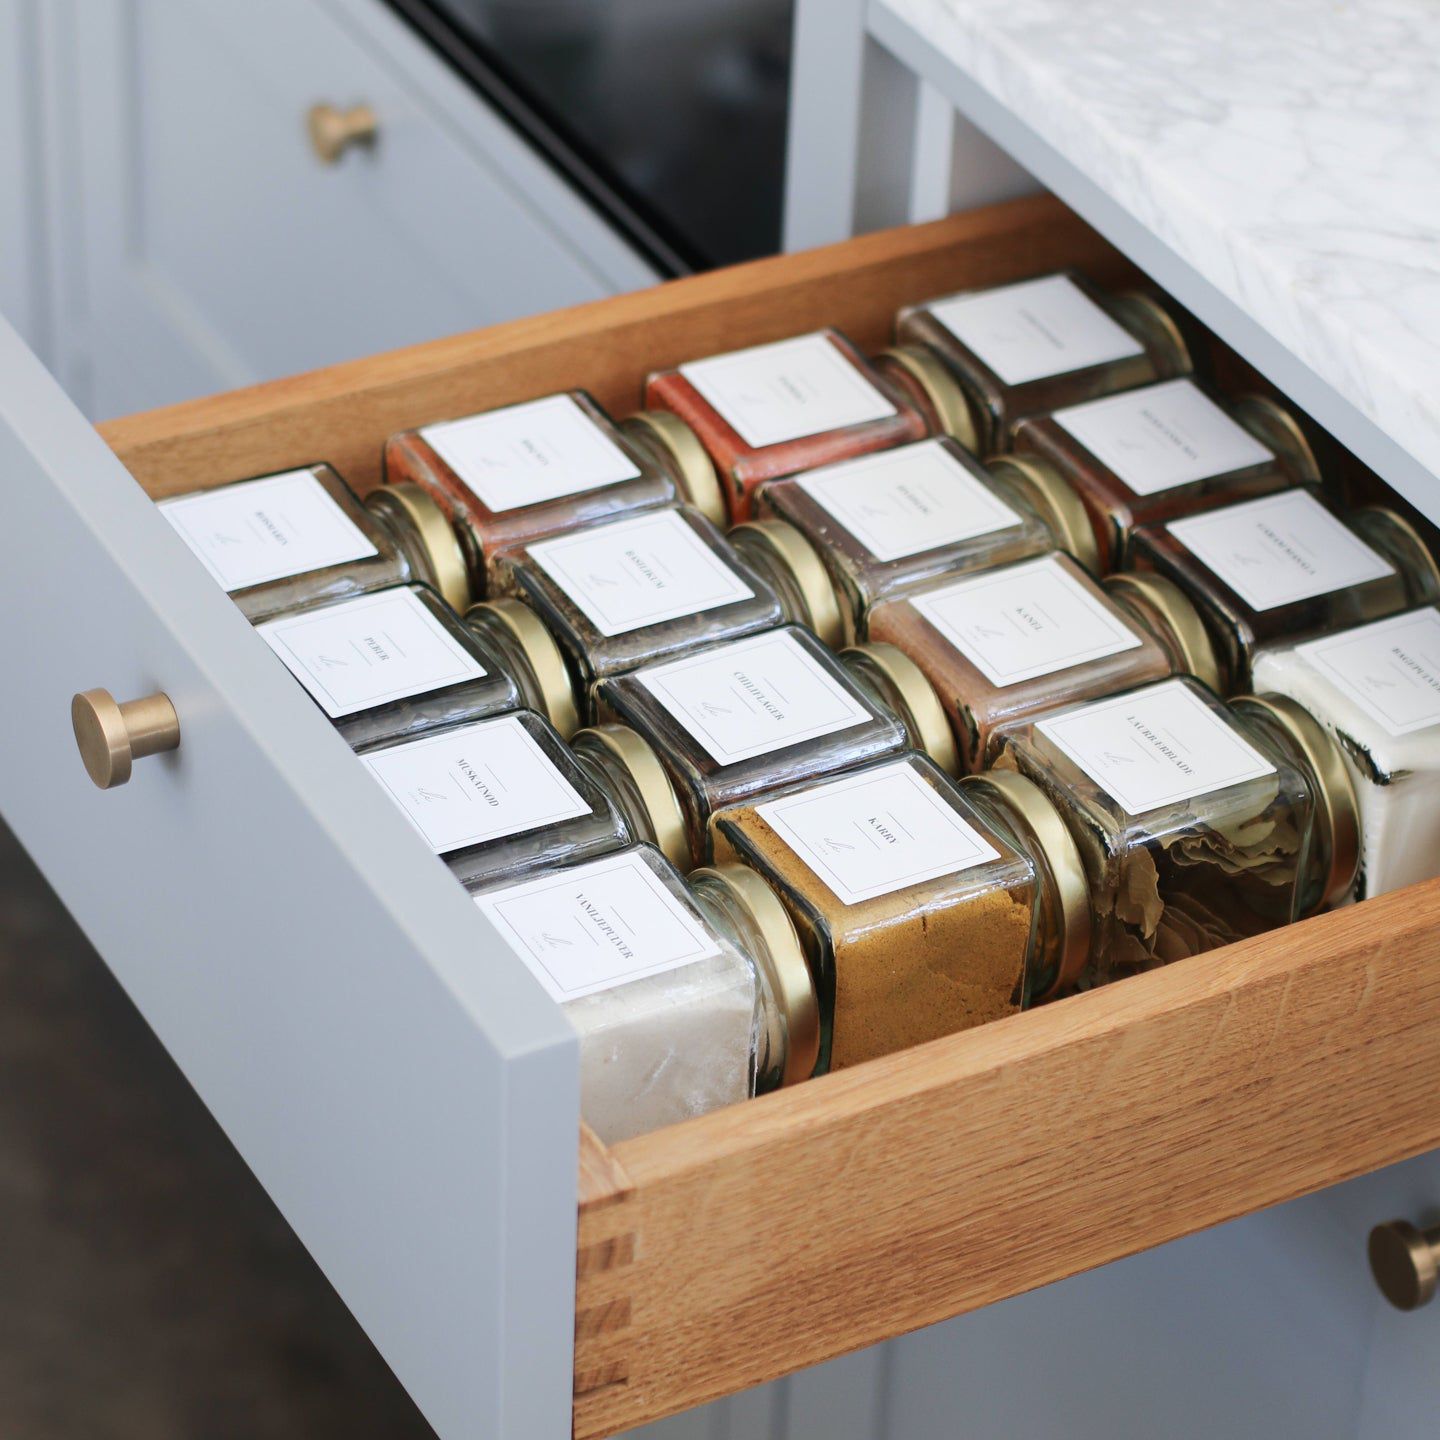
Kitchen storage in the pantry
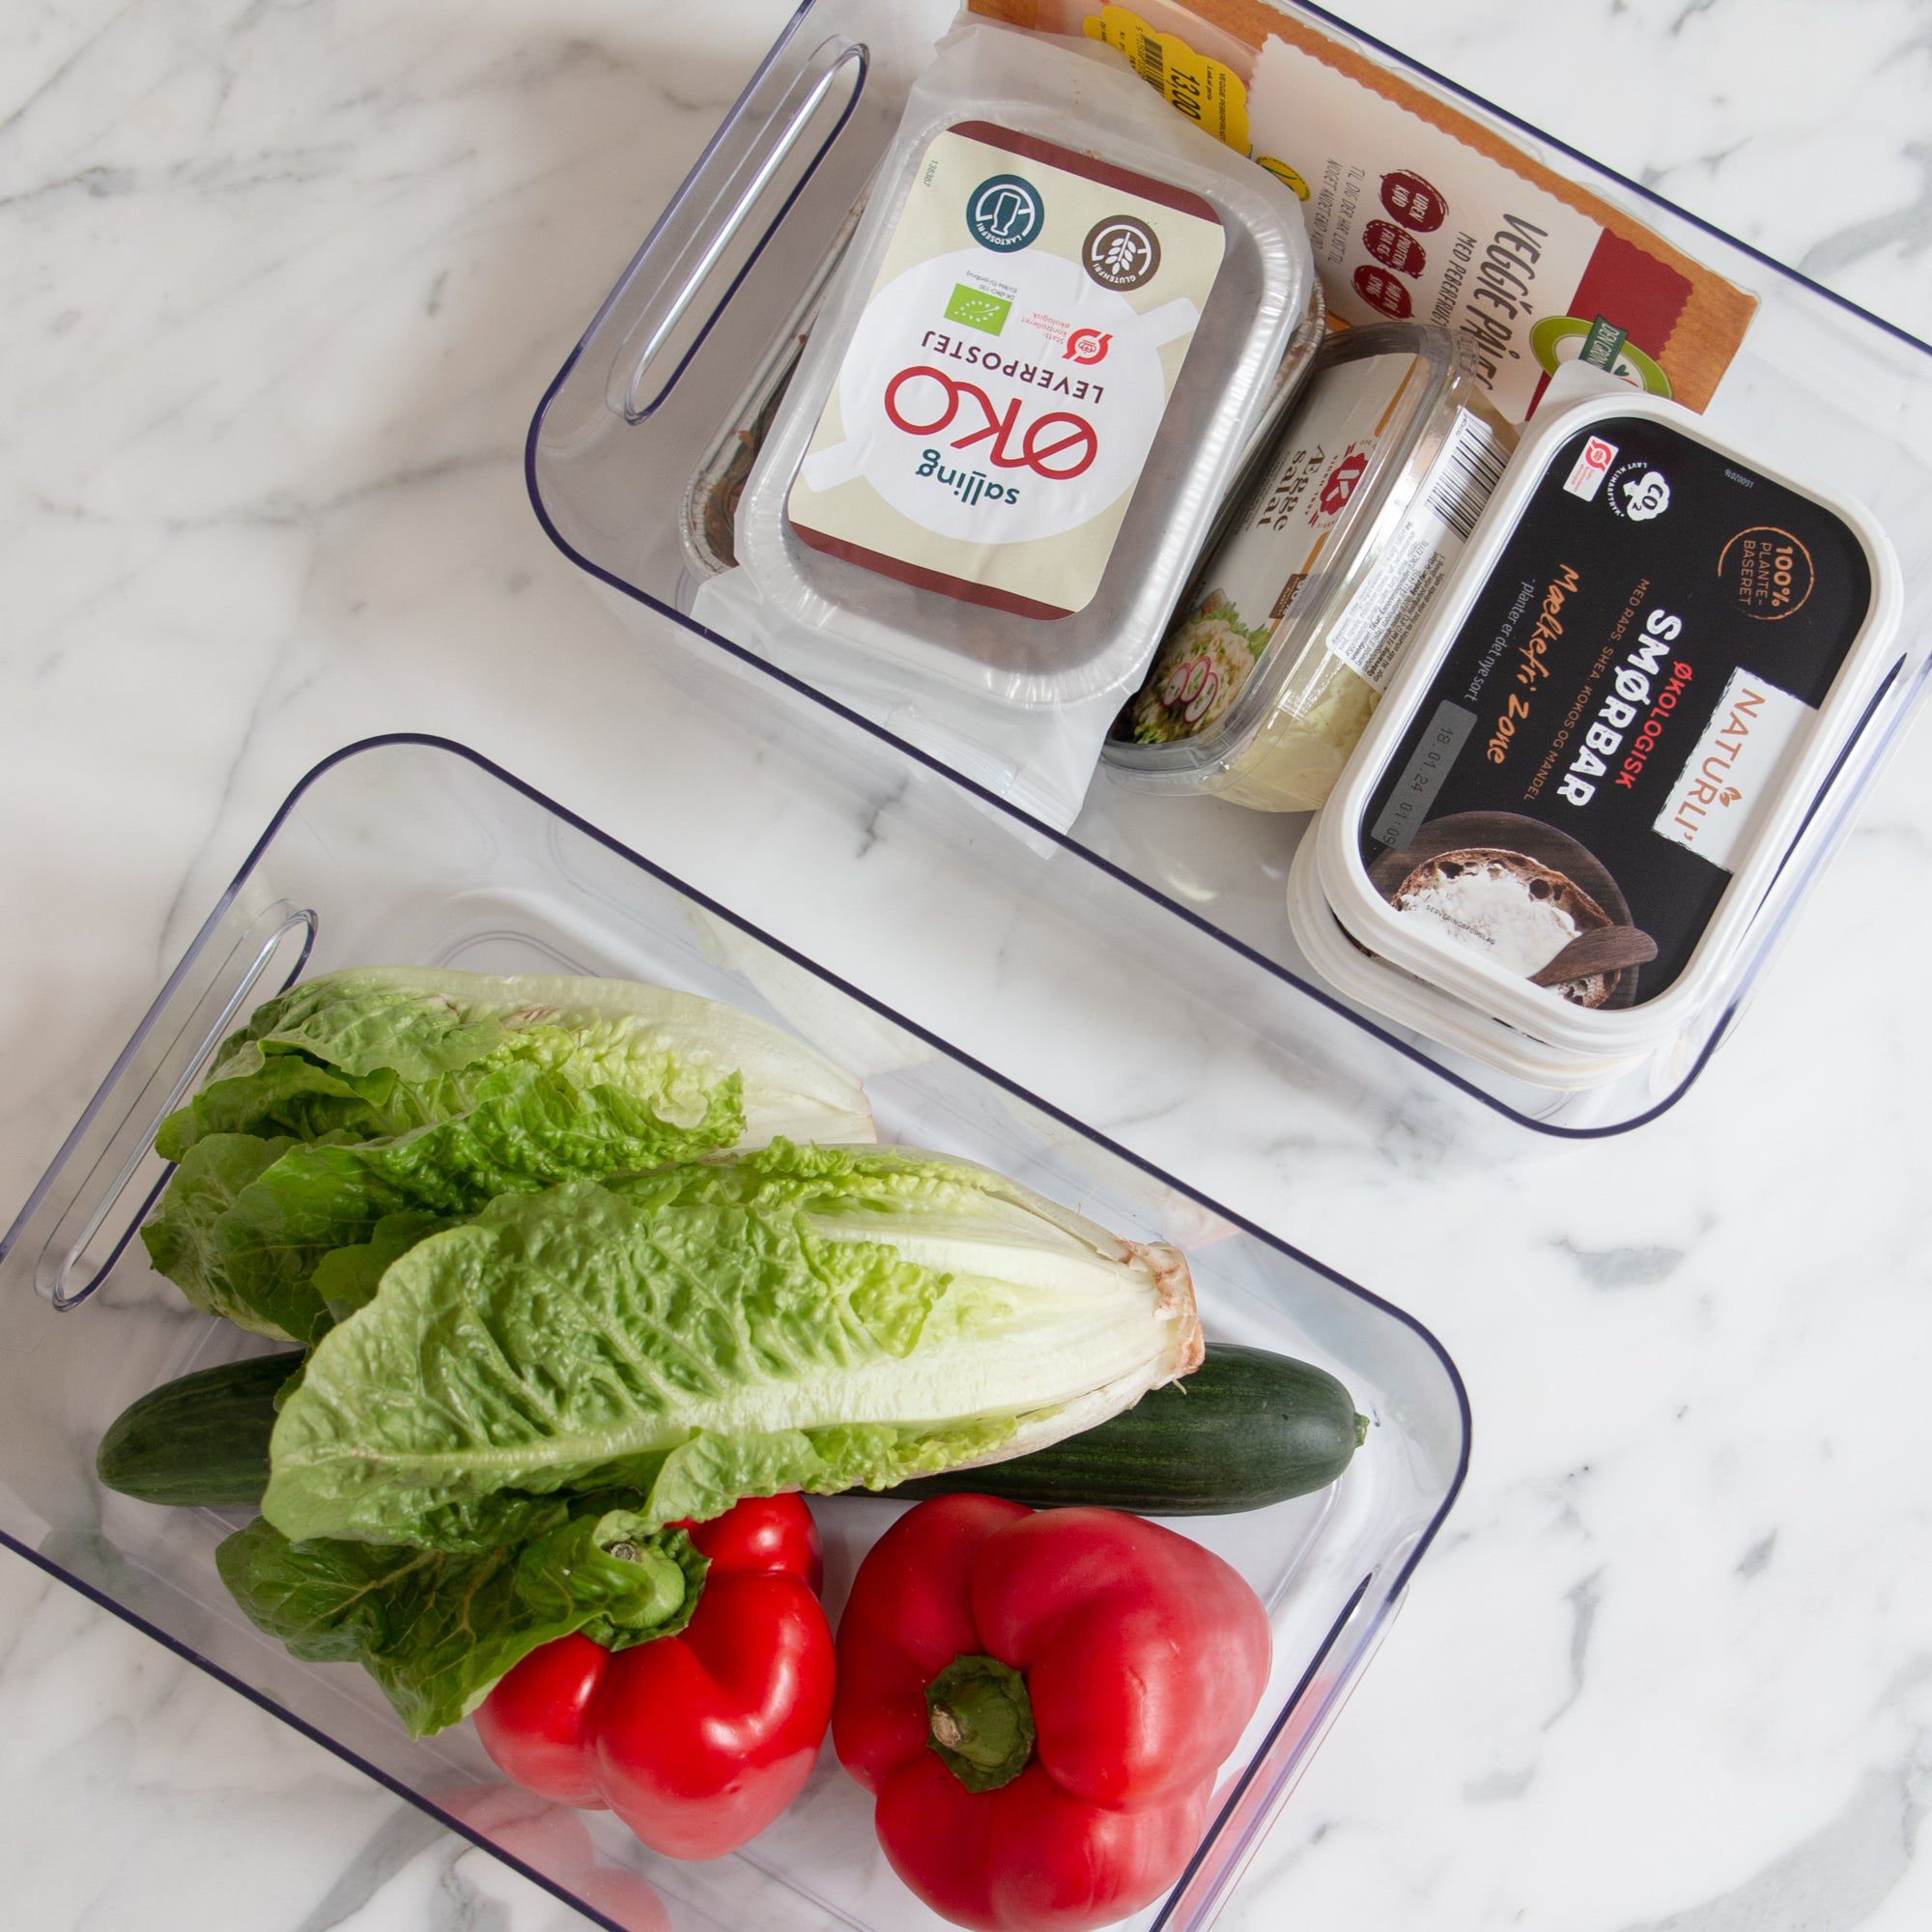
Group items that belong together: baking equipment separately, breakfast items separately, and a snack zone separately. Round corners work well with a wooden turntable with a high rim, so you get access without moving other items. Use boxes to collect loose packages, baking forms, or napkins. When everything has a fixed "address," tidying becomes easy and quick.
Example of zone division
- Breakfast: oatmeal, muesli, and honey together.
- Baking: flour, sugar, baking powder, and forms in one box.
- Canned goods: cans on low shelves in rows.
- Drinks: heavy bottles at the bottom or in a stable box.
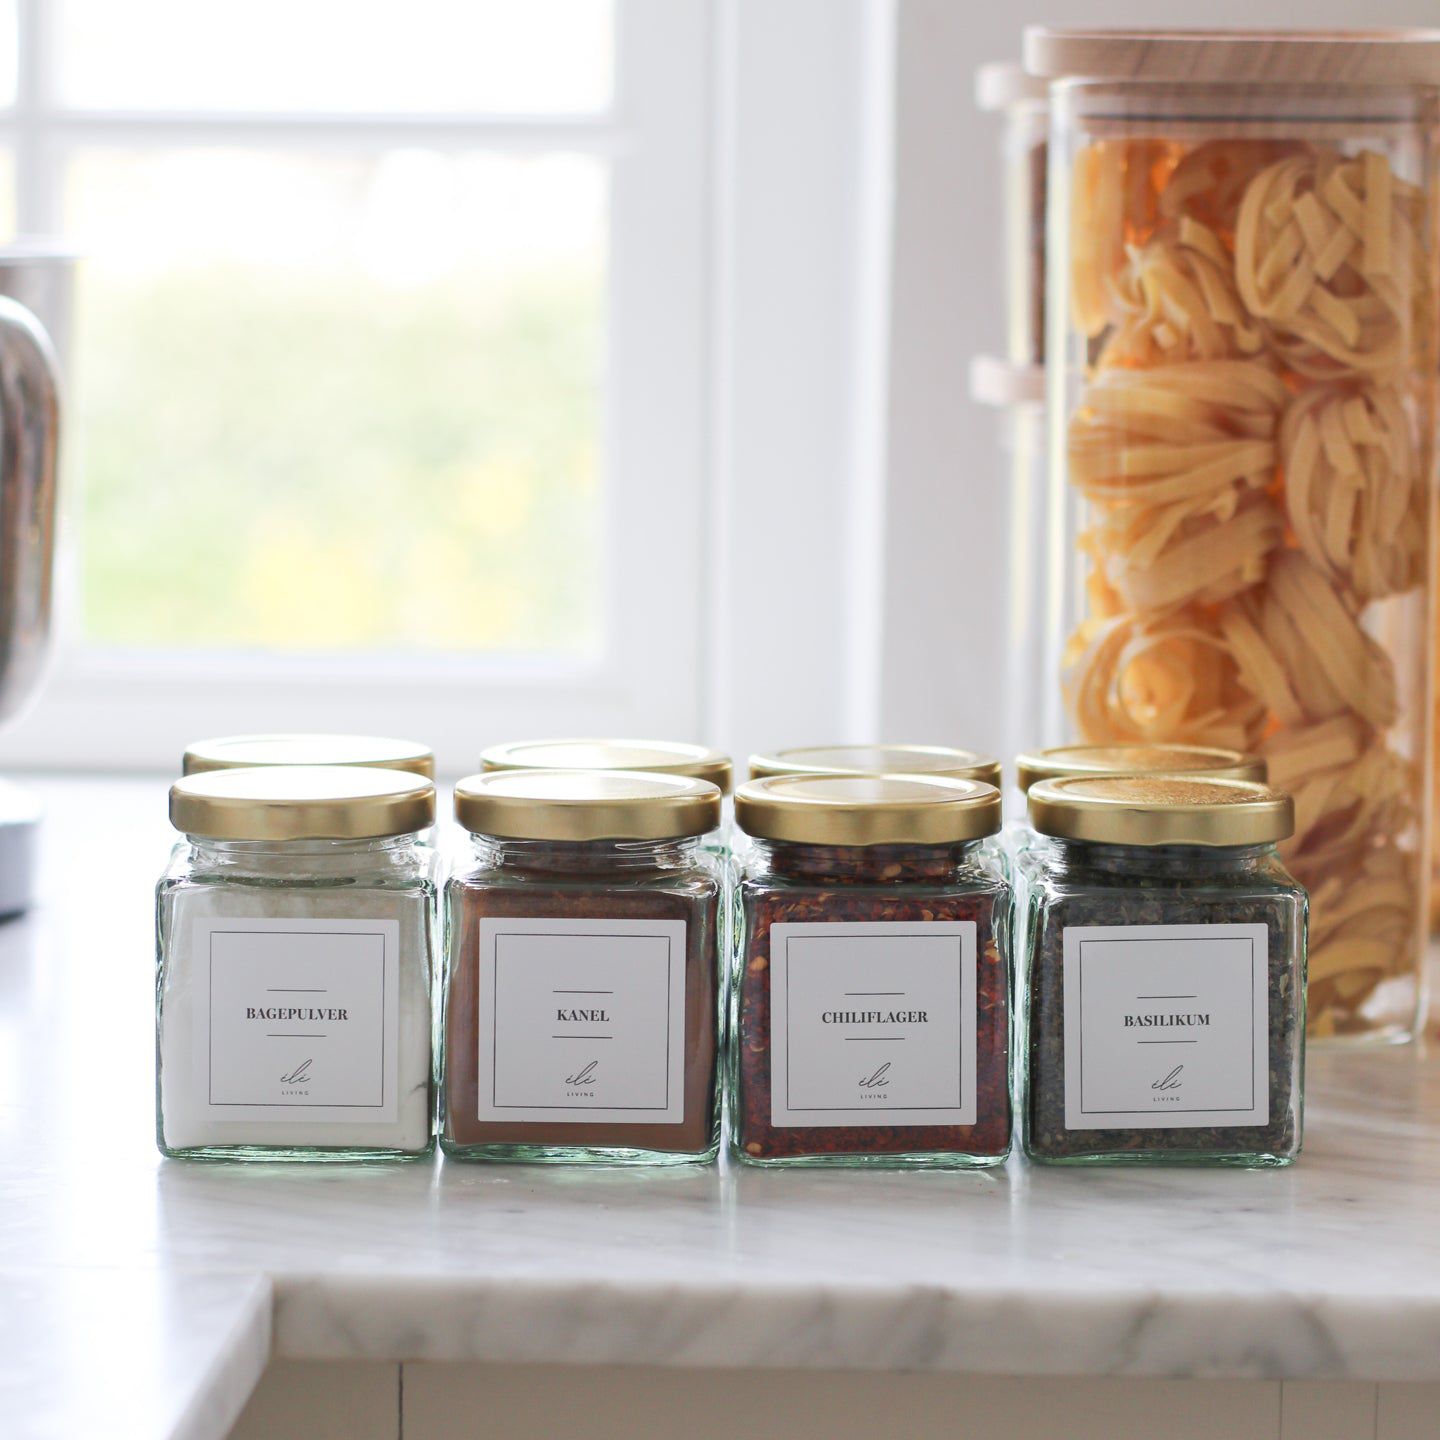
Pantry organization
Set a short, fixed routine: check the shelves when you write your shopping list. Replenish from the back and move open items to the front. Stick to a few repeated container sizes for a uniform look. Ele living continuously shares simple methods to create more overview in everyday life – small adjustments in your pantry can free up both peace and energy in the kitchen. When you continuously adjust shelf heights and zones according to your family's rhythm, the system will continue to work.