Lack of overview? Food waste? Frustration with clutter?
Almost all of us access our fridge several times a day, and there is nothing worse than being greeted by a fridge that has been crammed to bursting point. Food gets lost and gets lost, we lose track of the contents, and it doesn't exactly inspire cooking either.
The solution is fridge organisation, and here you get our little 3-step guide to get the fridge under control once and for all.
1. Overview
Open your fridge and take out all the food, if necessary, to get an overview of the fridge's contents. What do you use a lot of? Are they cold cuts that may need to be collected in a single box or two? Are the bottles lying around rolling around that should instead be stacked in a bottle holder?
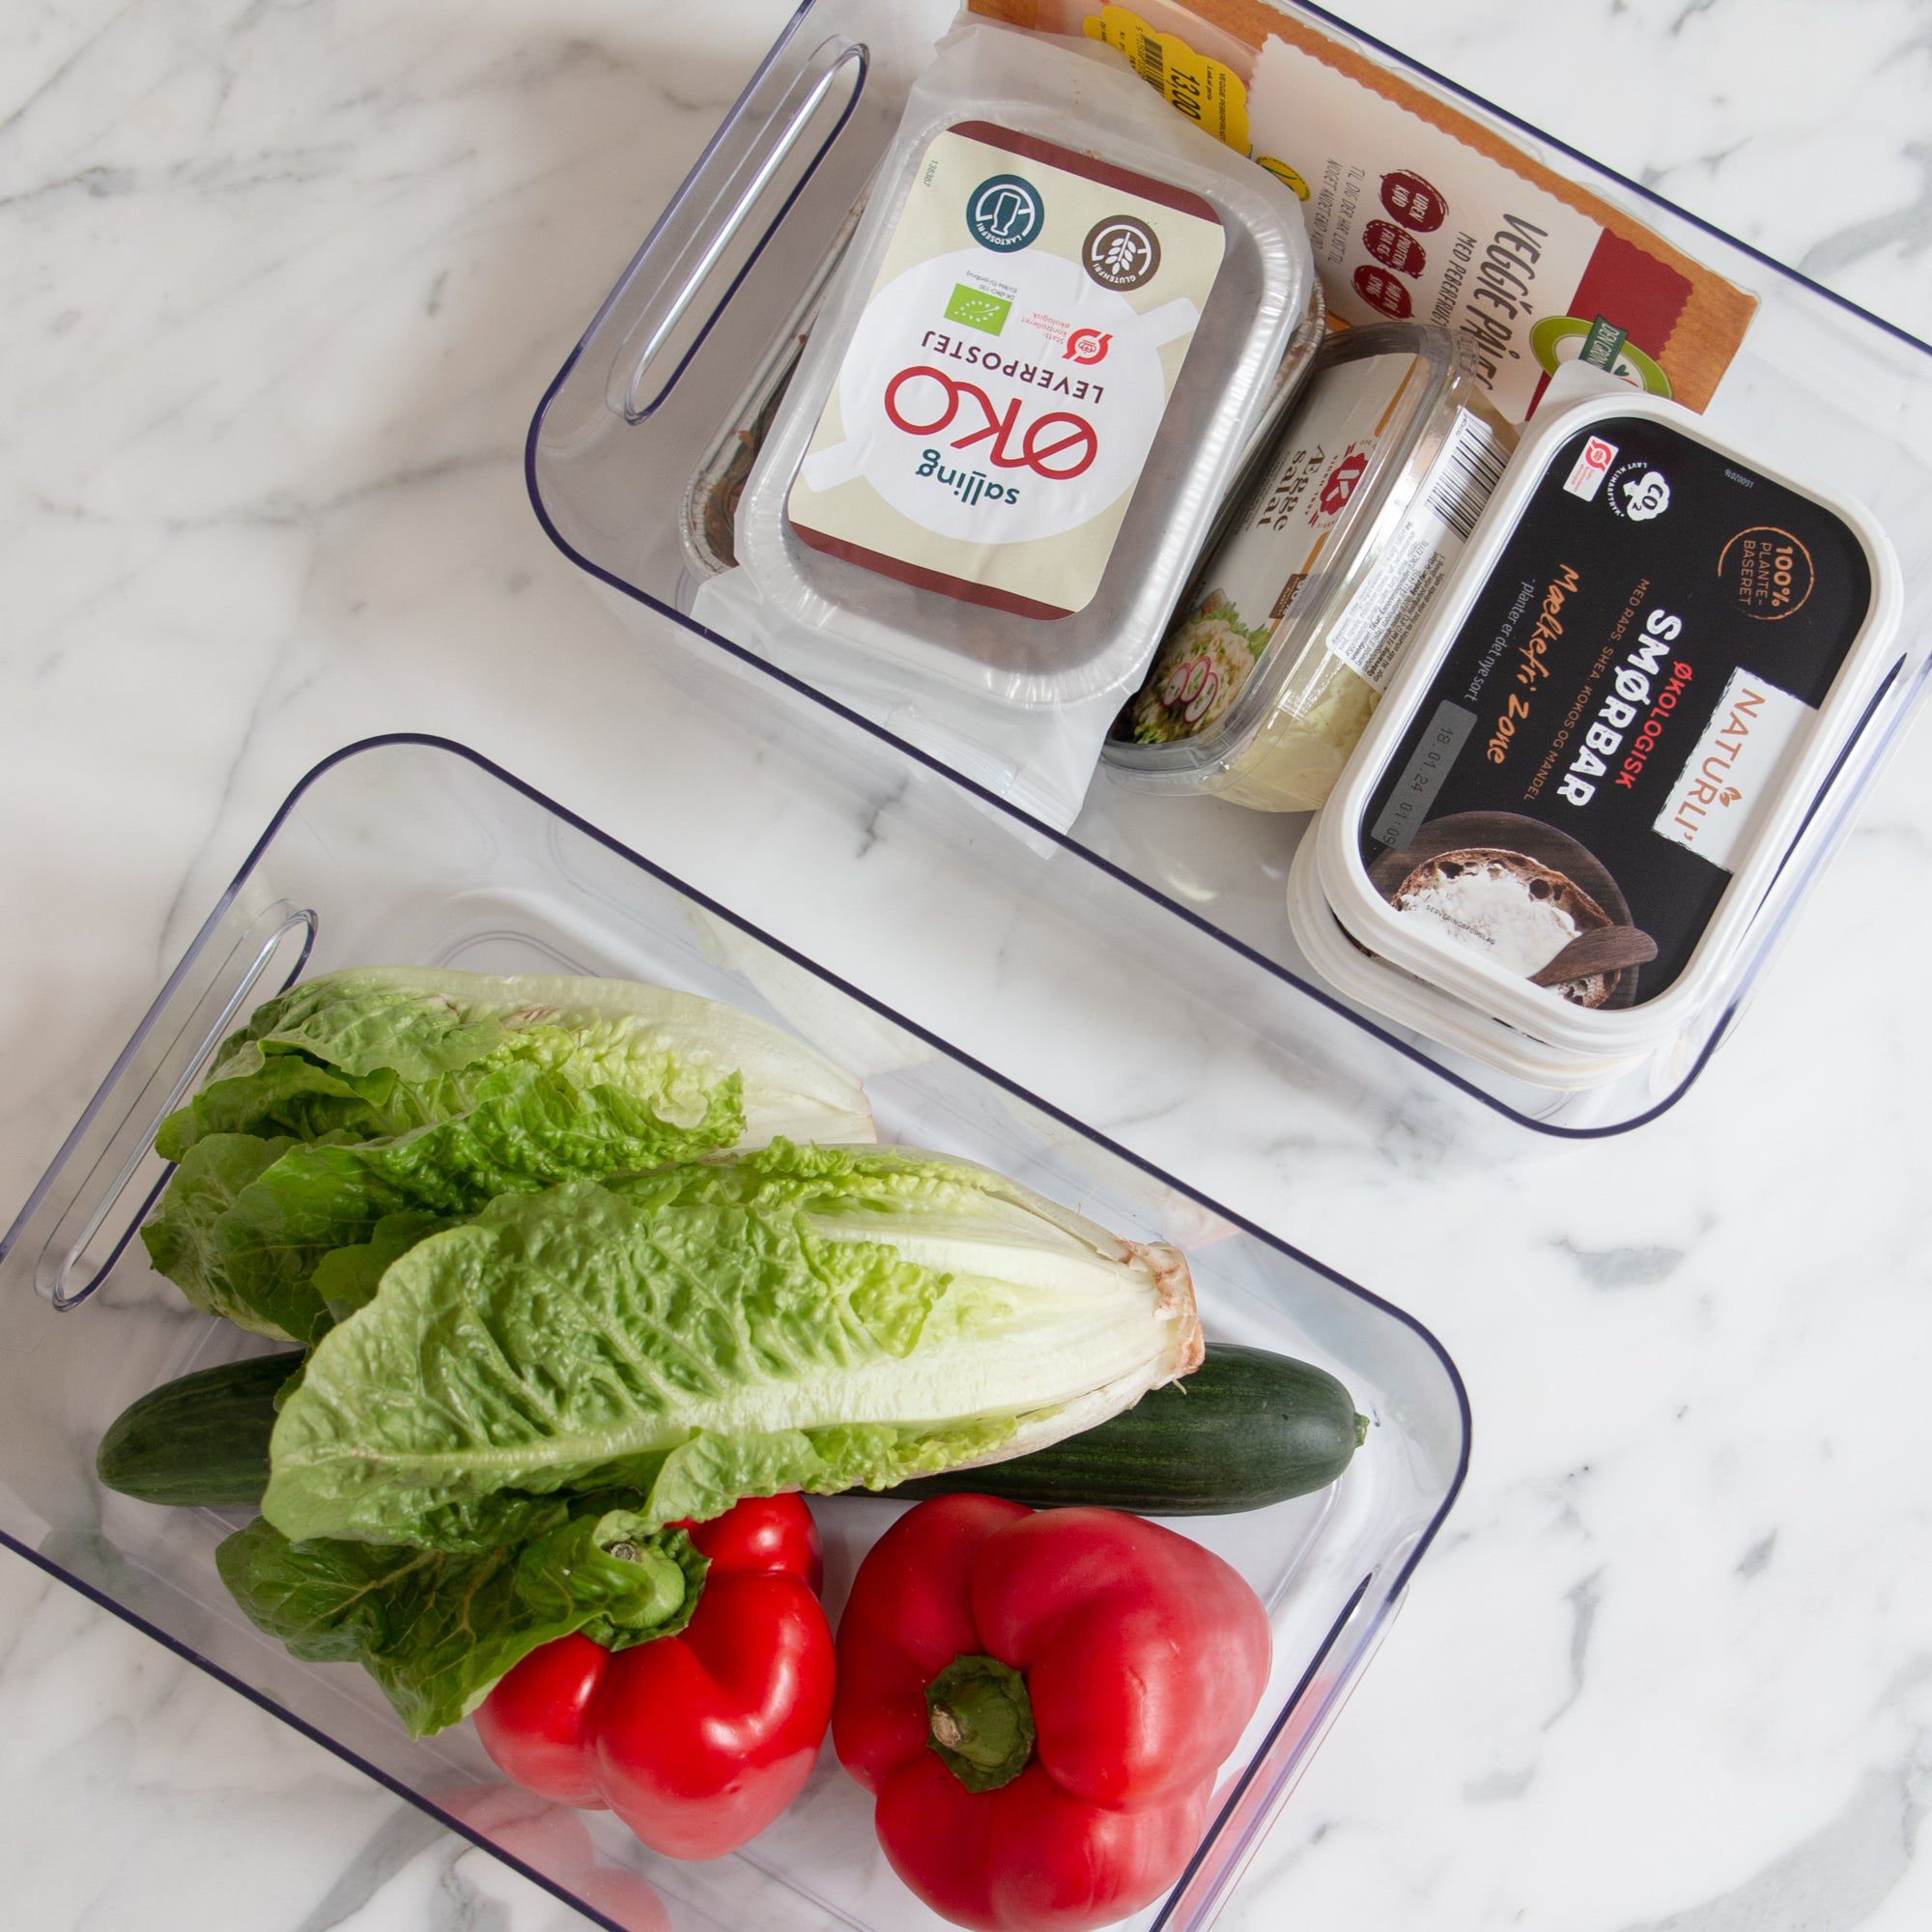
2. Divide into zones
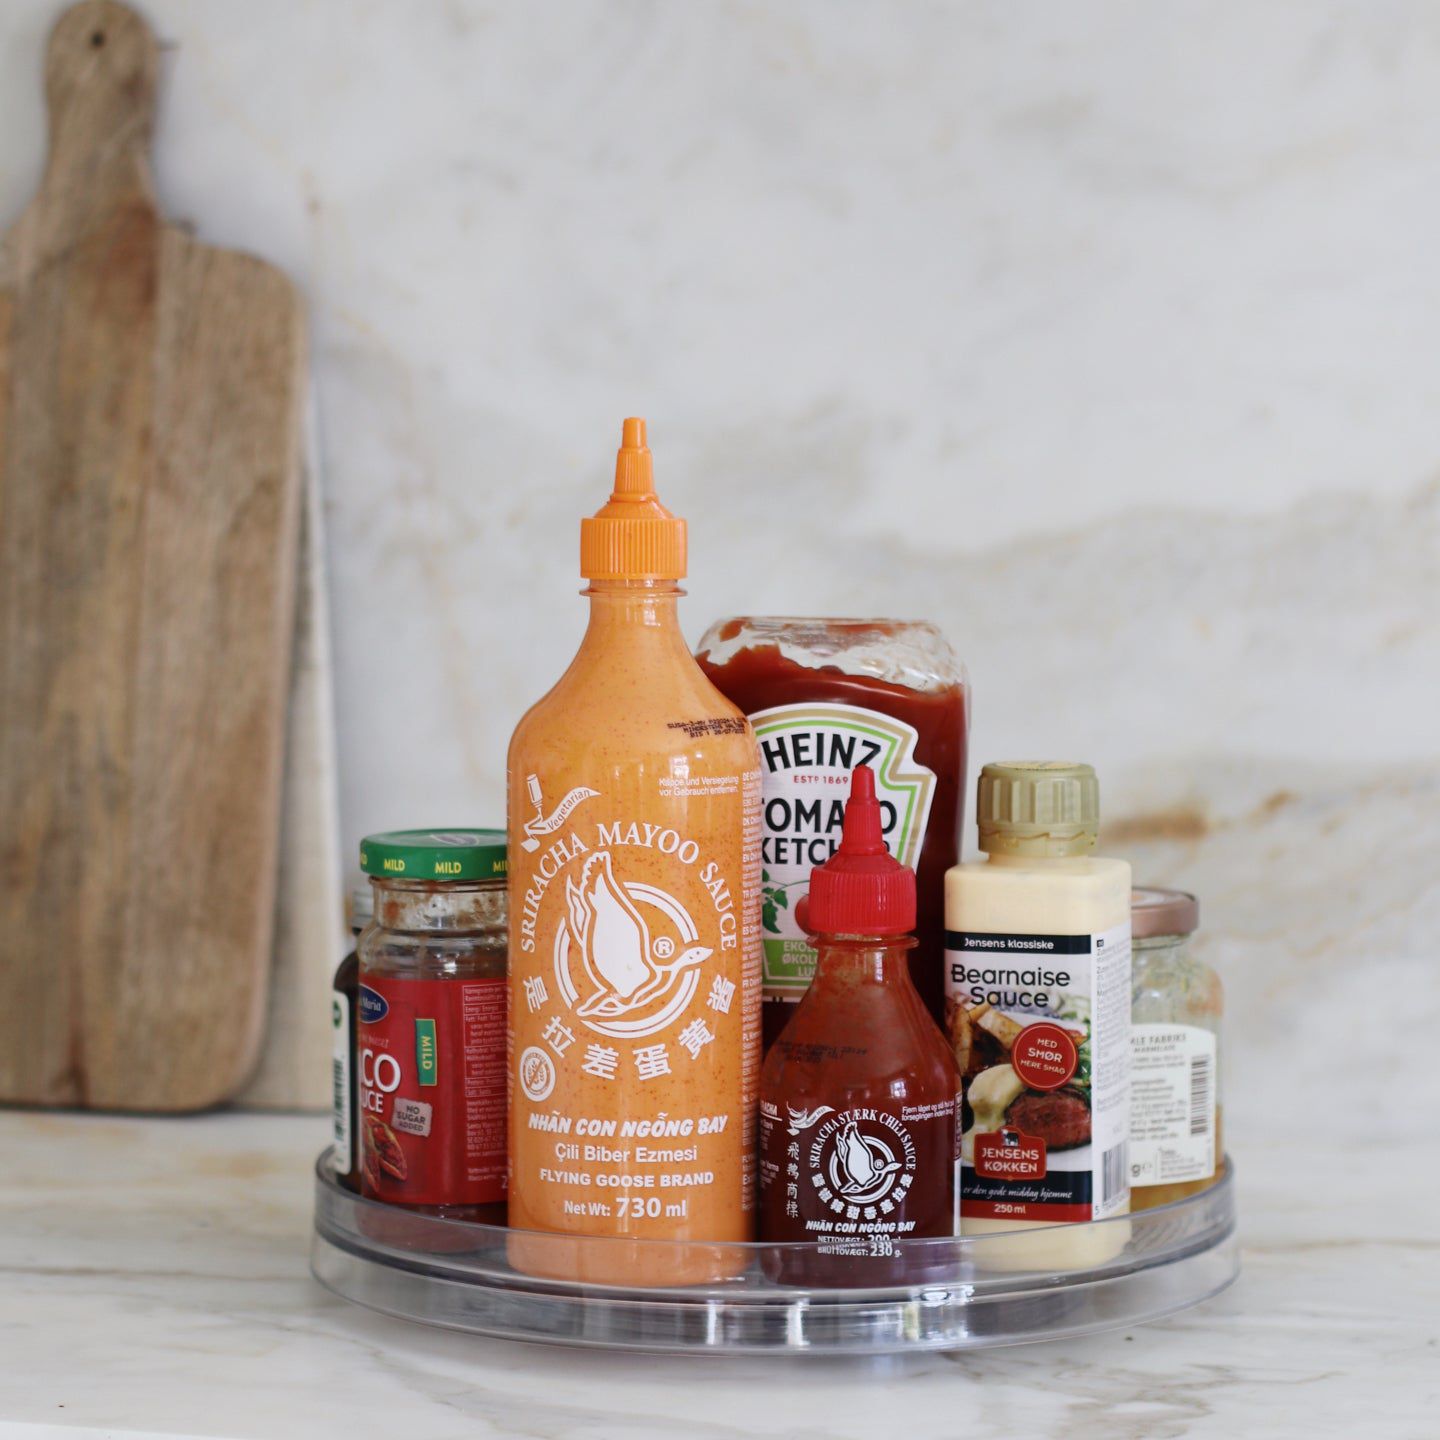
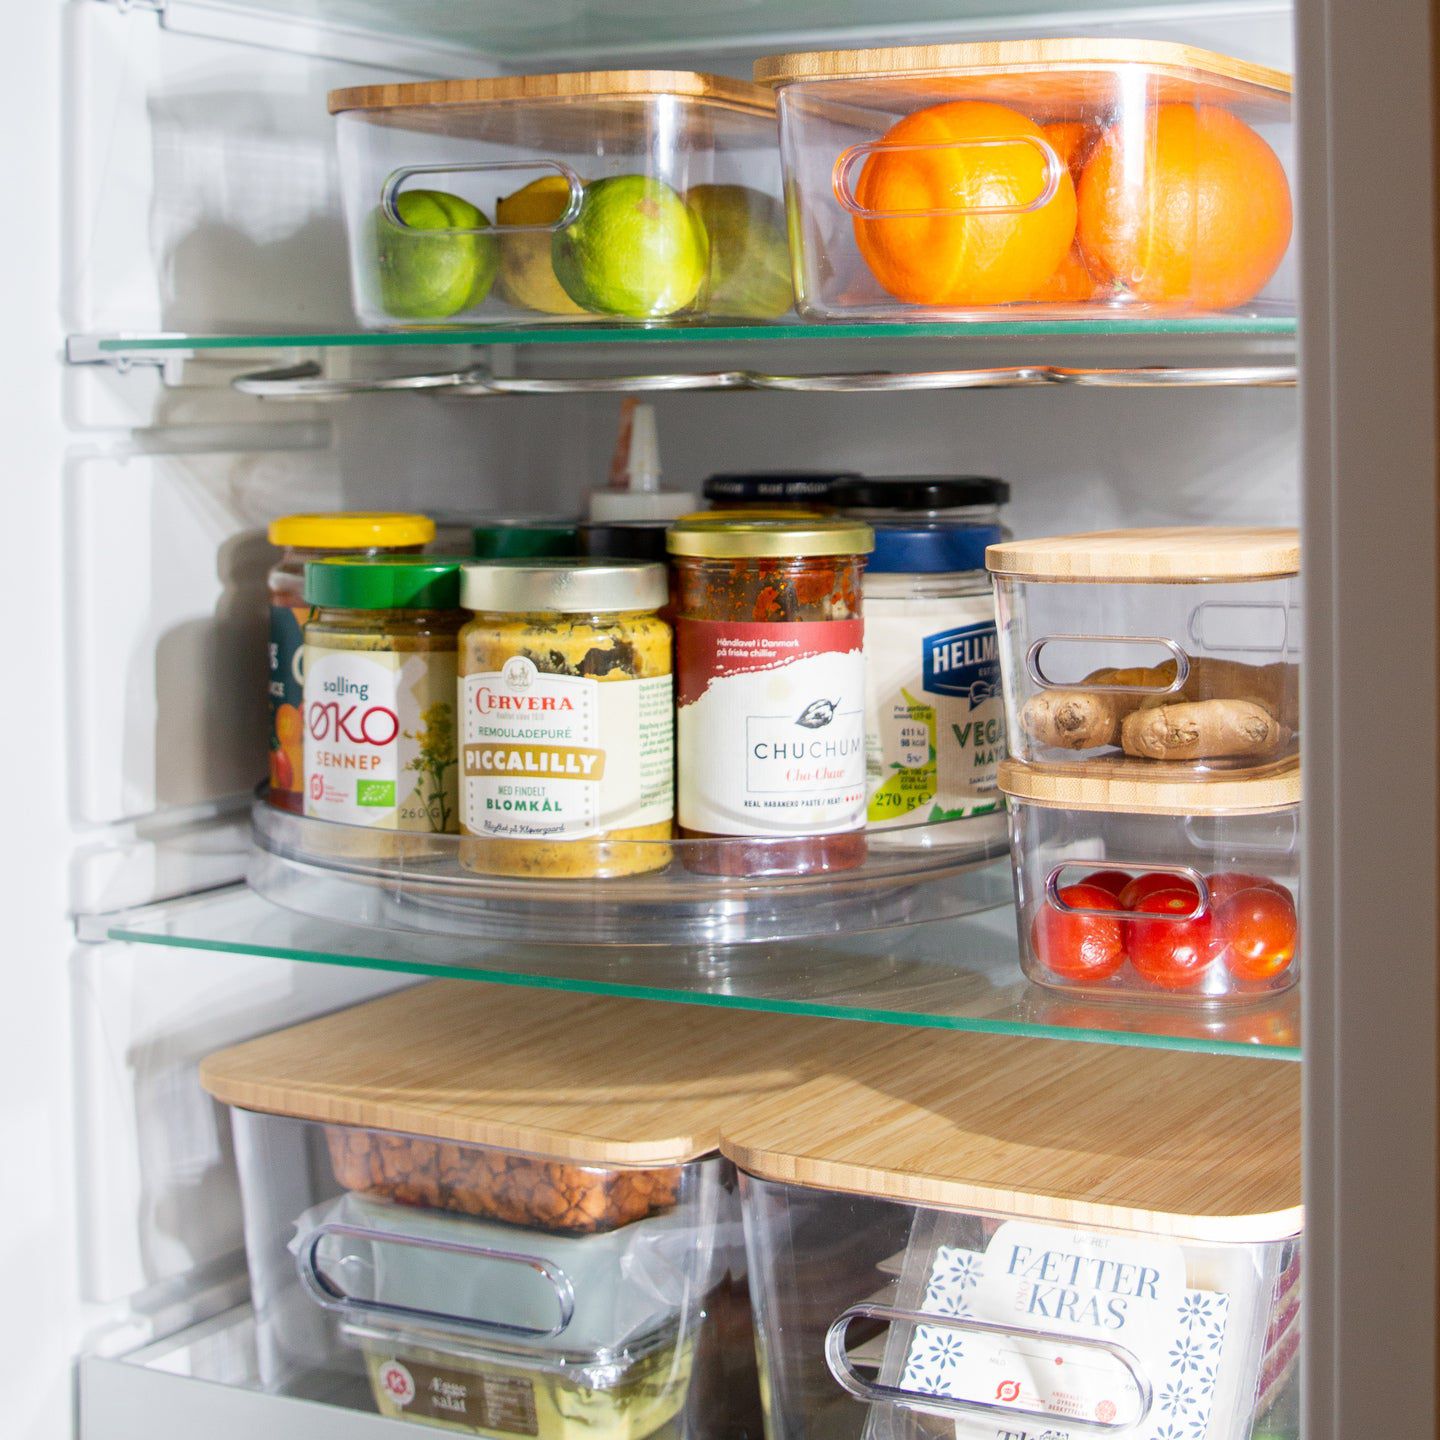
Examine what you have a lot of. Once you have formed a good overview of the fridge, divide your fridge into zones. An example could sound like the following: Bottom shelf/drawer: meat, then a vegetable drawer/shelf for larger vegetables and salad bags. Then a shelf with cold meats and possibly cheese, a shelf for fruit and vegetables, and perhaps a shelf with a rotating tray for everything in glass, tube and tin.
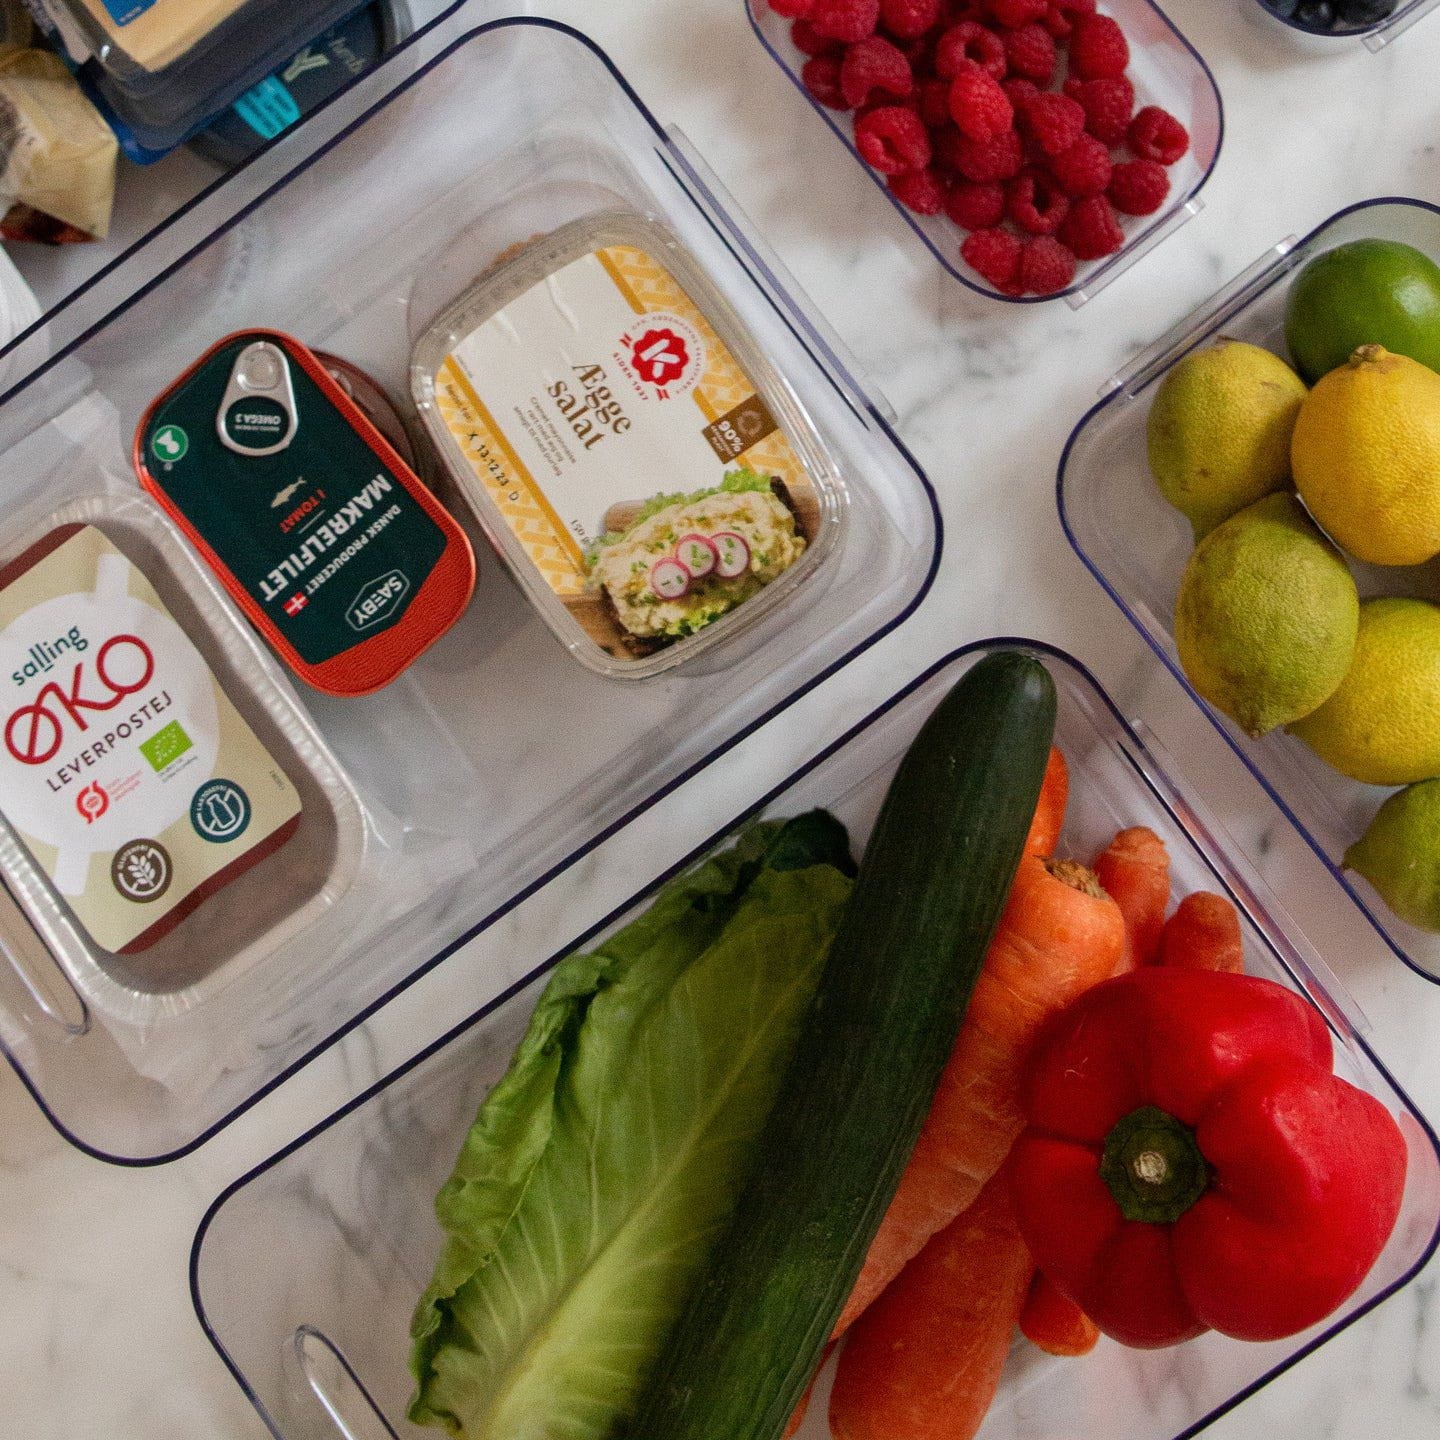
3. Order your refrigerator's interior
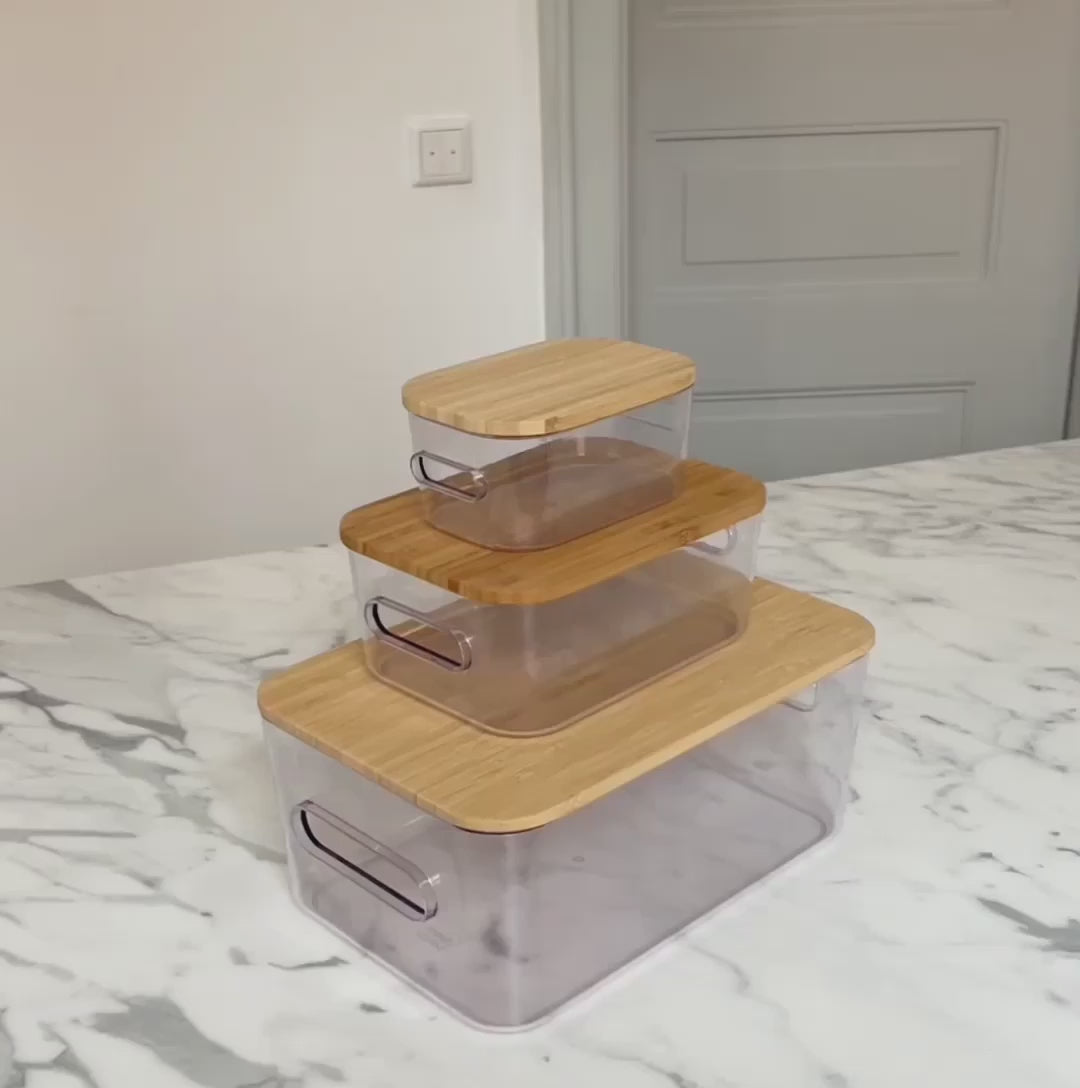
At élé livng, we recommend for a standard Danish refrigerator:
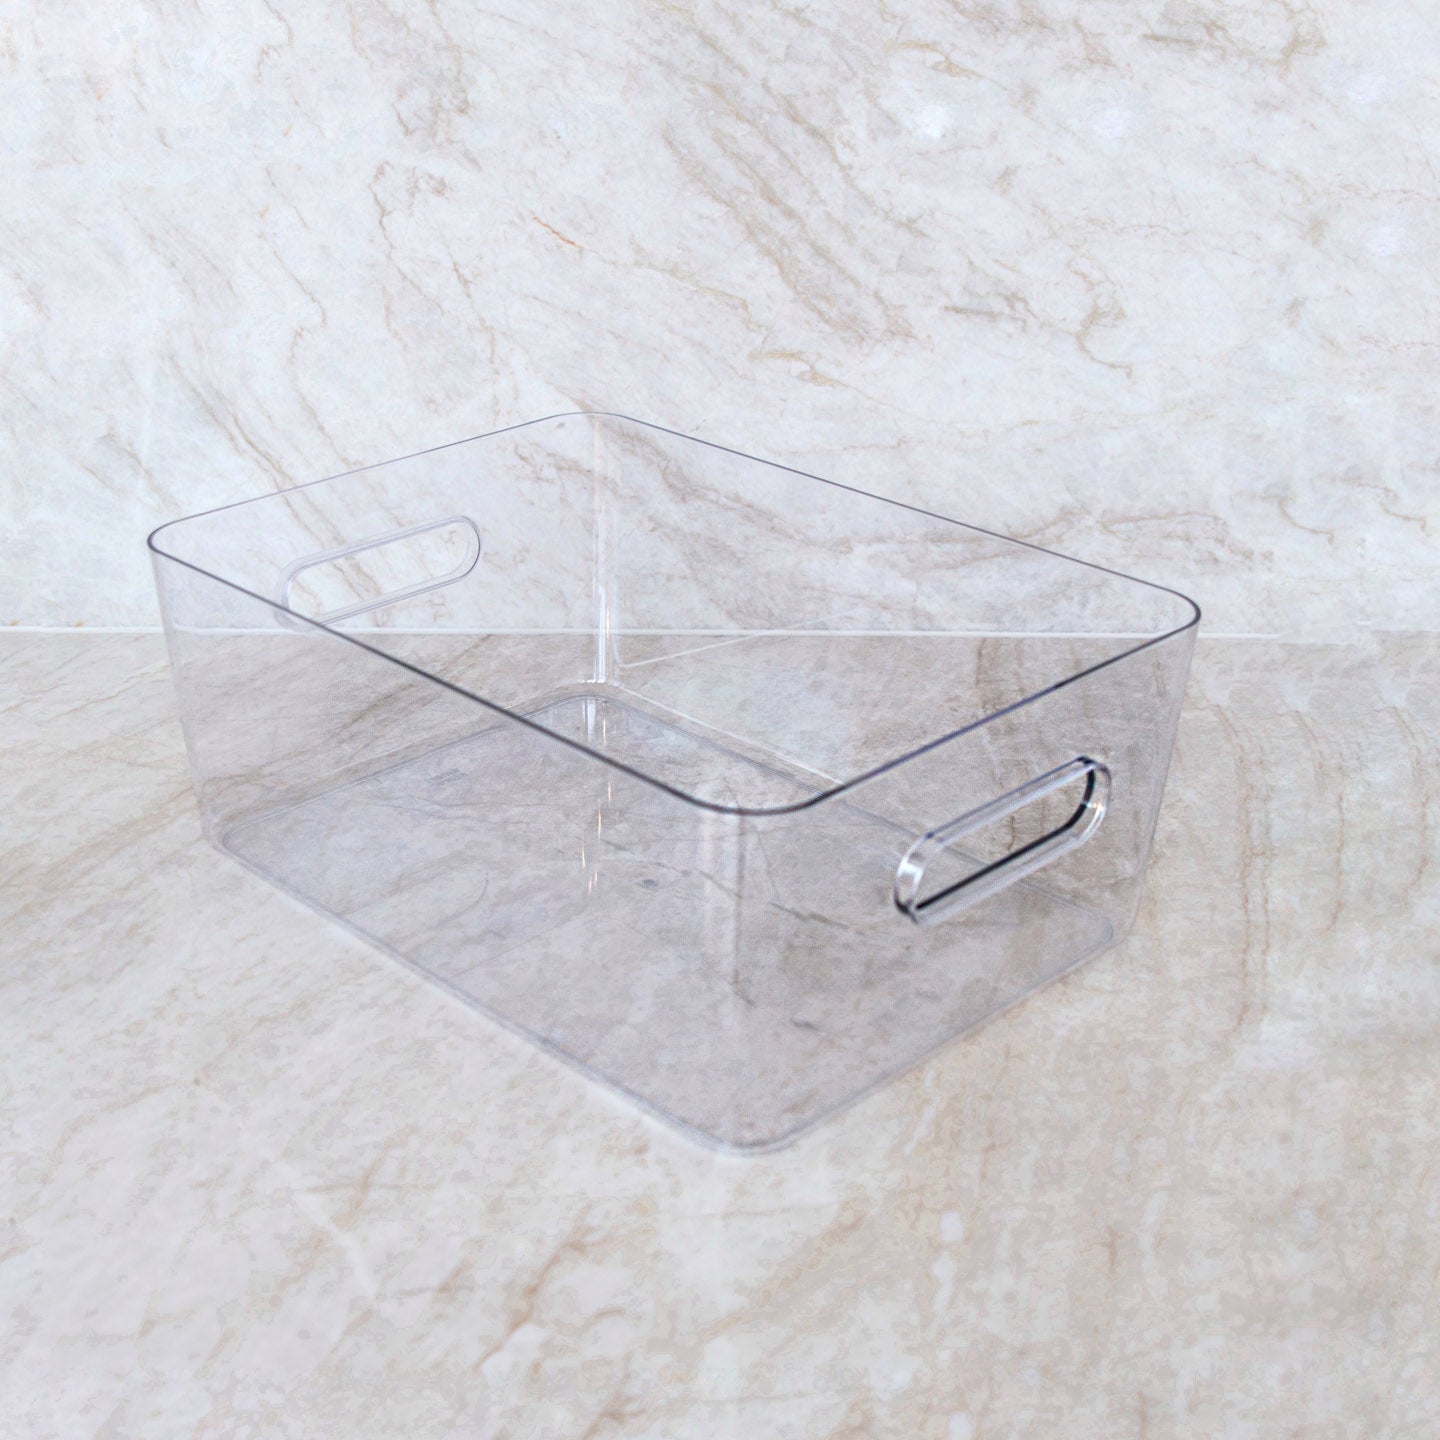
6 x refrigerator boxes in the size medium2 x refrigerator boxes in the size small
2 x fridge boxes in size xs
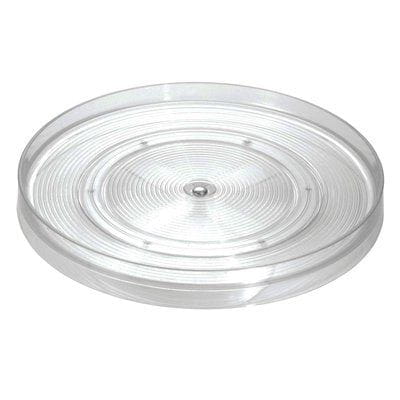
1 x turntable
1 x egg tray
1 x bottle holder
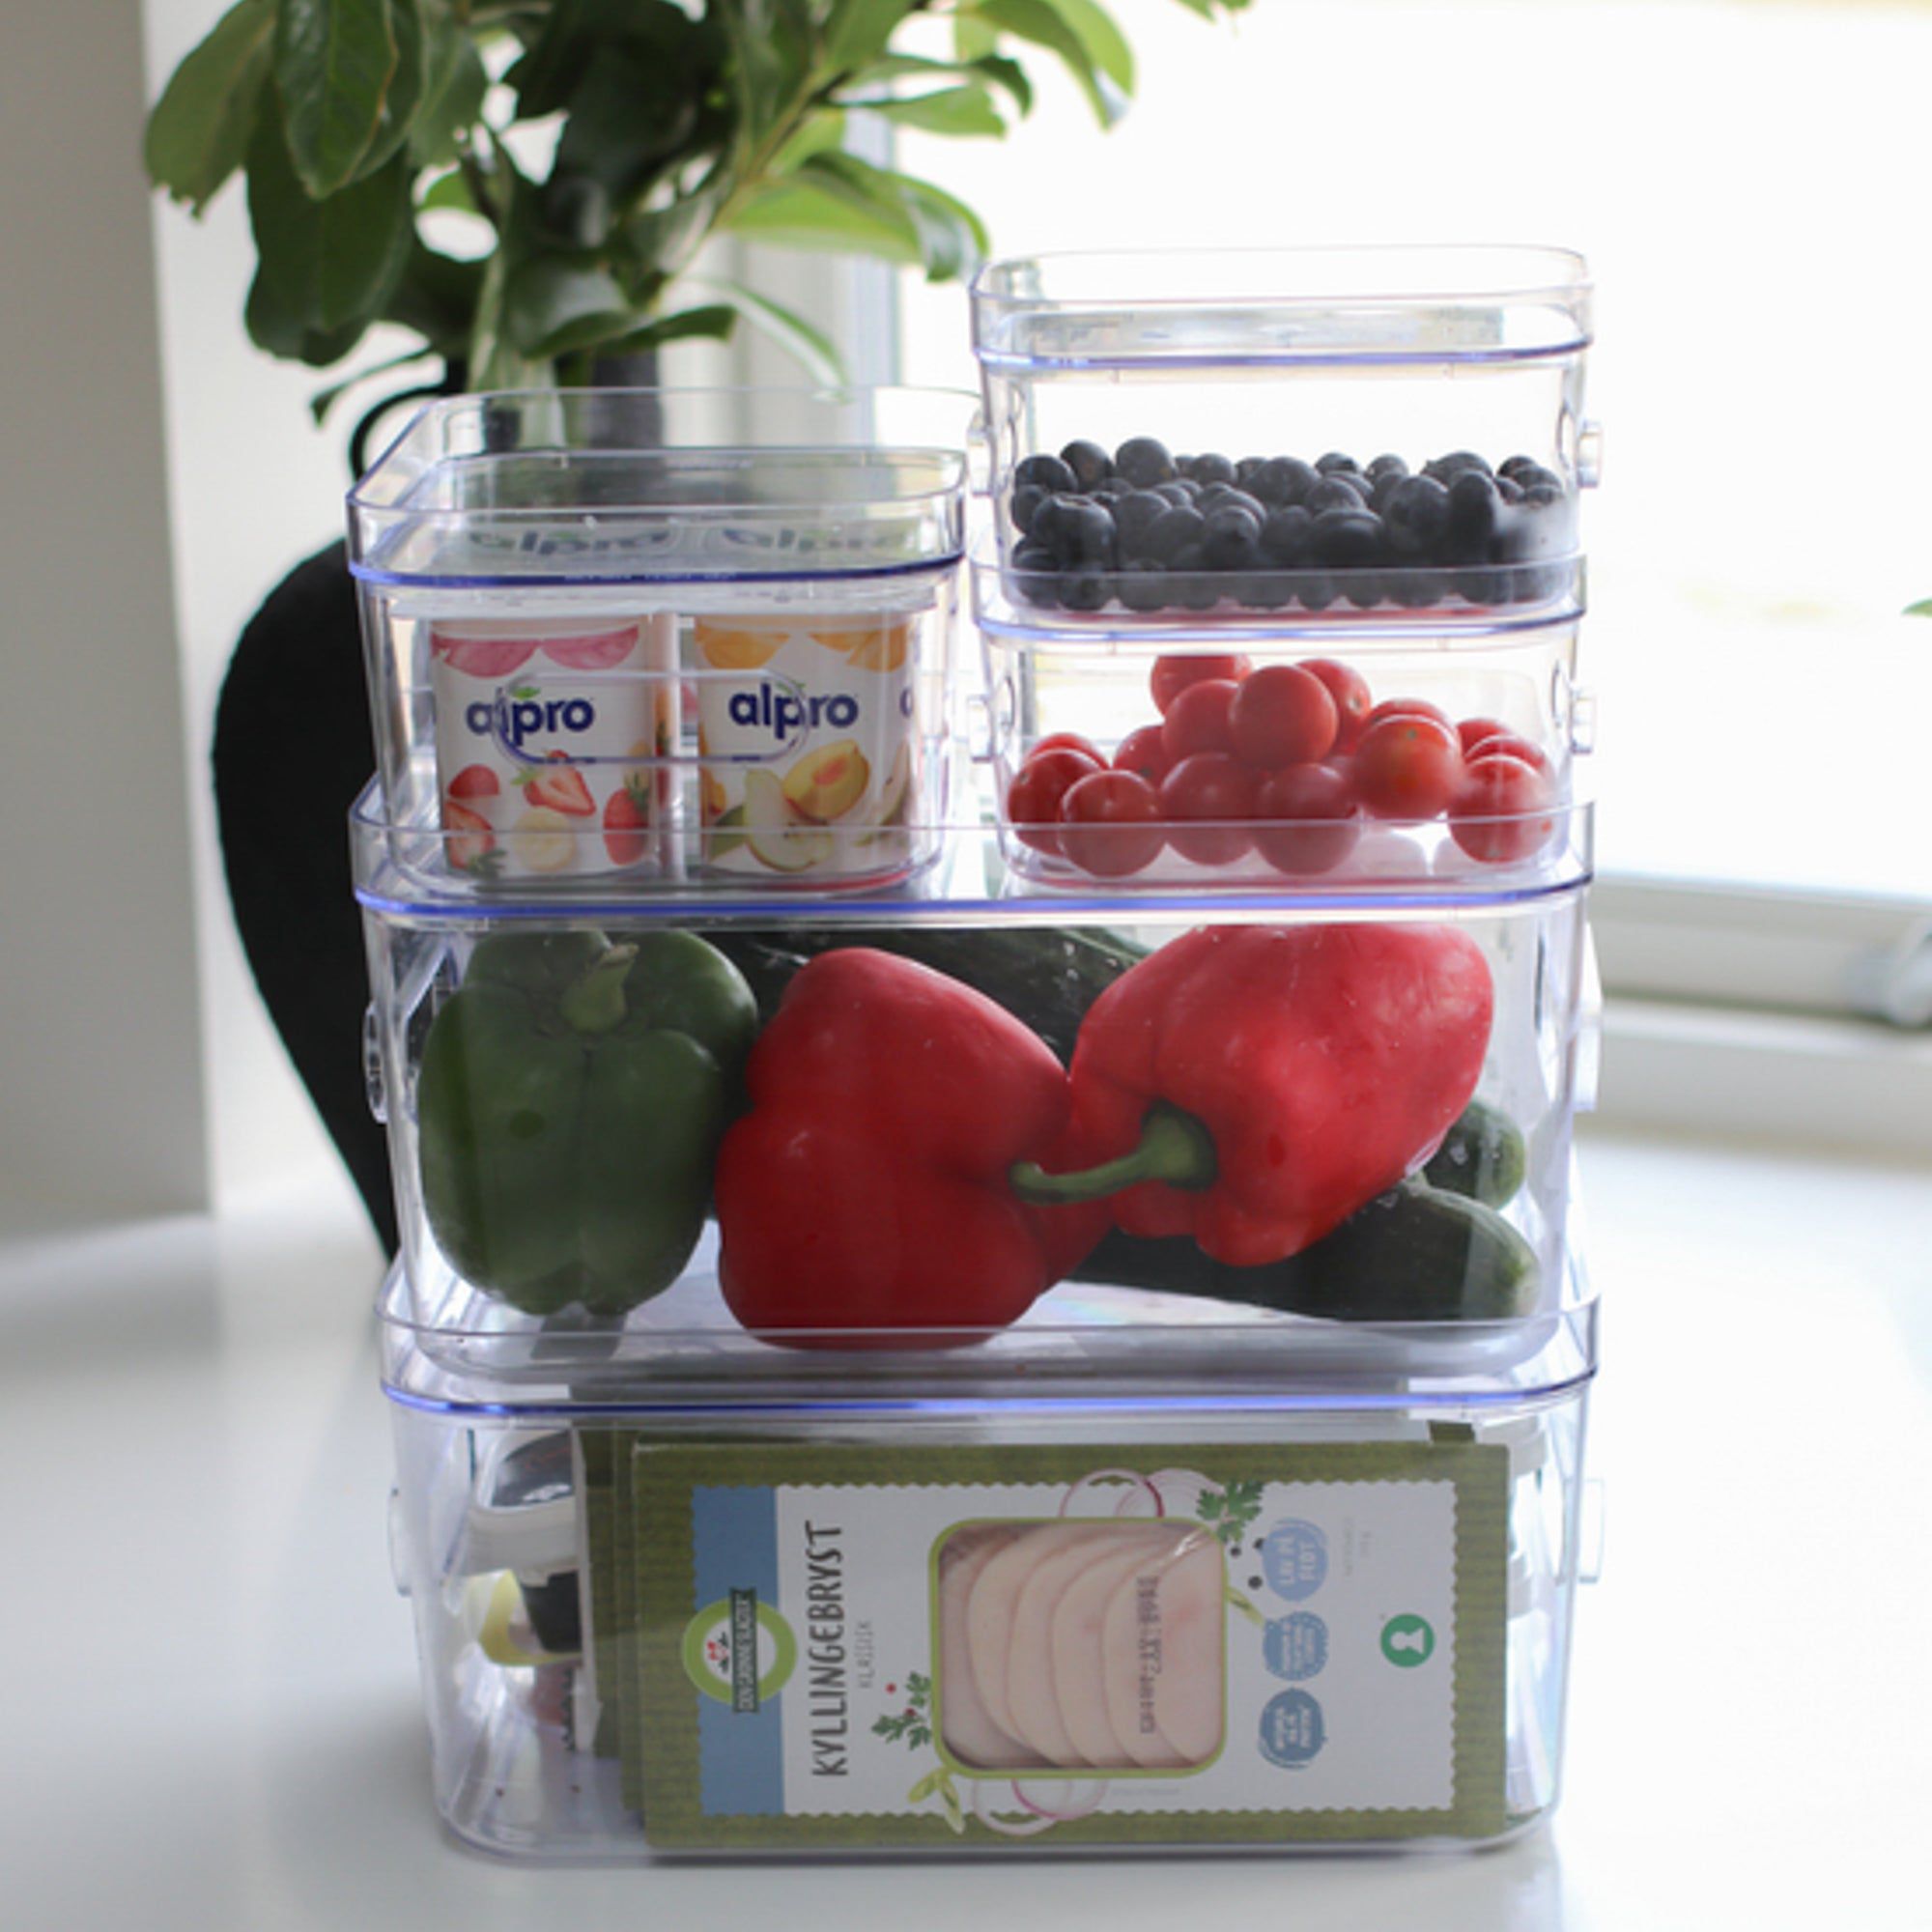
NOTE: It may be a good idea to purchase lids for the boxes, as they are suitable for stacking and thus can help to optimize space in the fridge.
BONUS: If you get a box in excess, you can use it to your advantage in the bathroom, office or children's room. You can't get enough of storage boxes. ;-)