Step 1: Sort and clean up
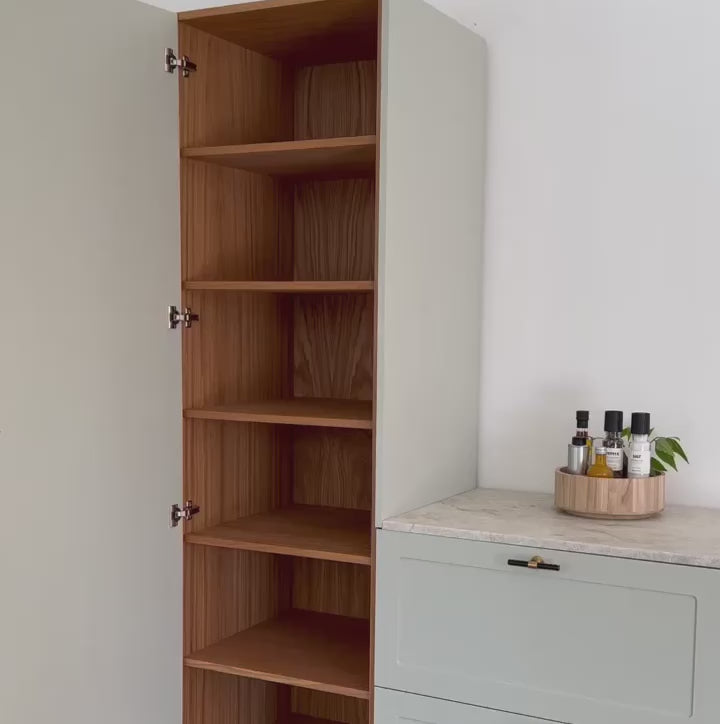
The perhaps a bit boring, but necessary part, is of course to start by getting everything sorted and cleaned out. Throw out what has become too old or that you no longer use. Another option is also to donate to charity so that others can benefit from what you no longer need. It's a wonderful feeling.
Step 2: Clean
When you have lifted everything out of the cupboards and drawers anyway, make sure to swing the vacuum cleaner and a damp cloth before you fill up the cupboards and drawers again.
Step 3: Create a system
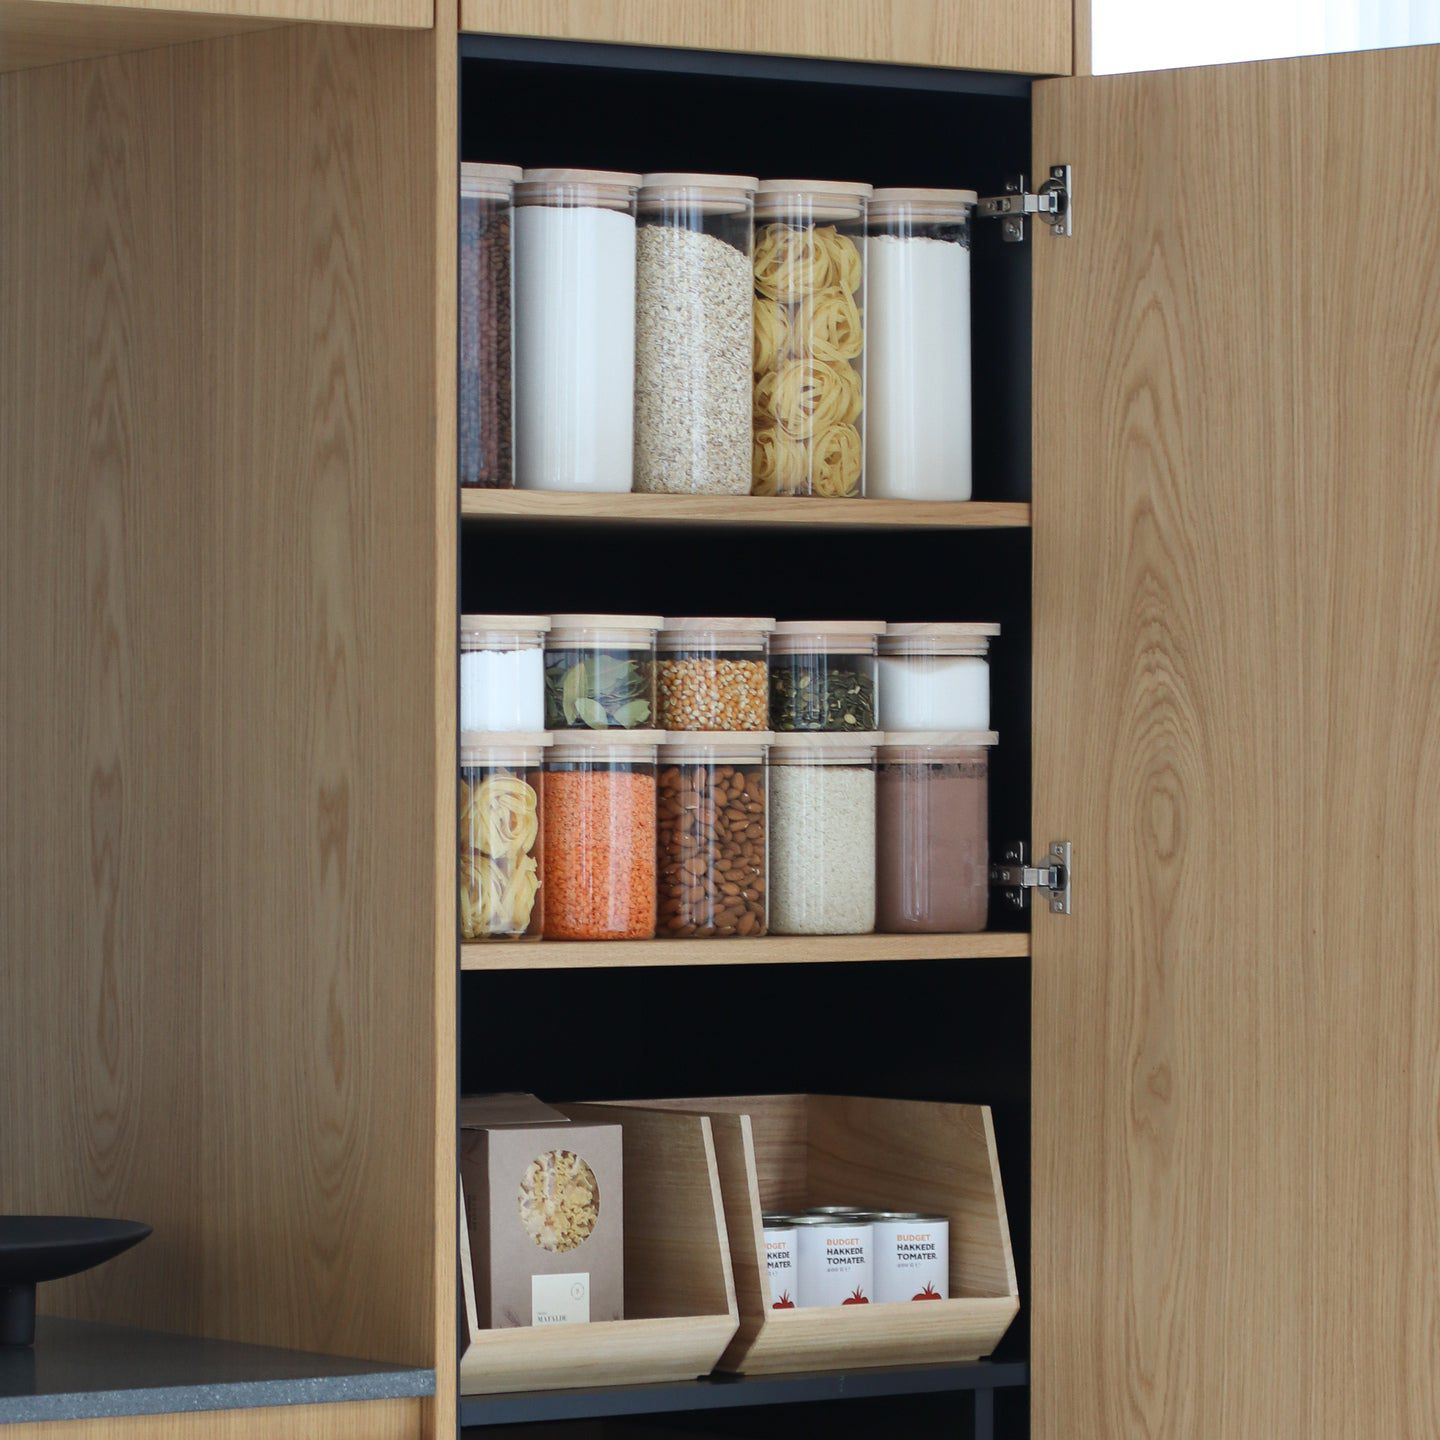
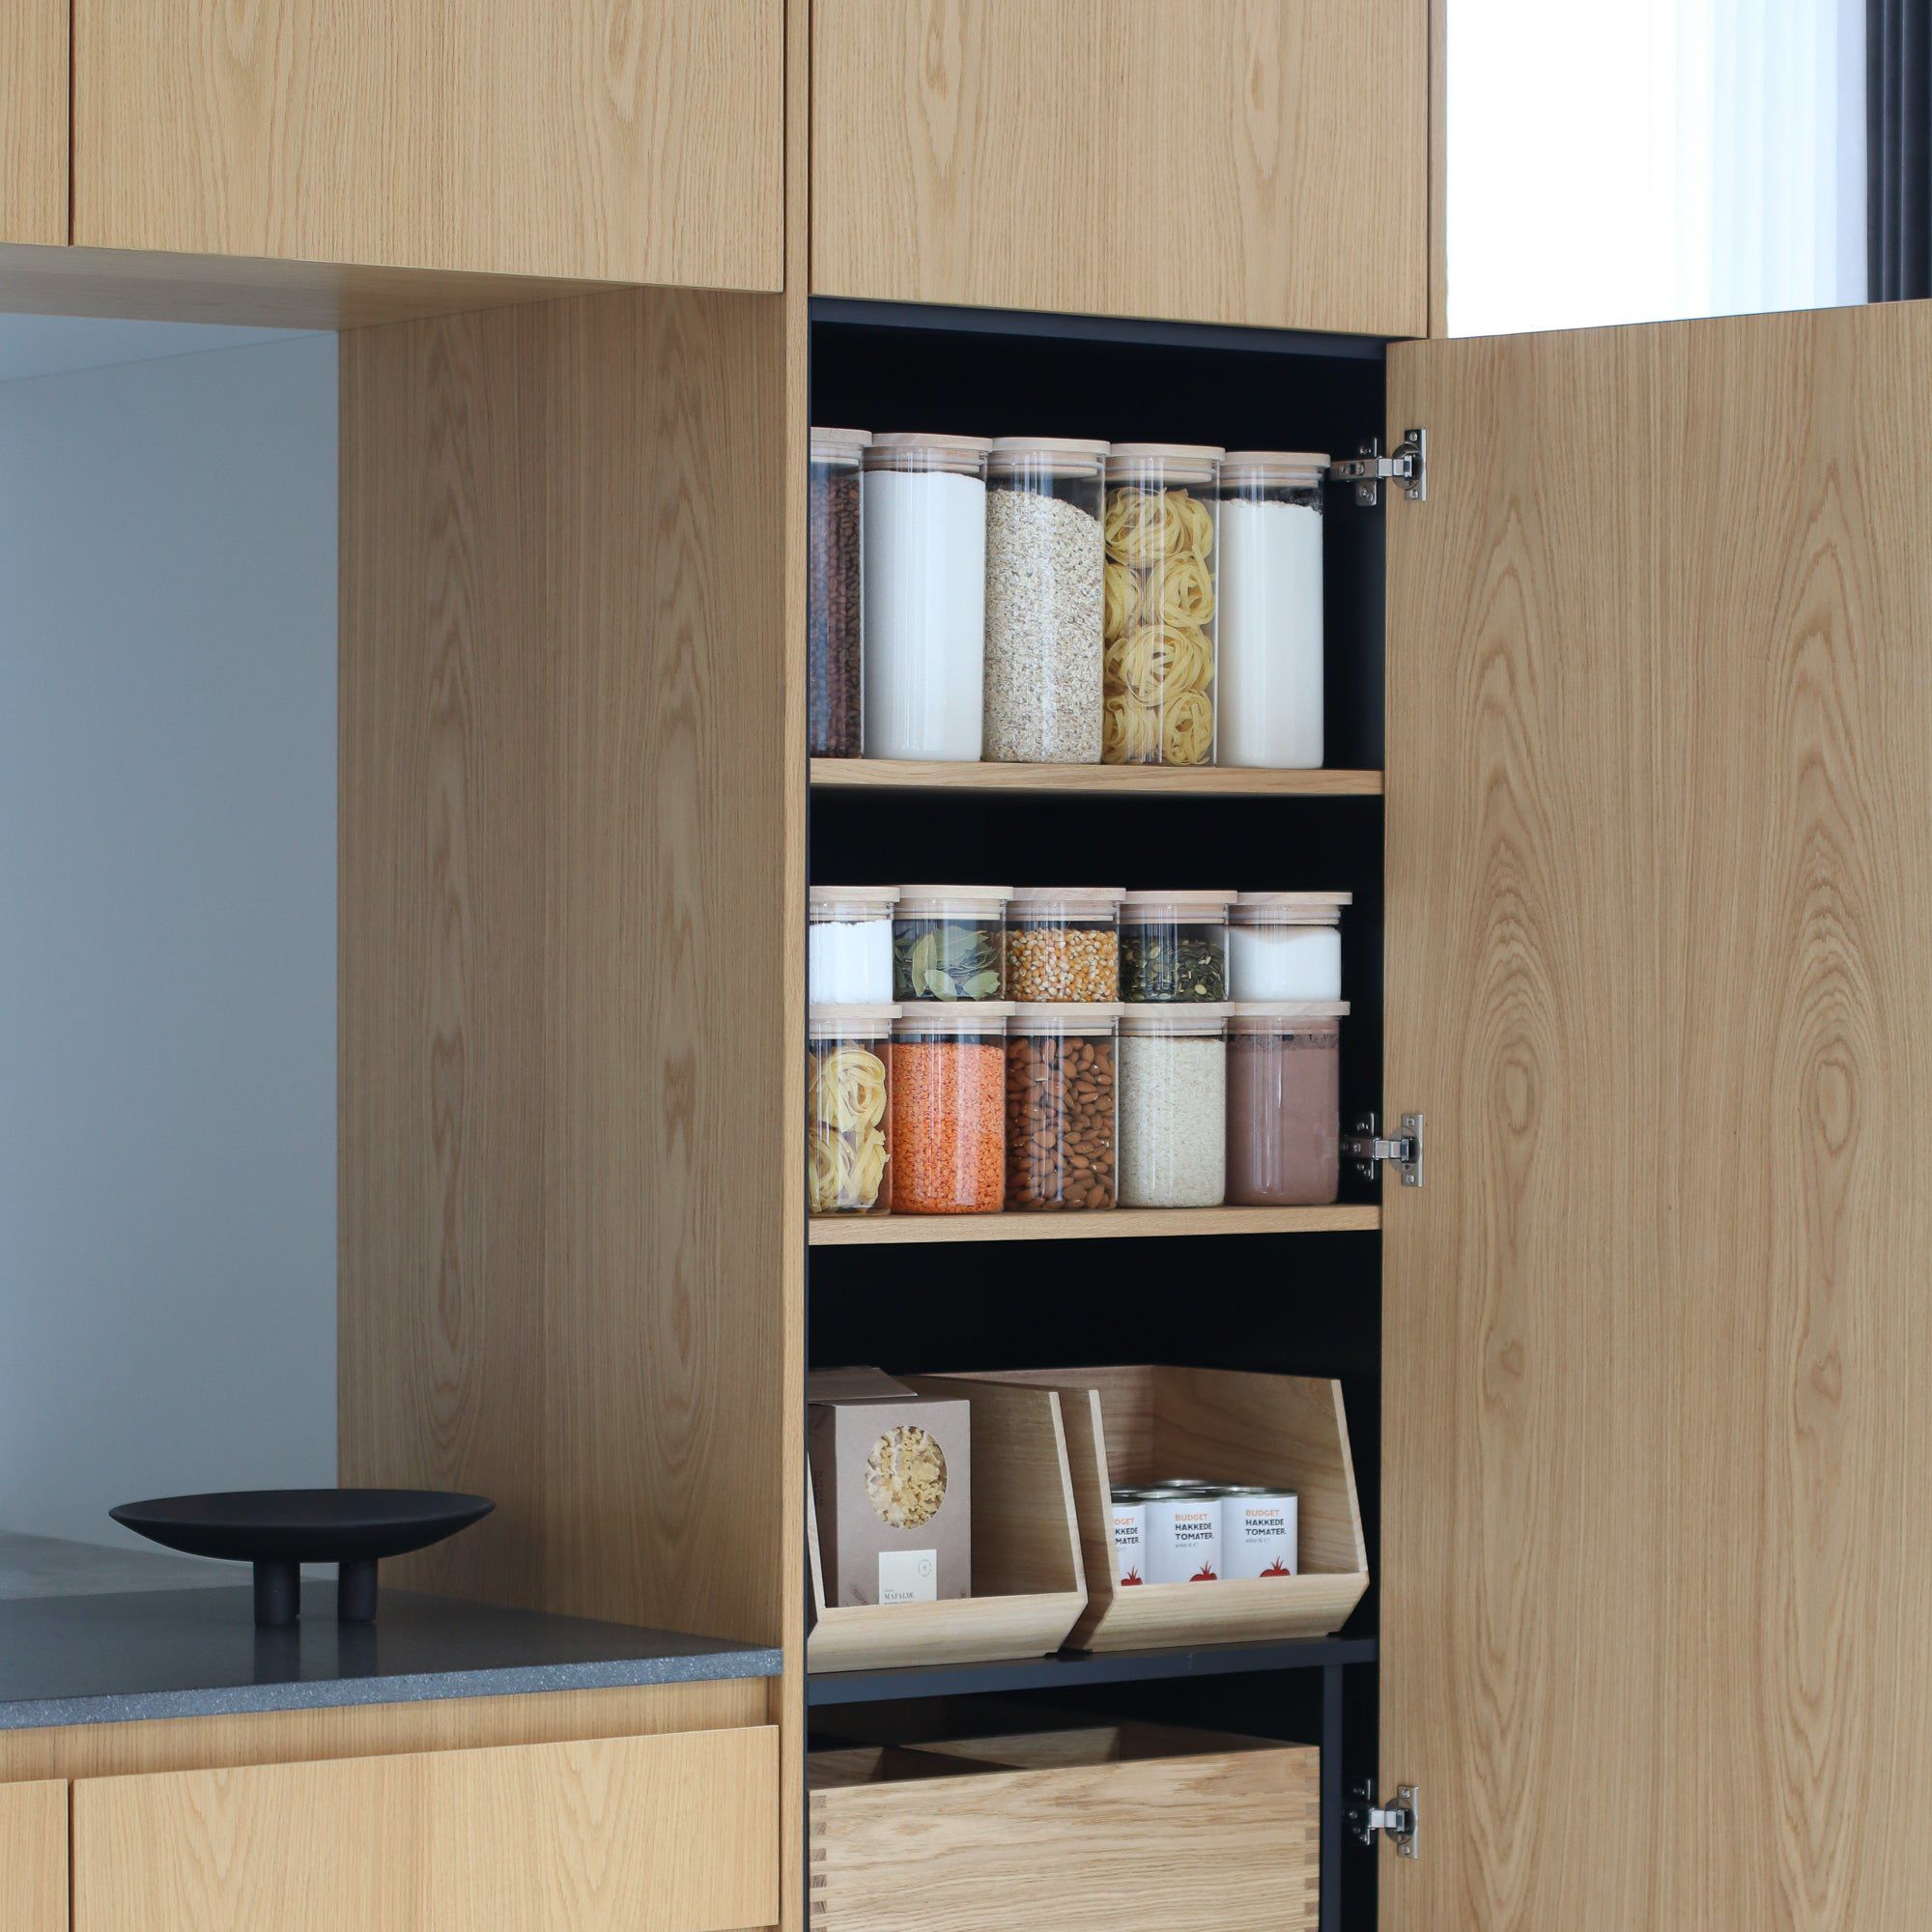
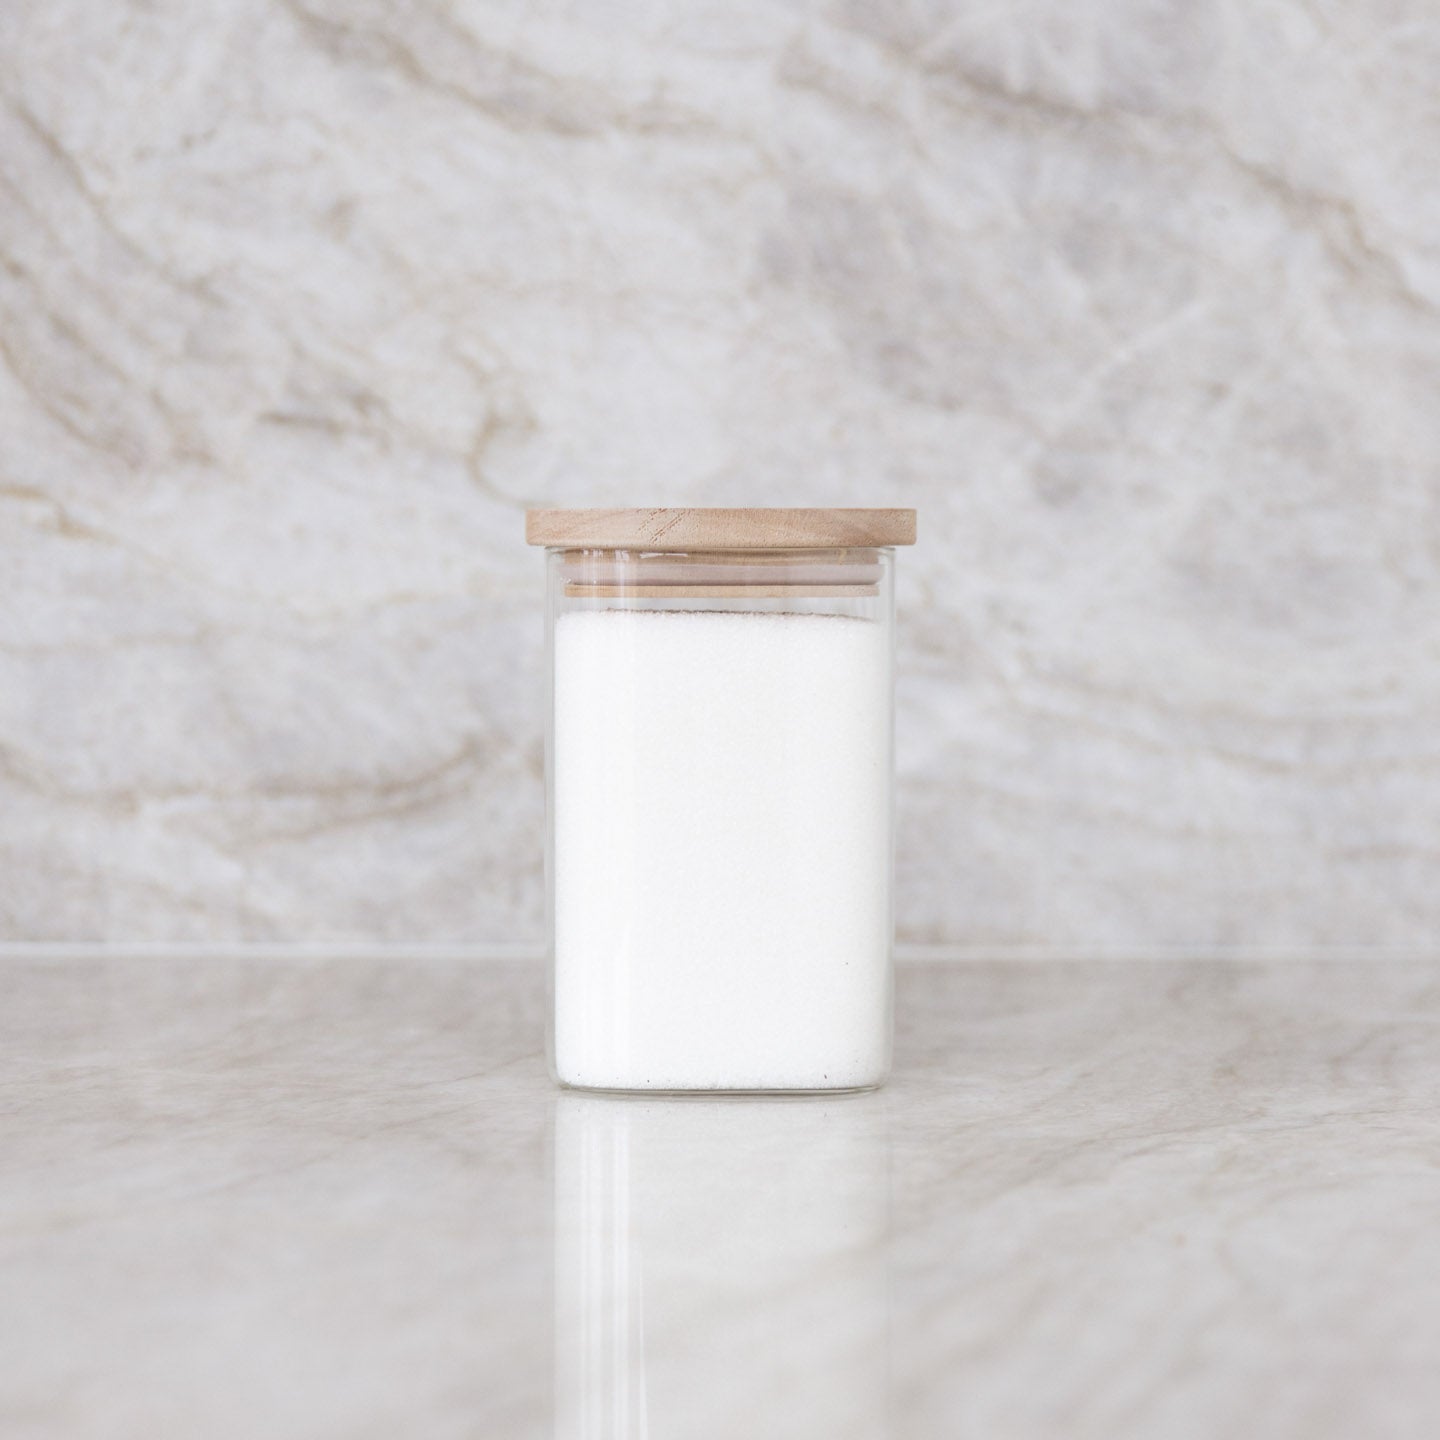
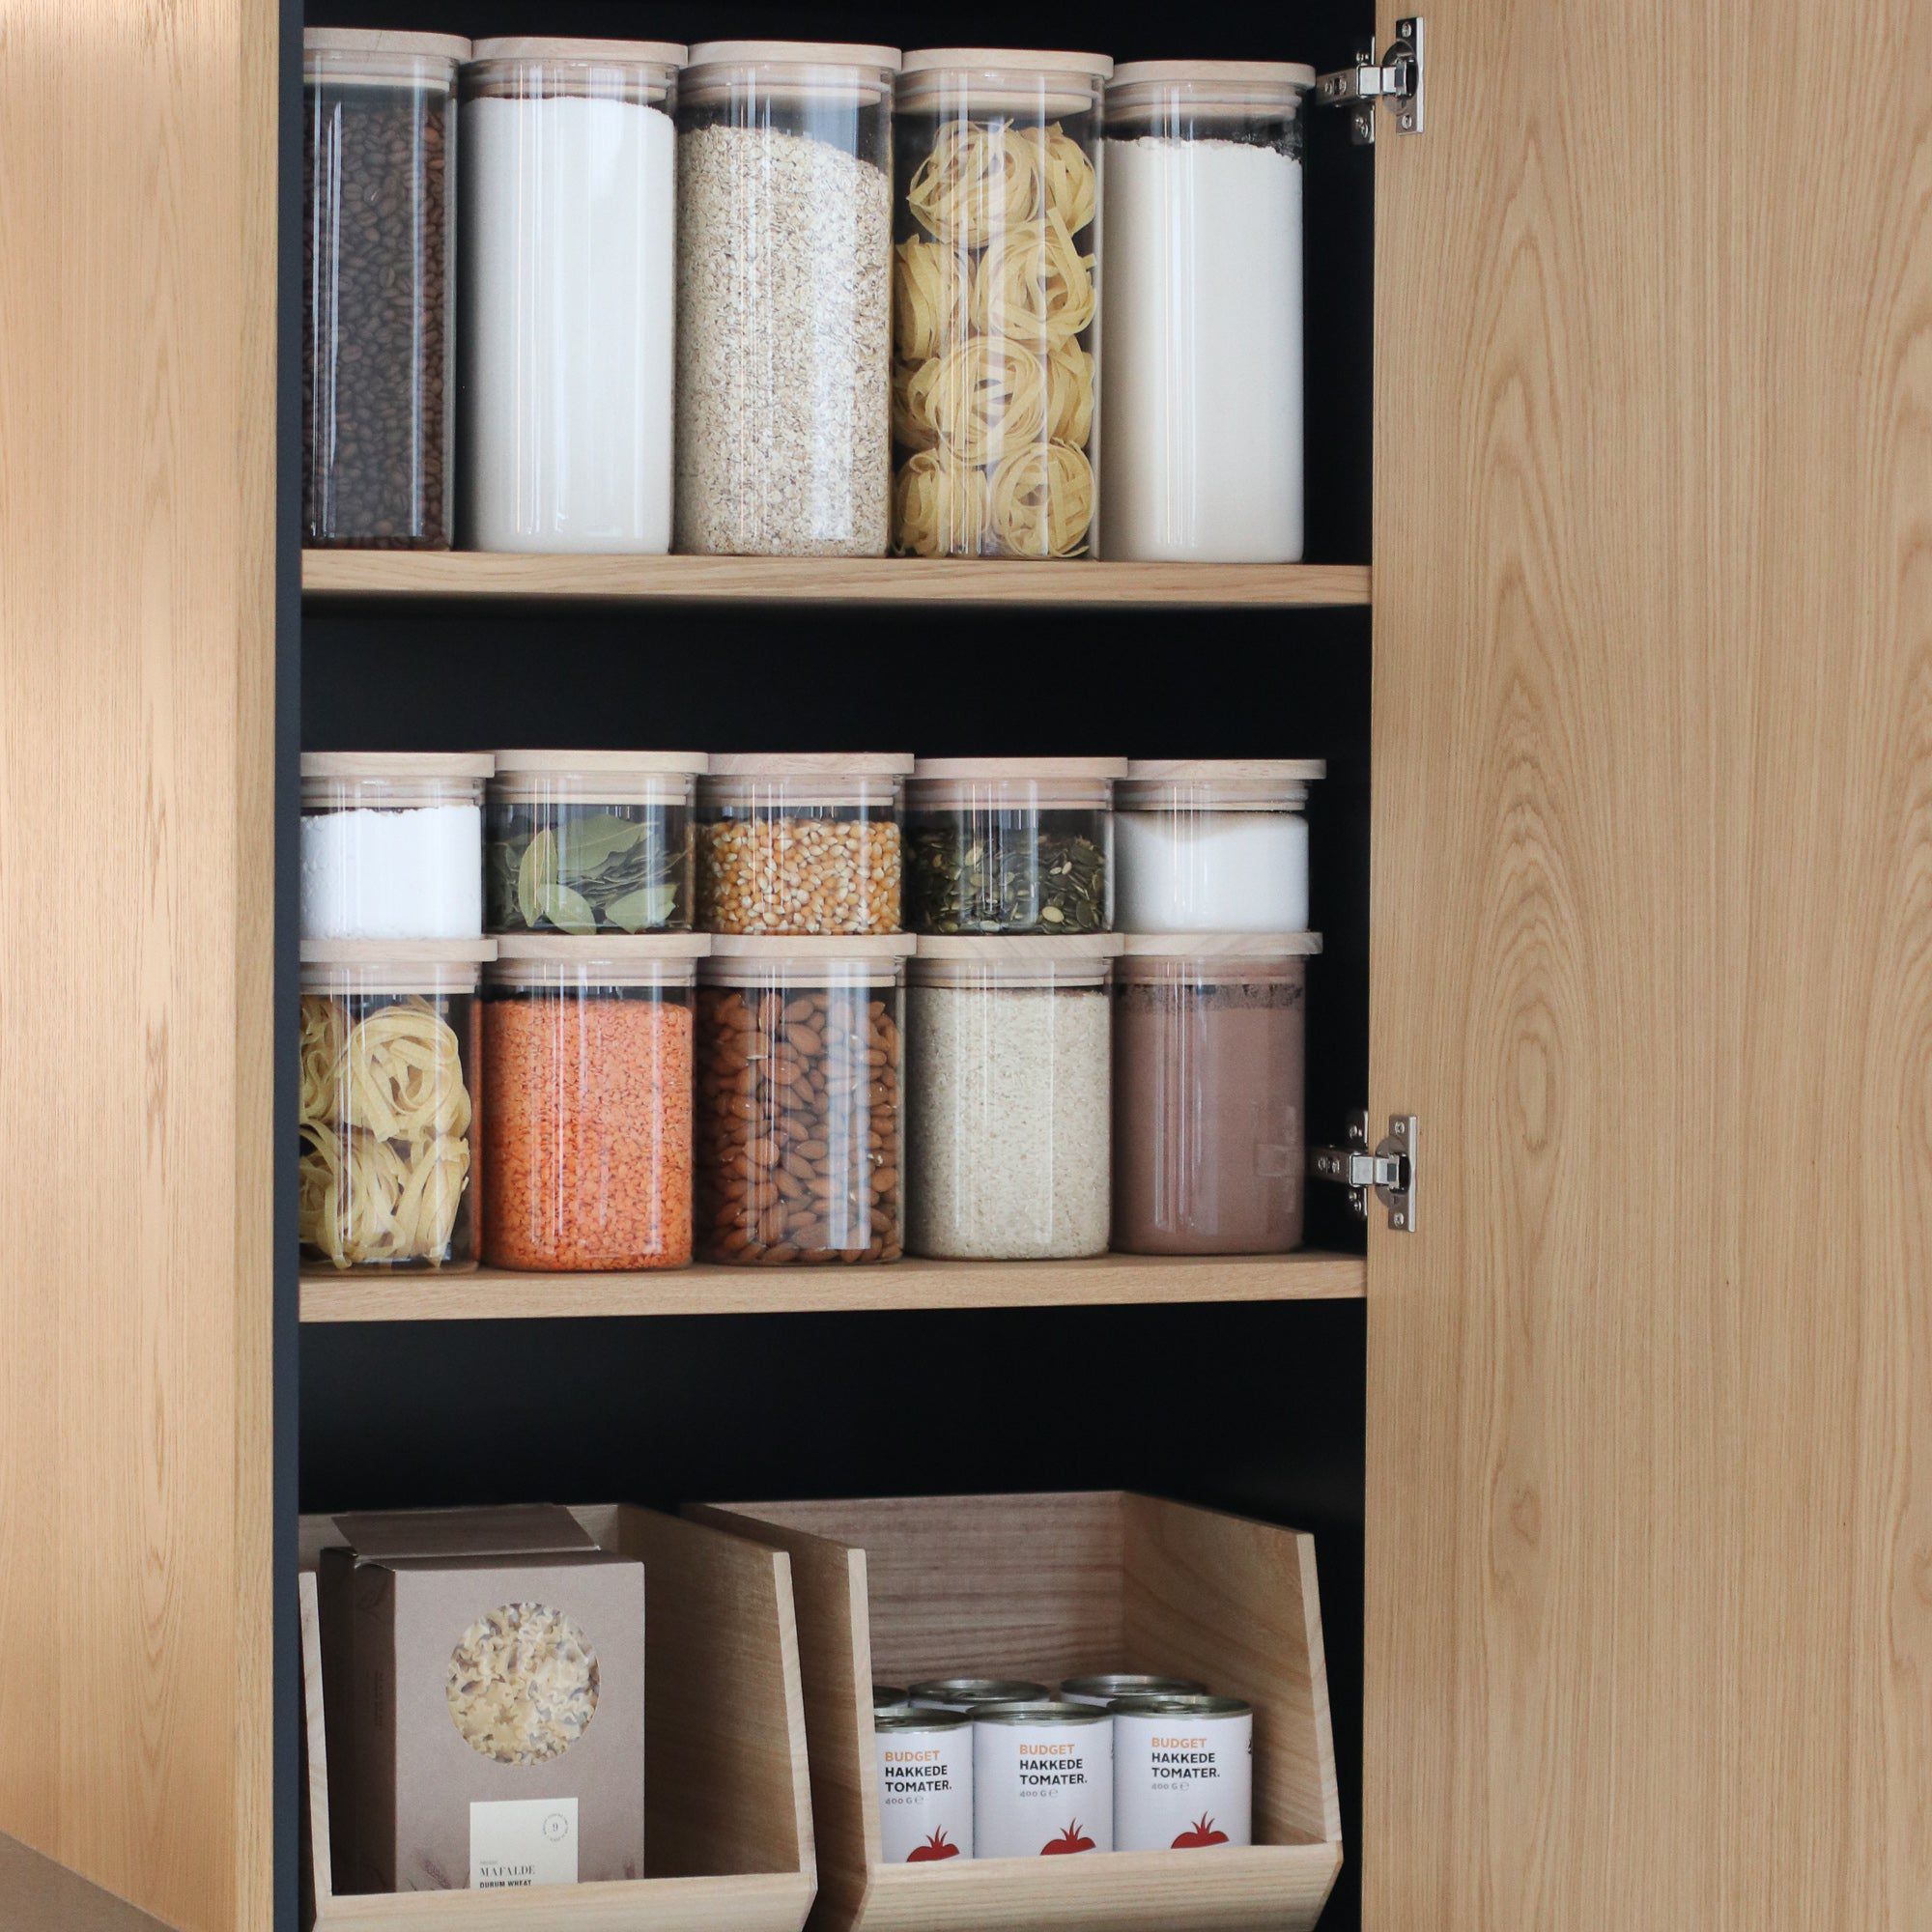
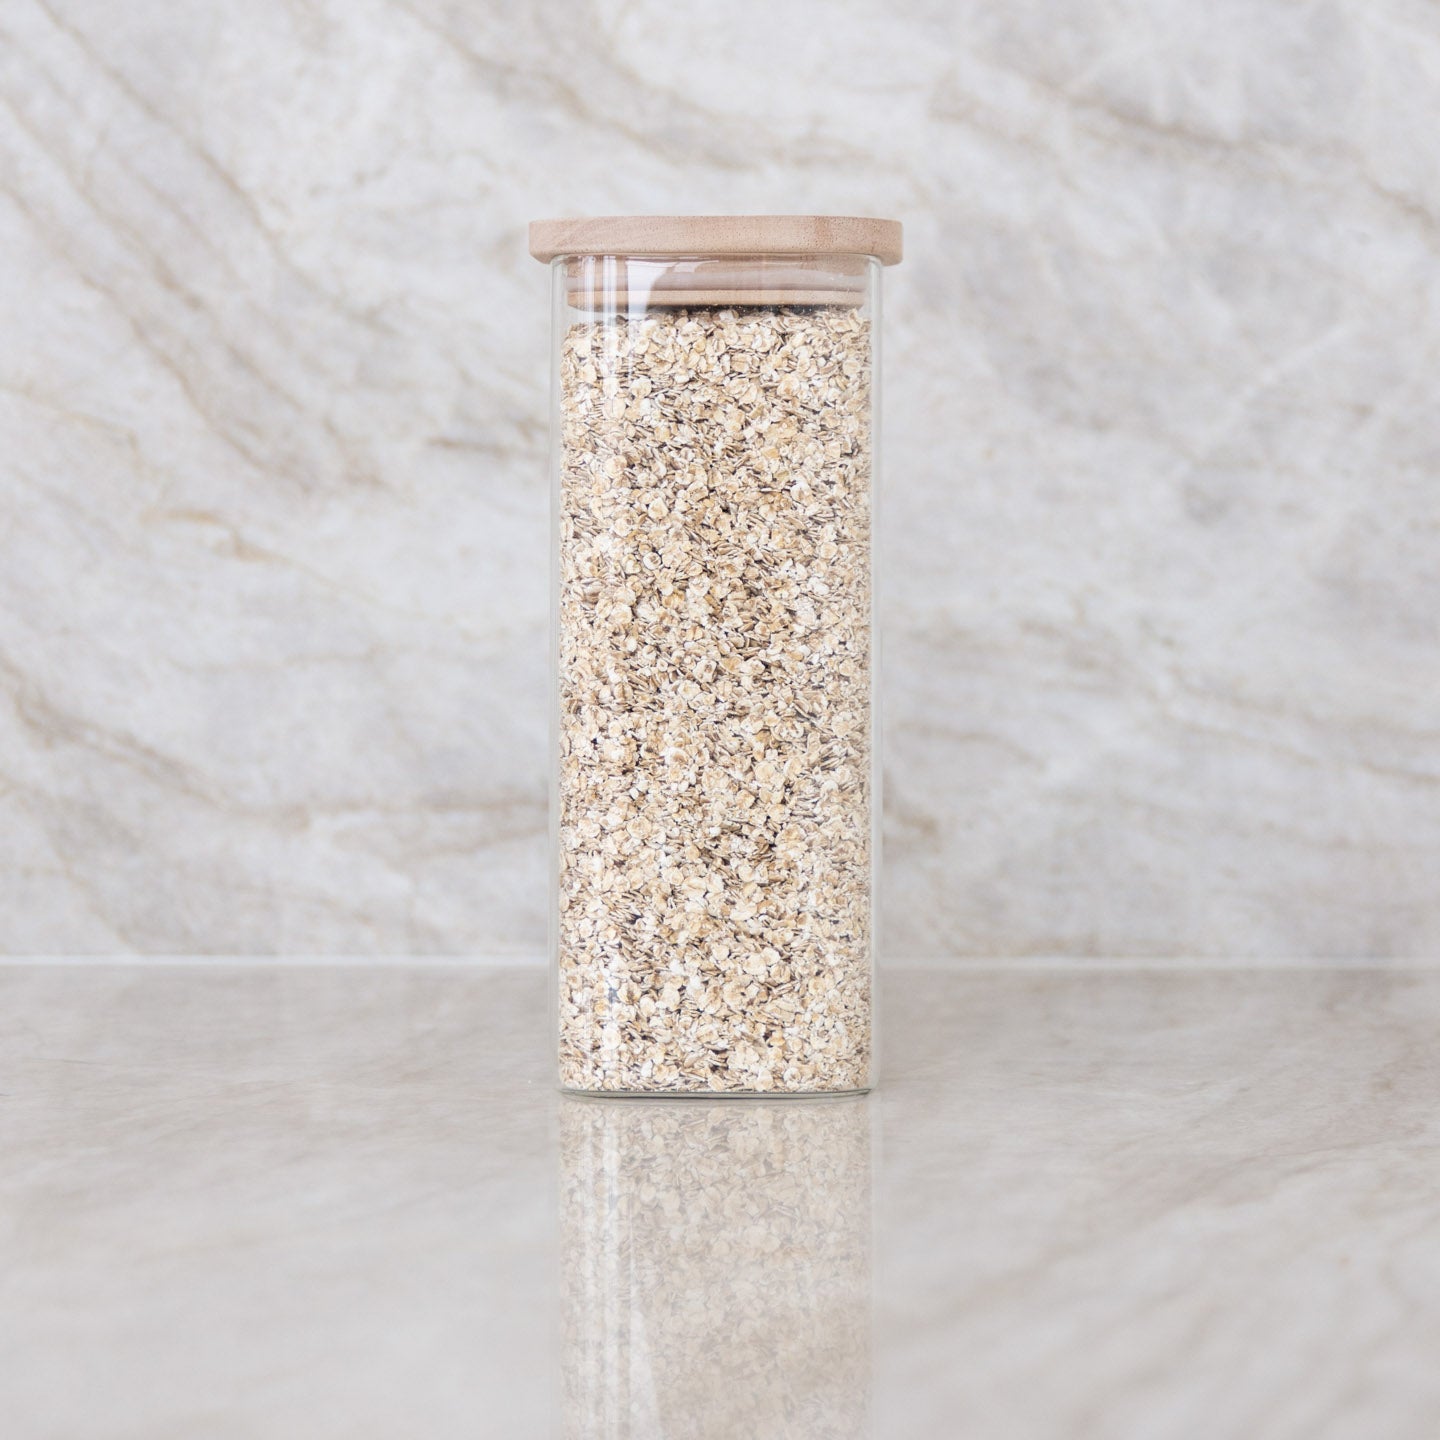
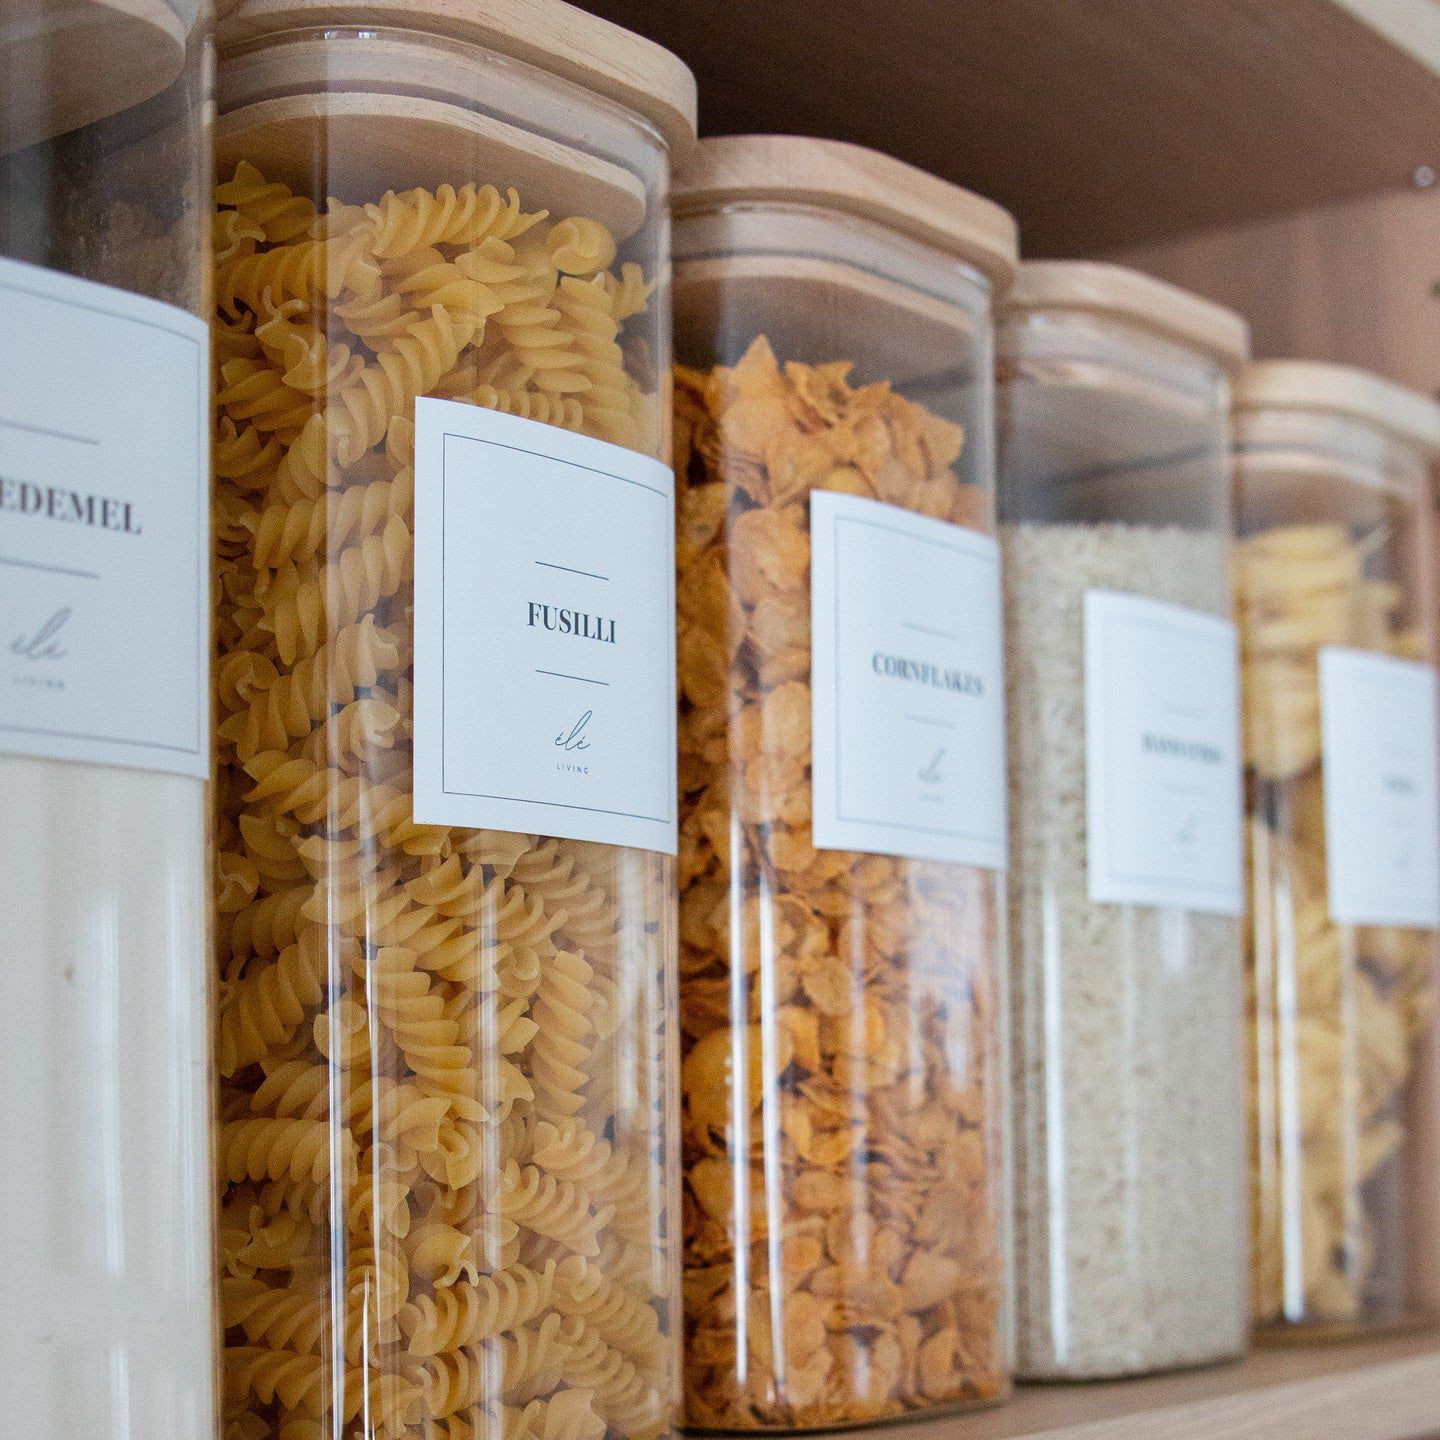
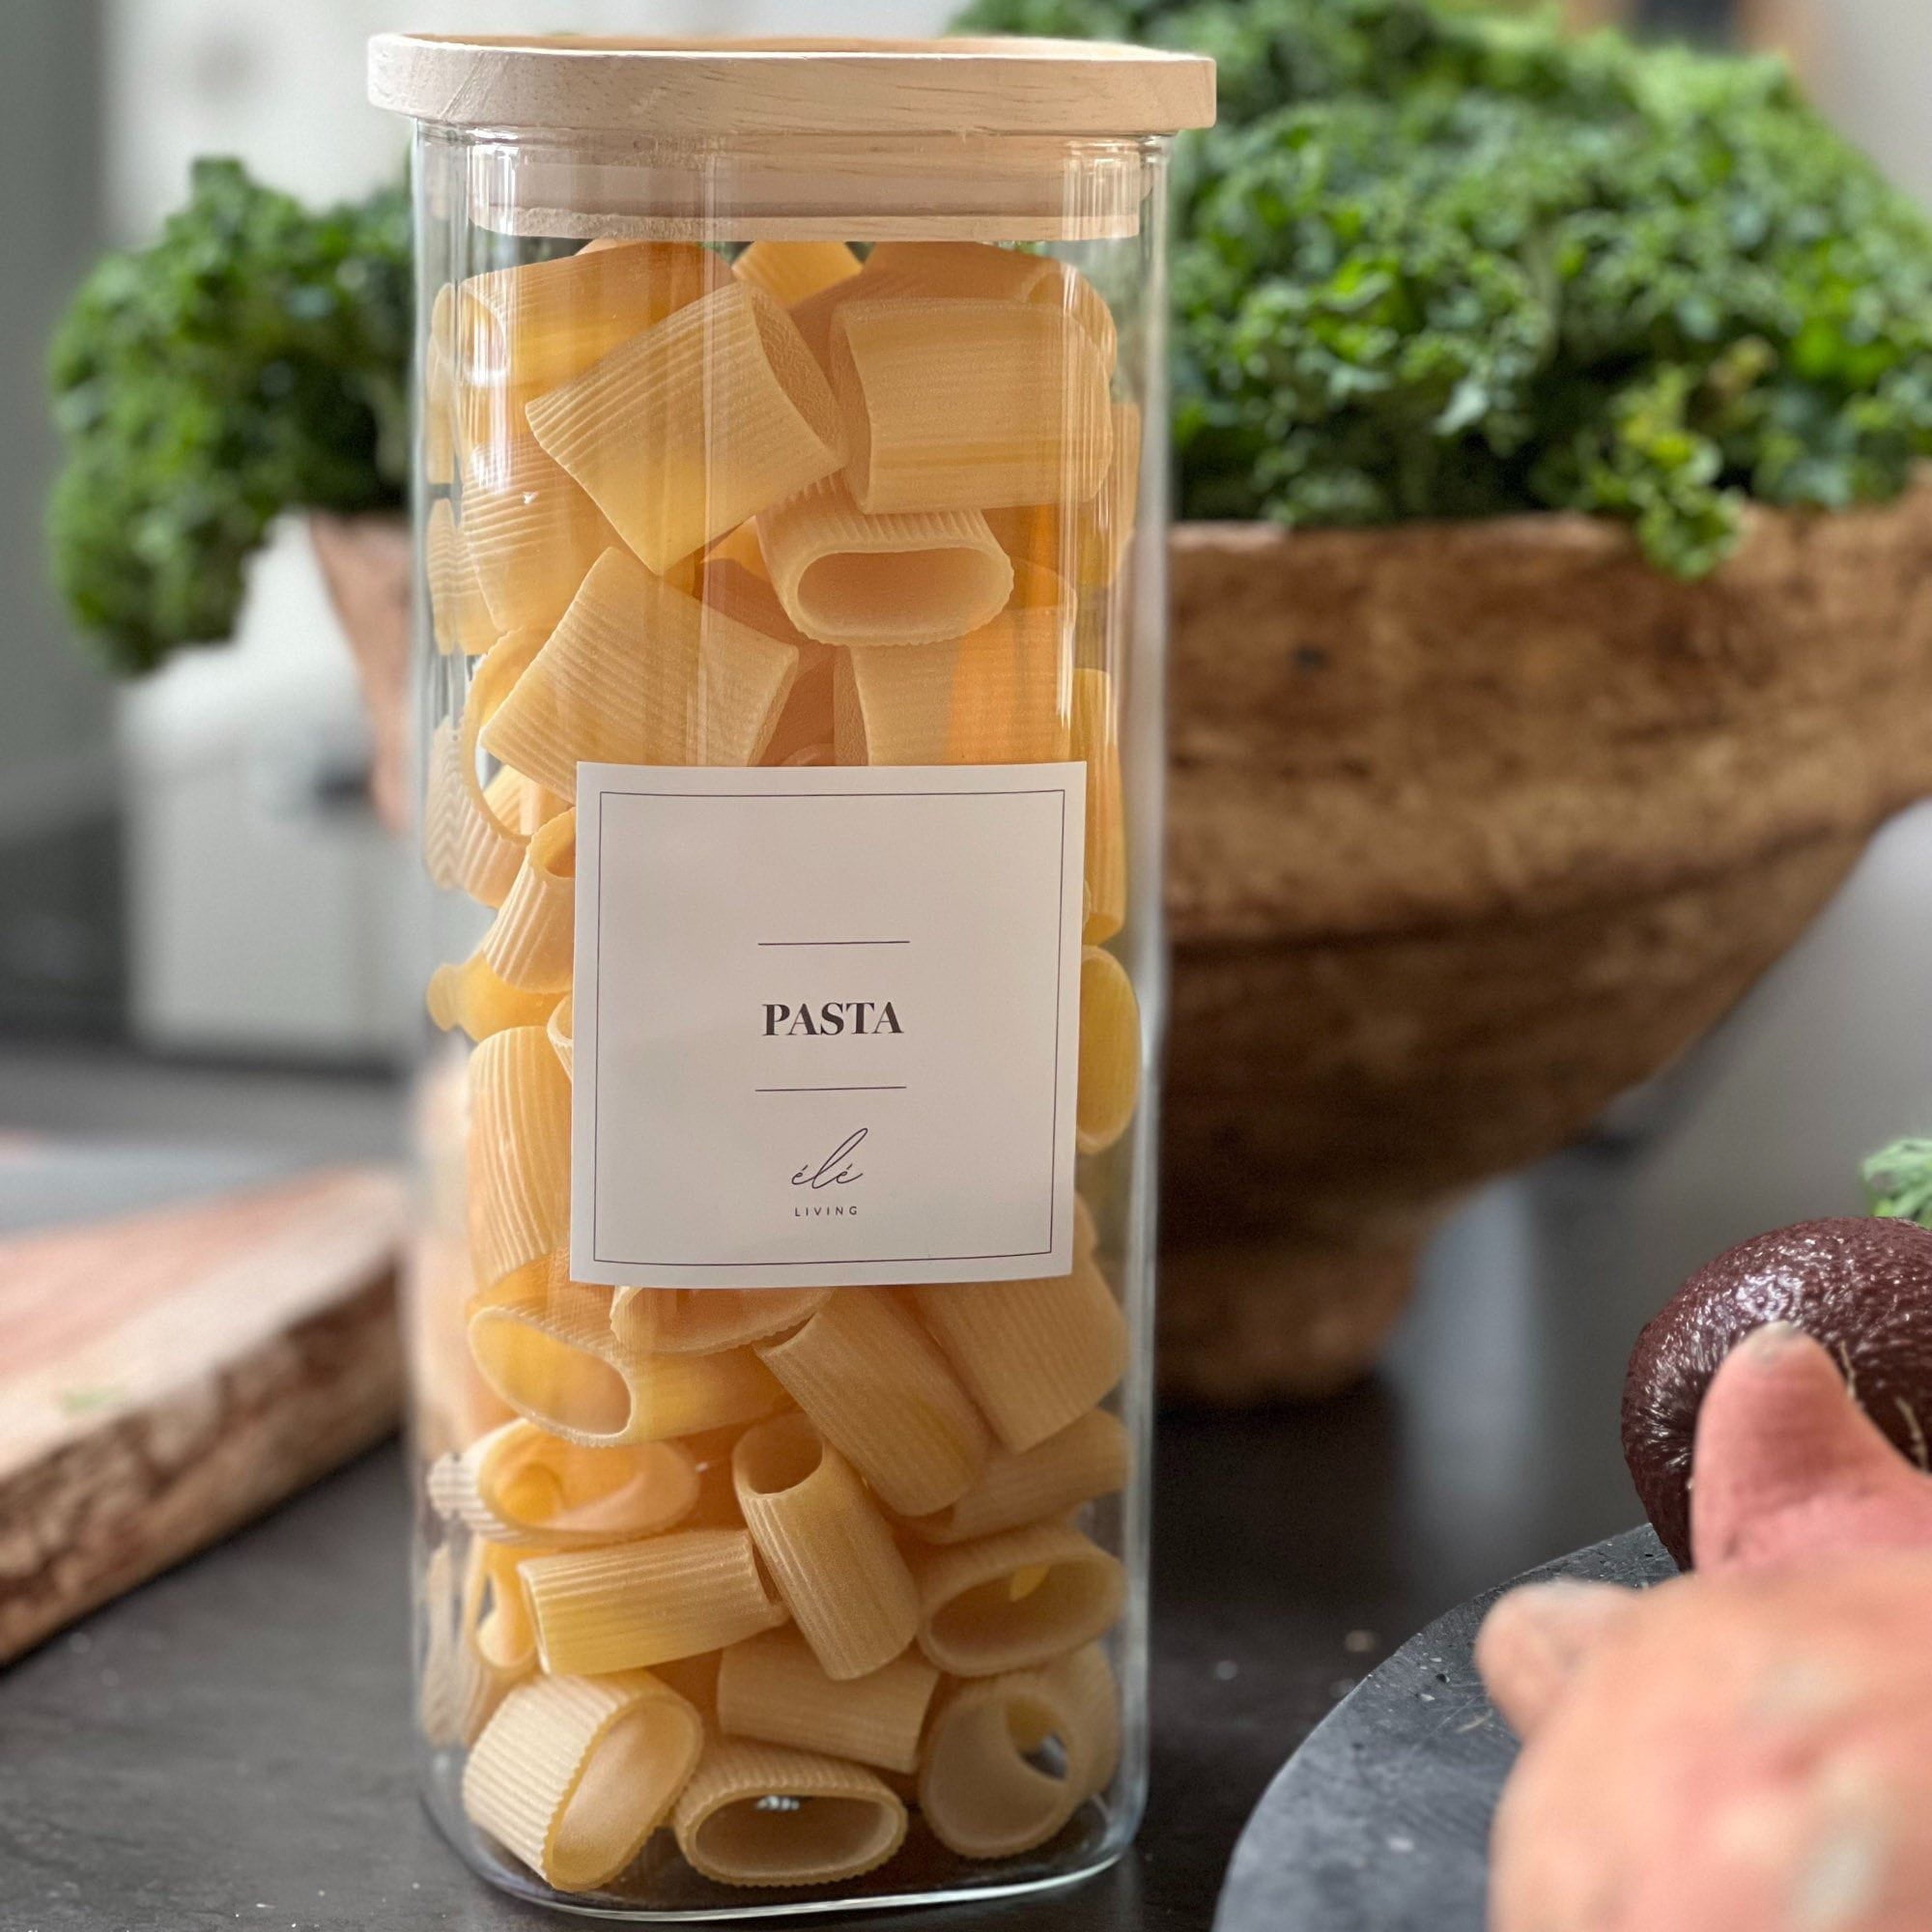
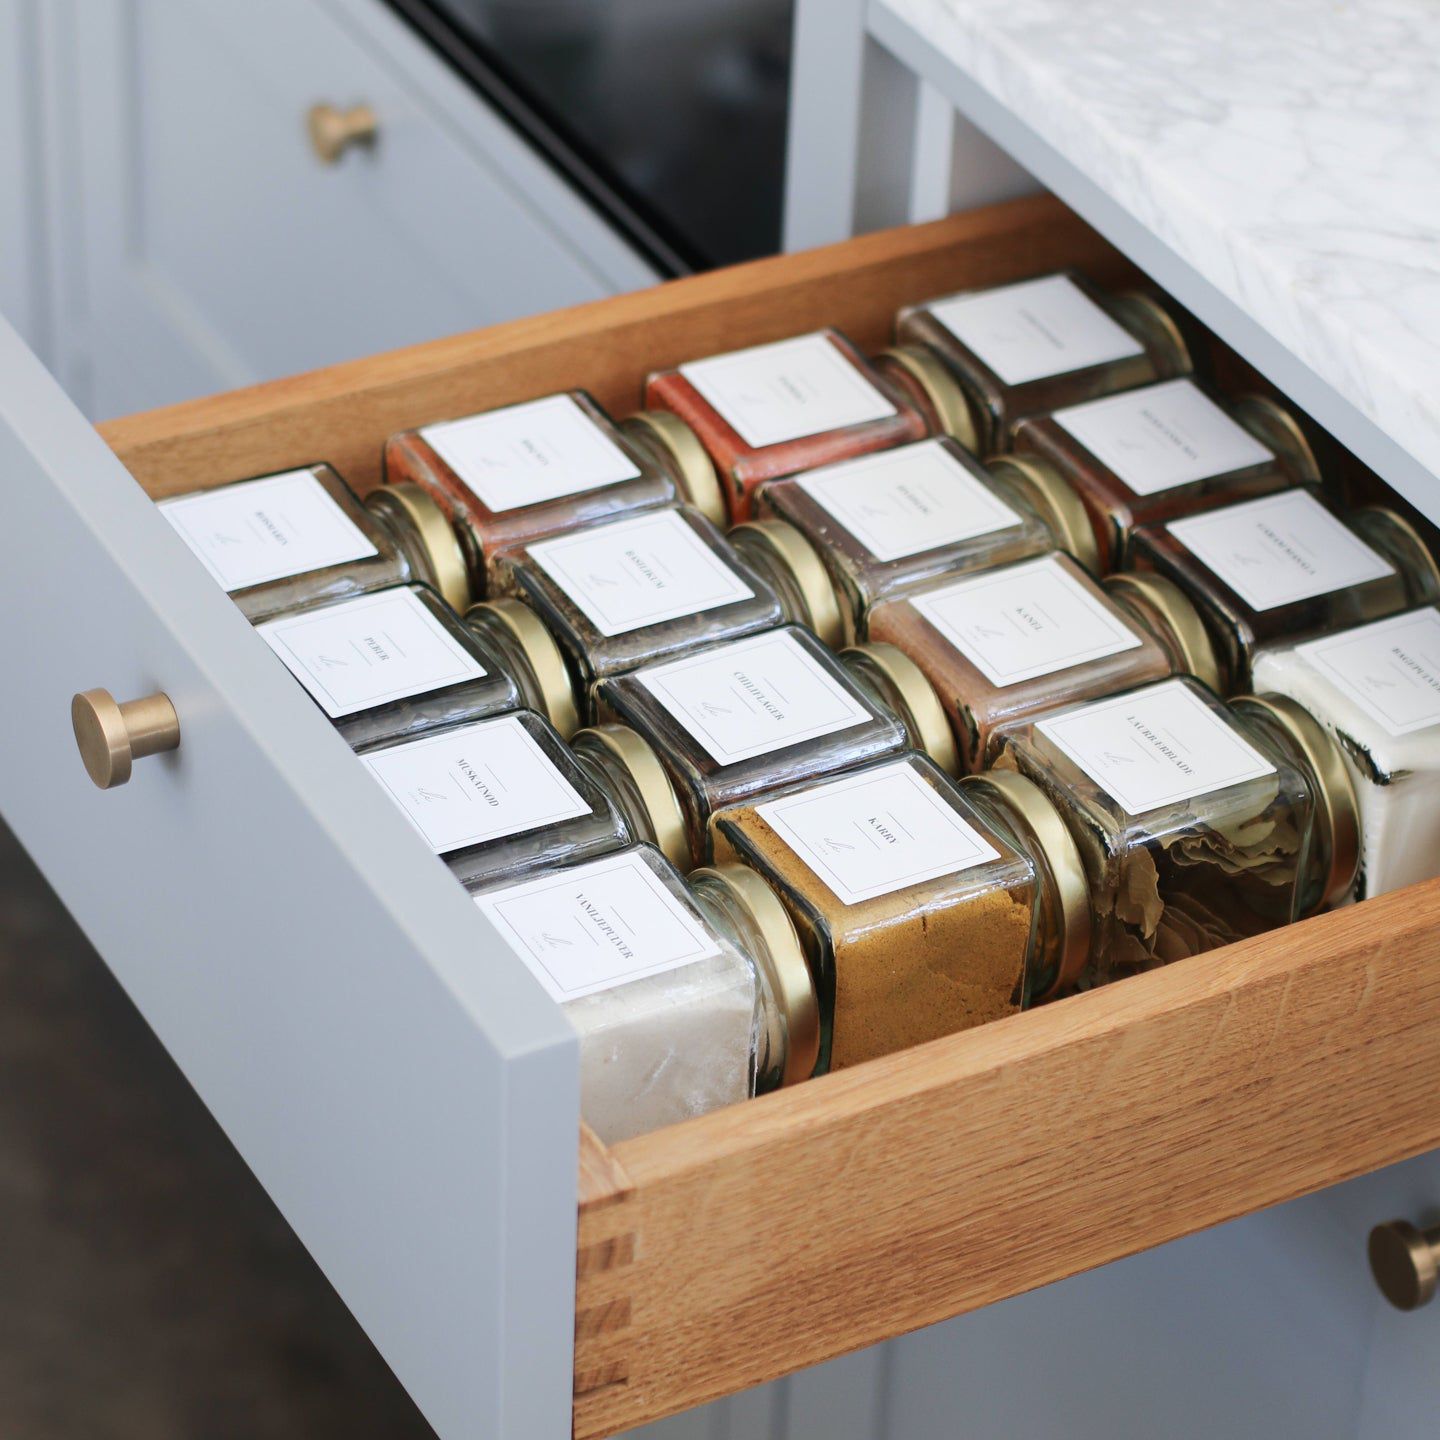
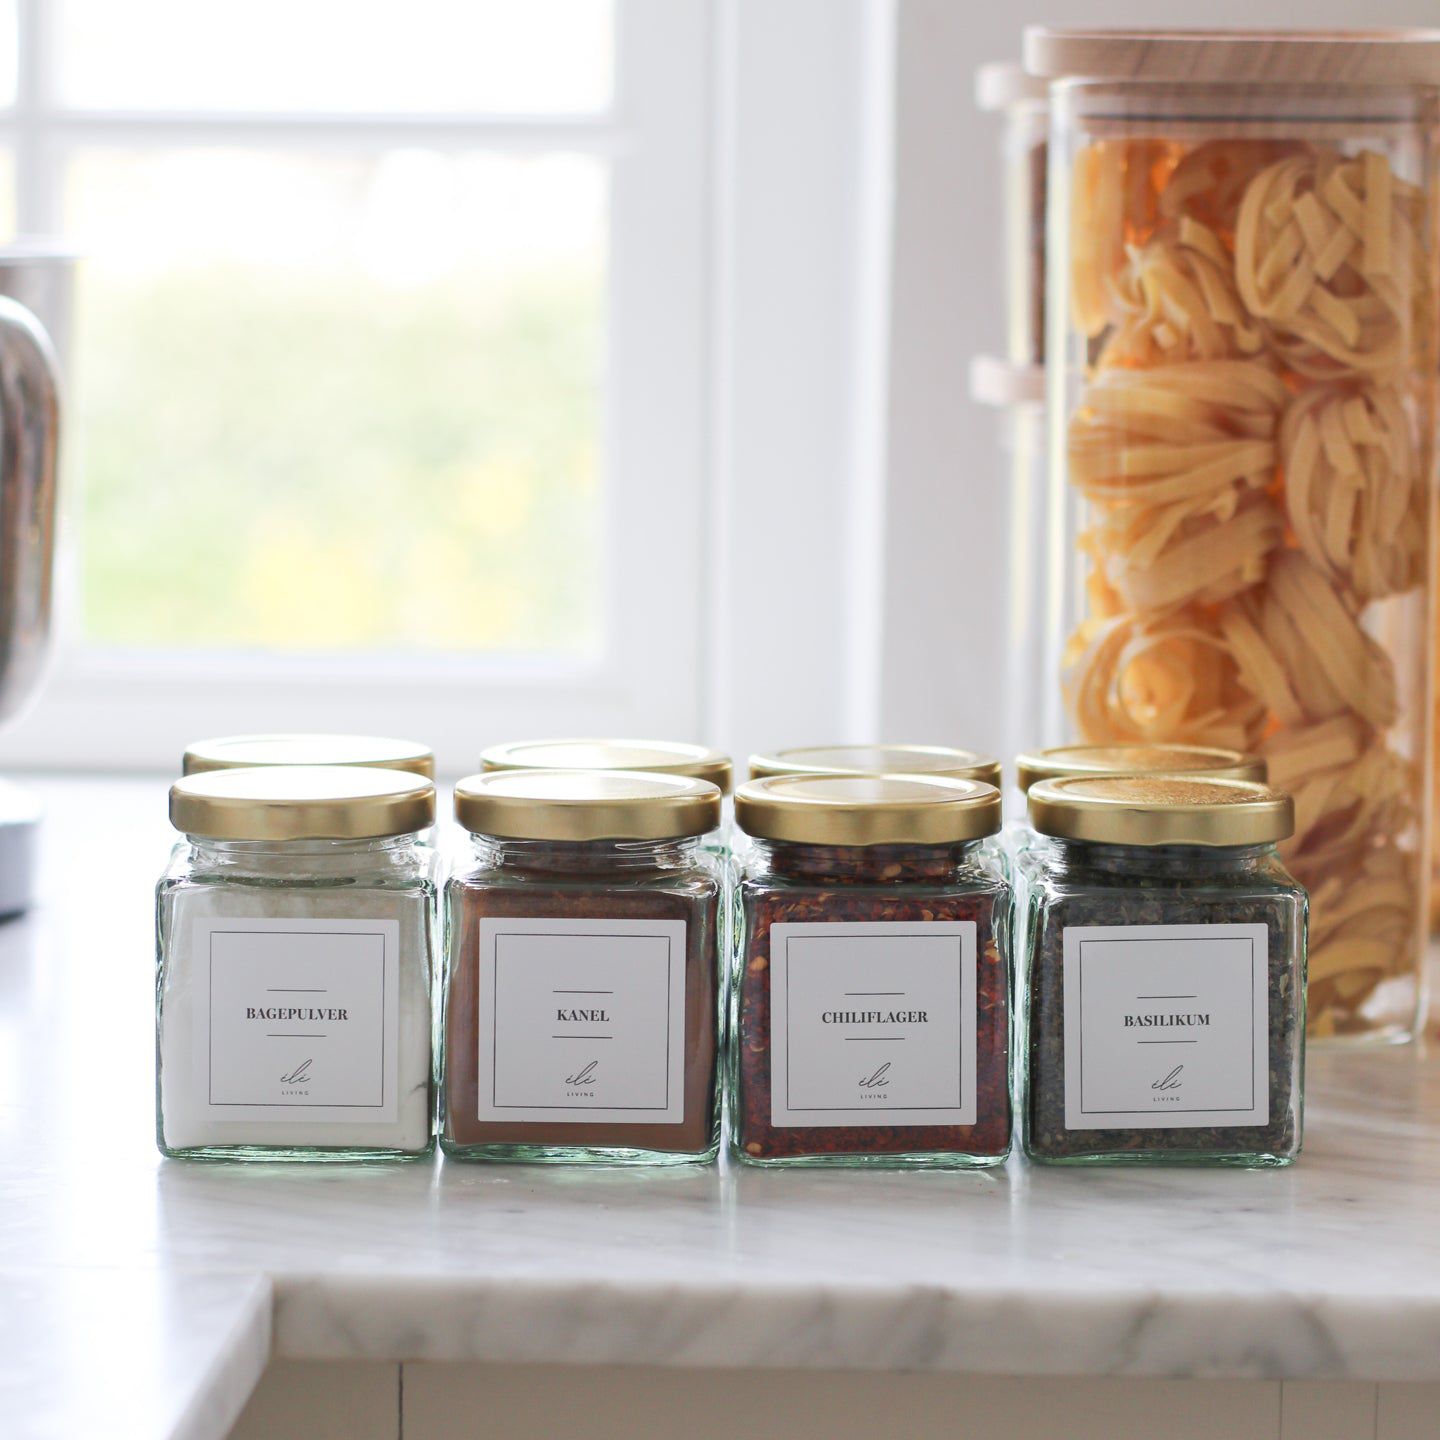
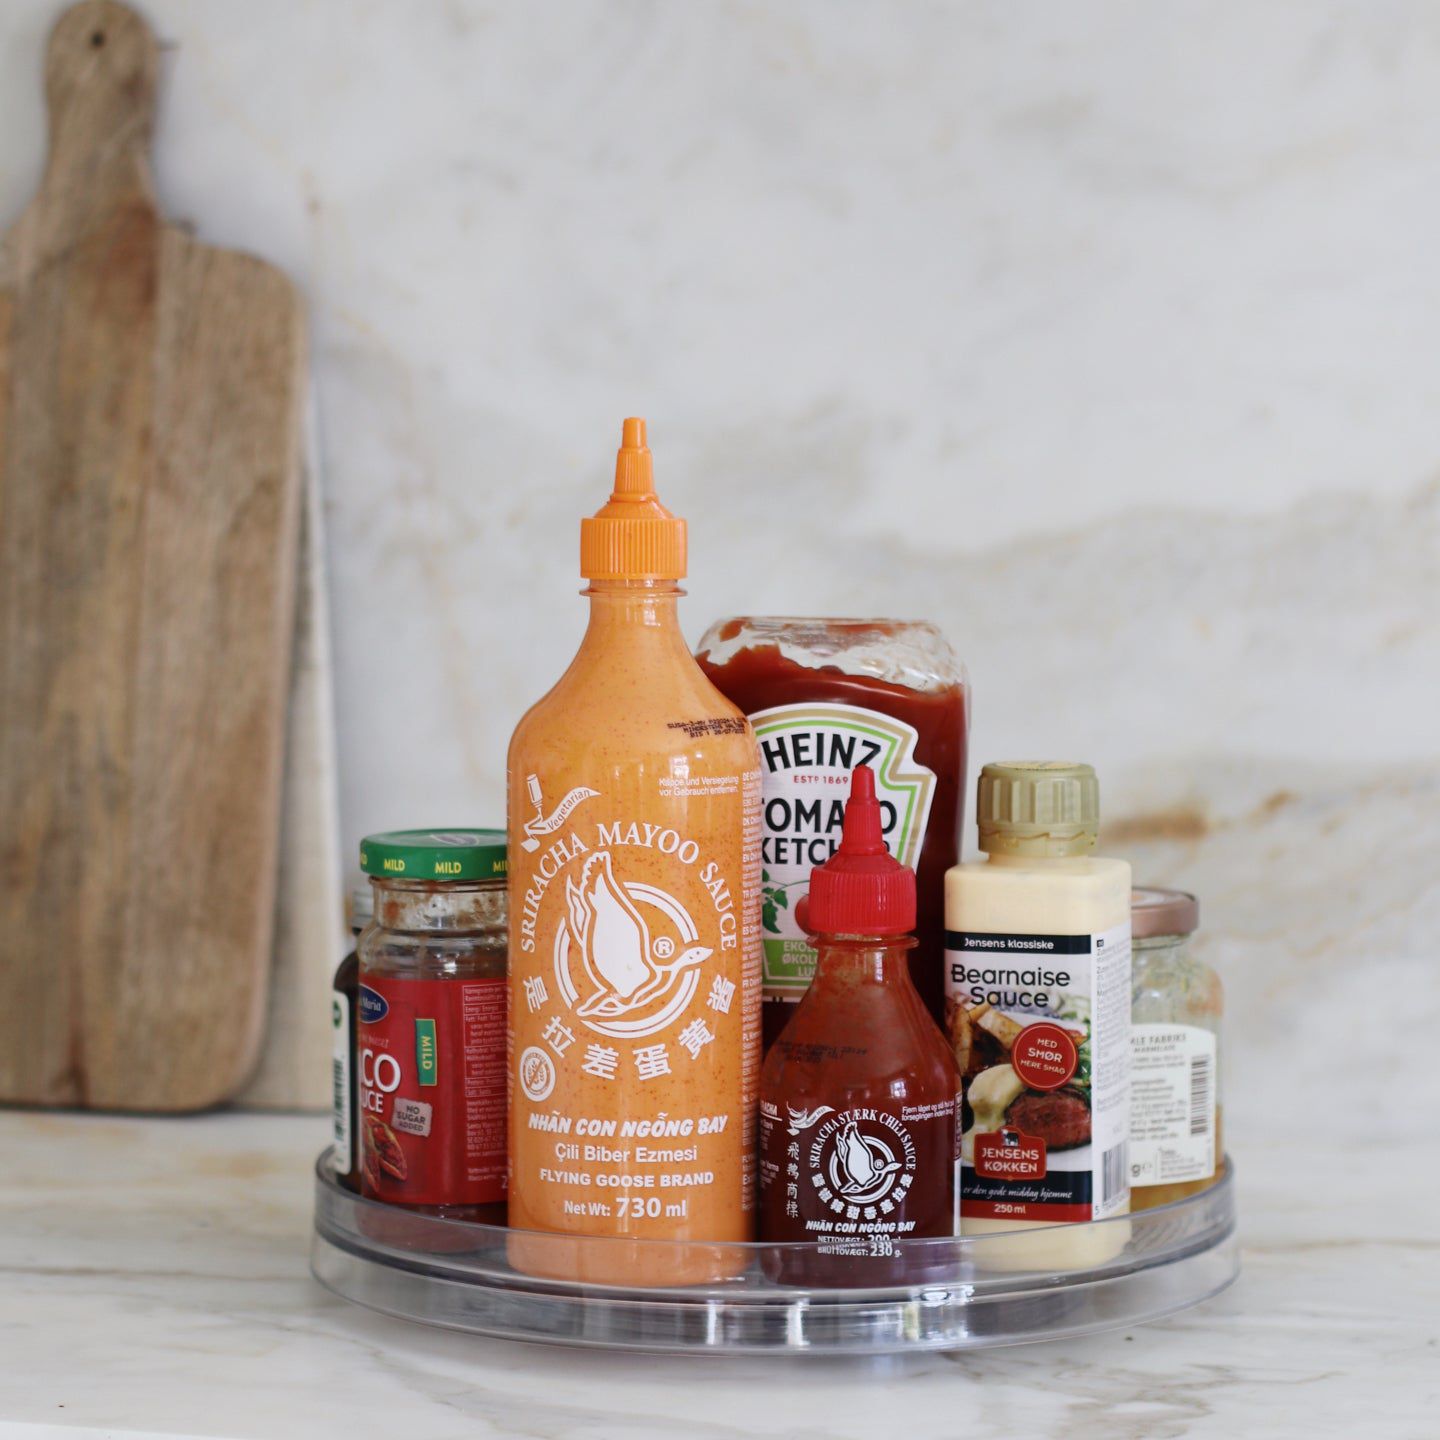
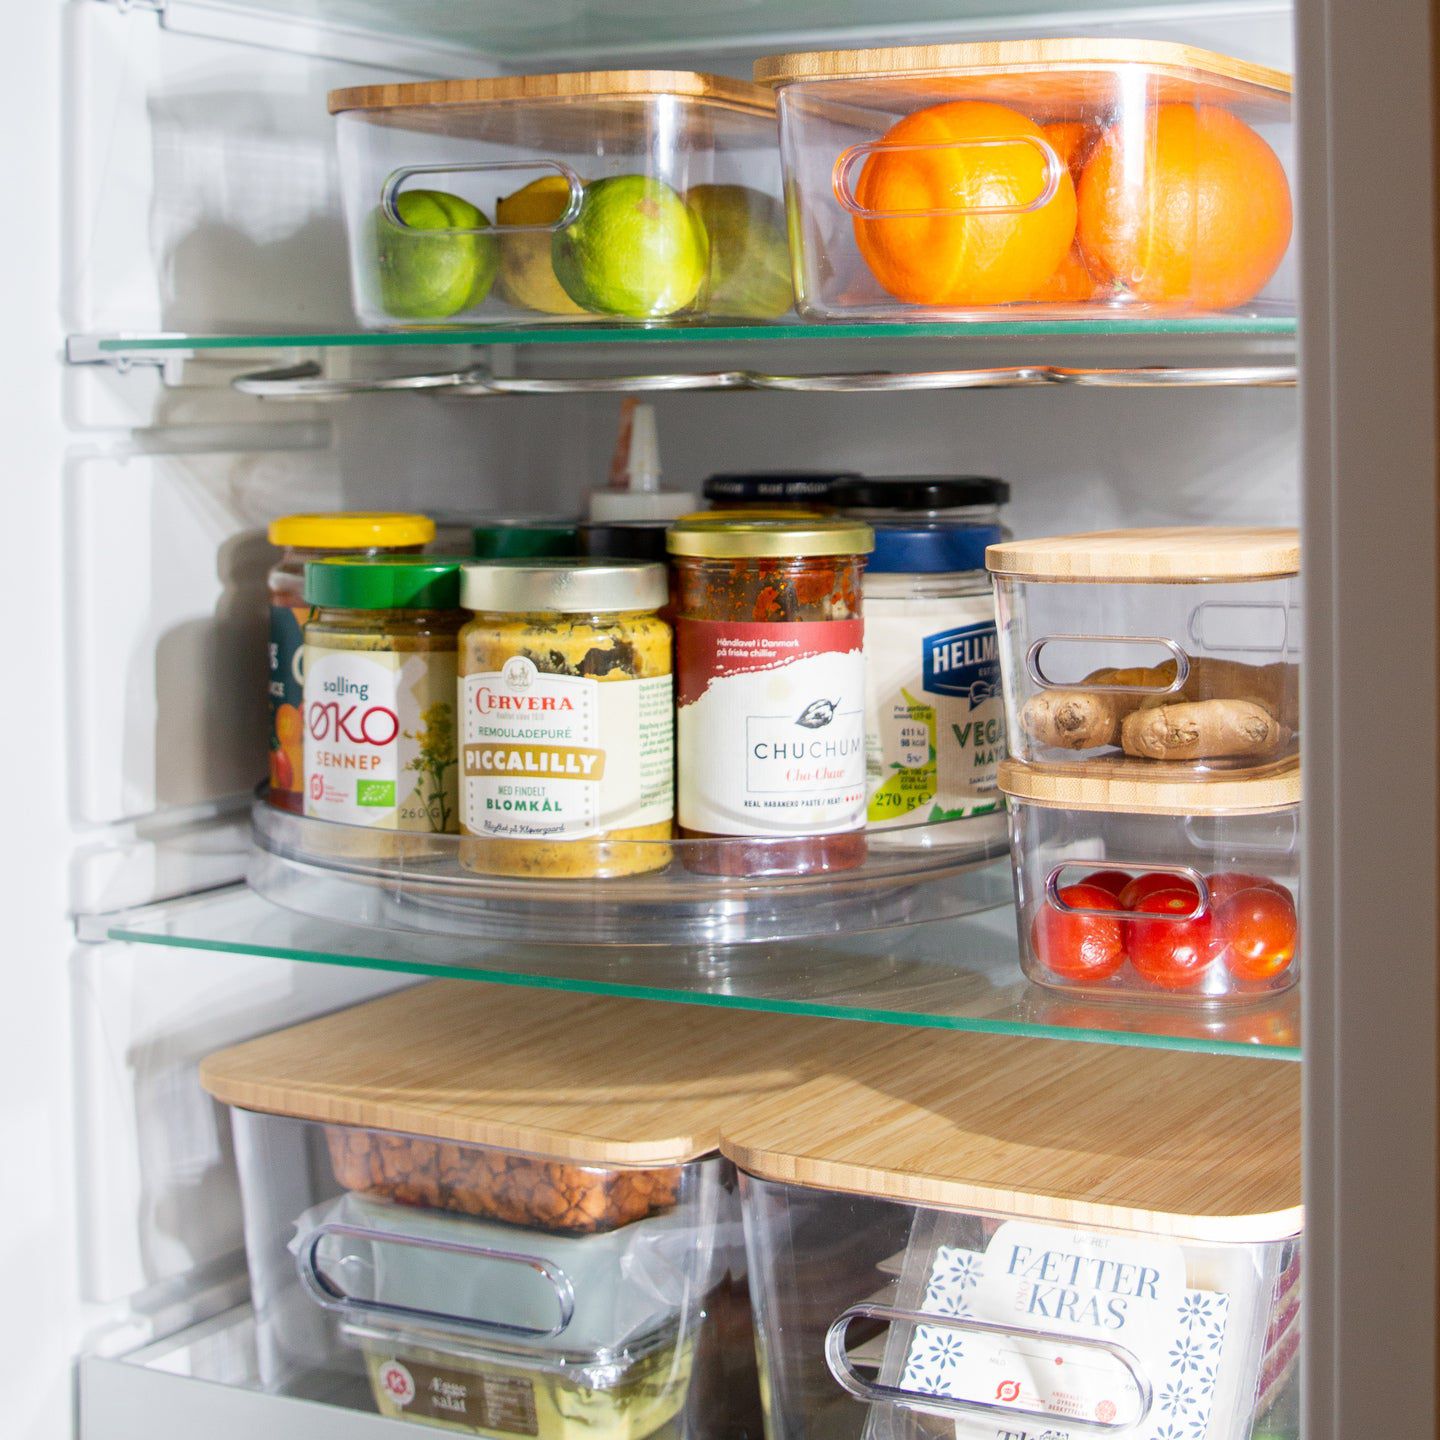
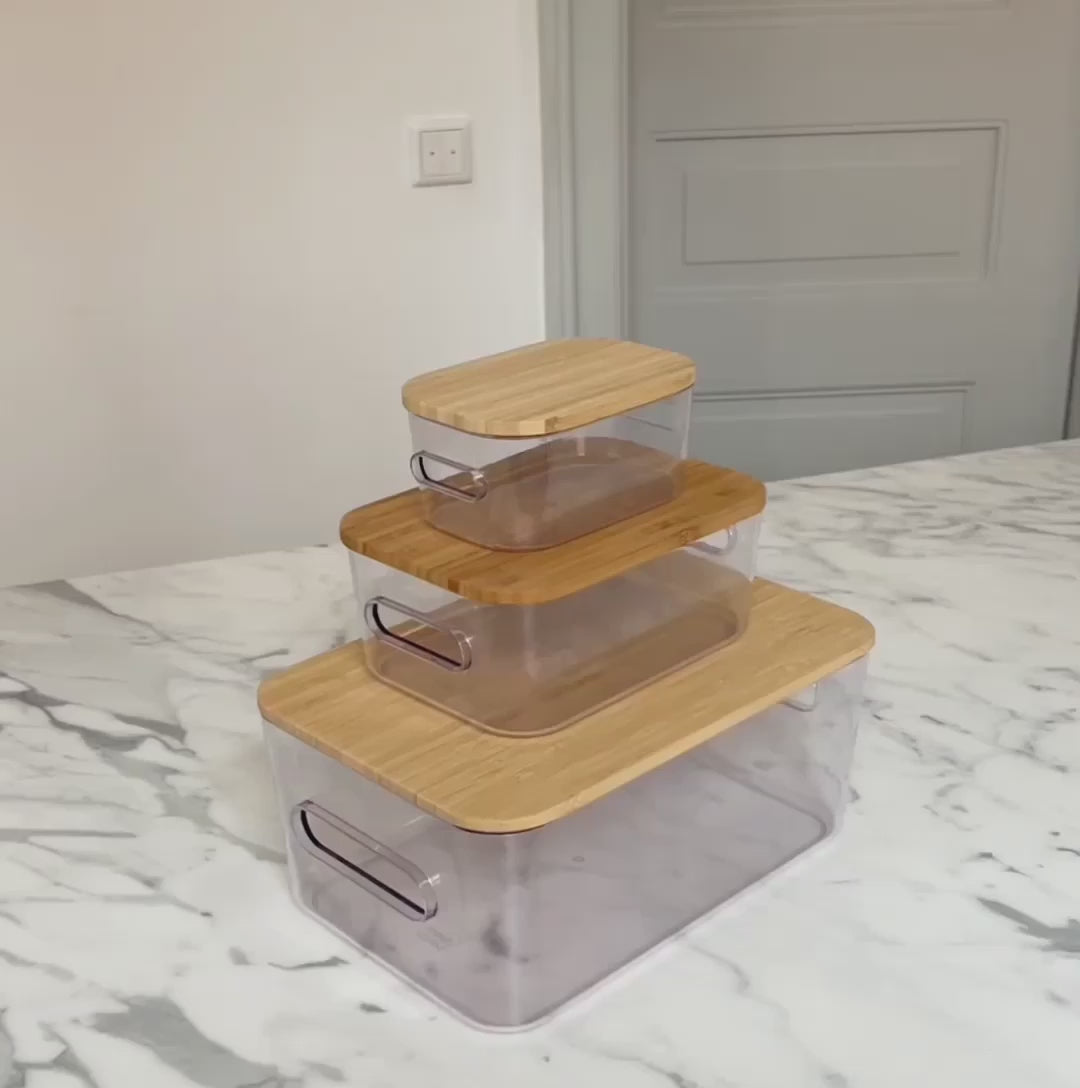
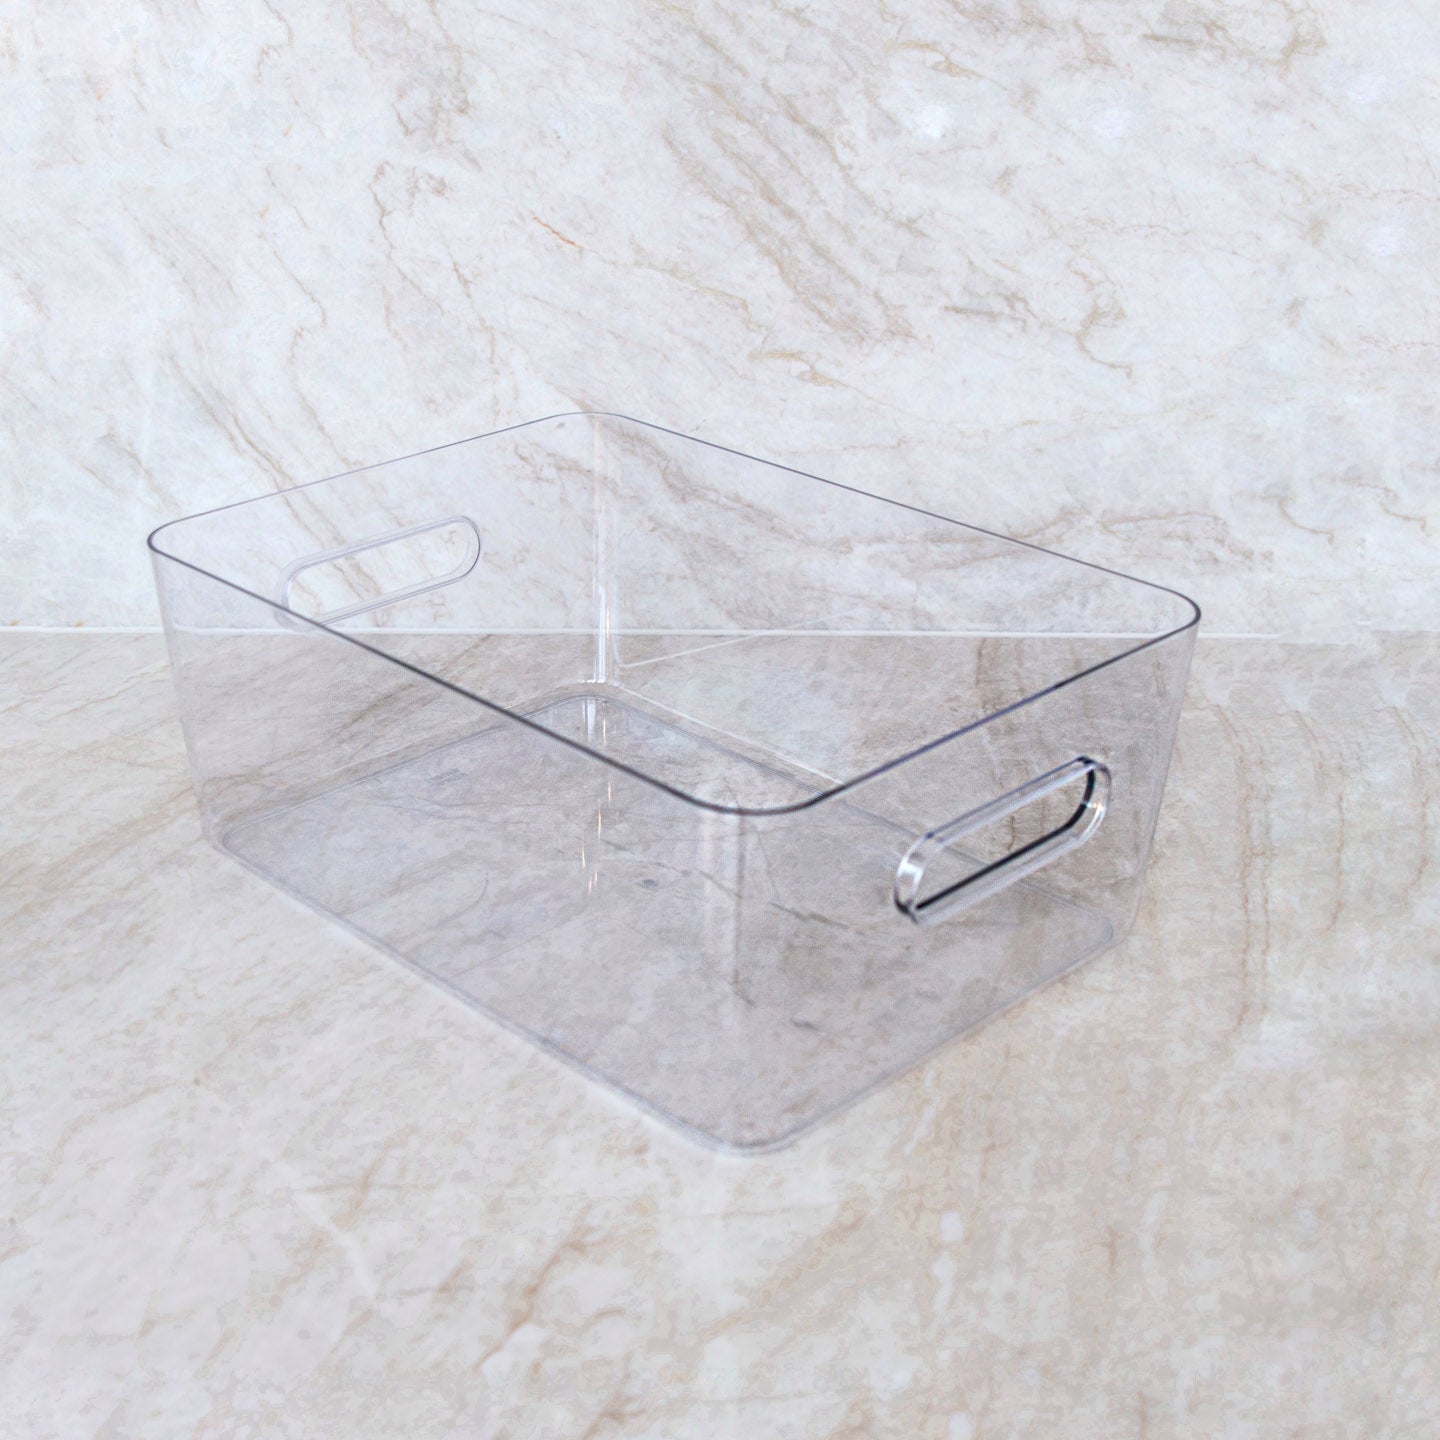
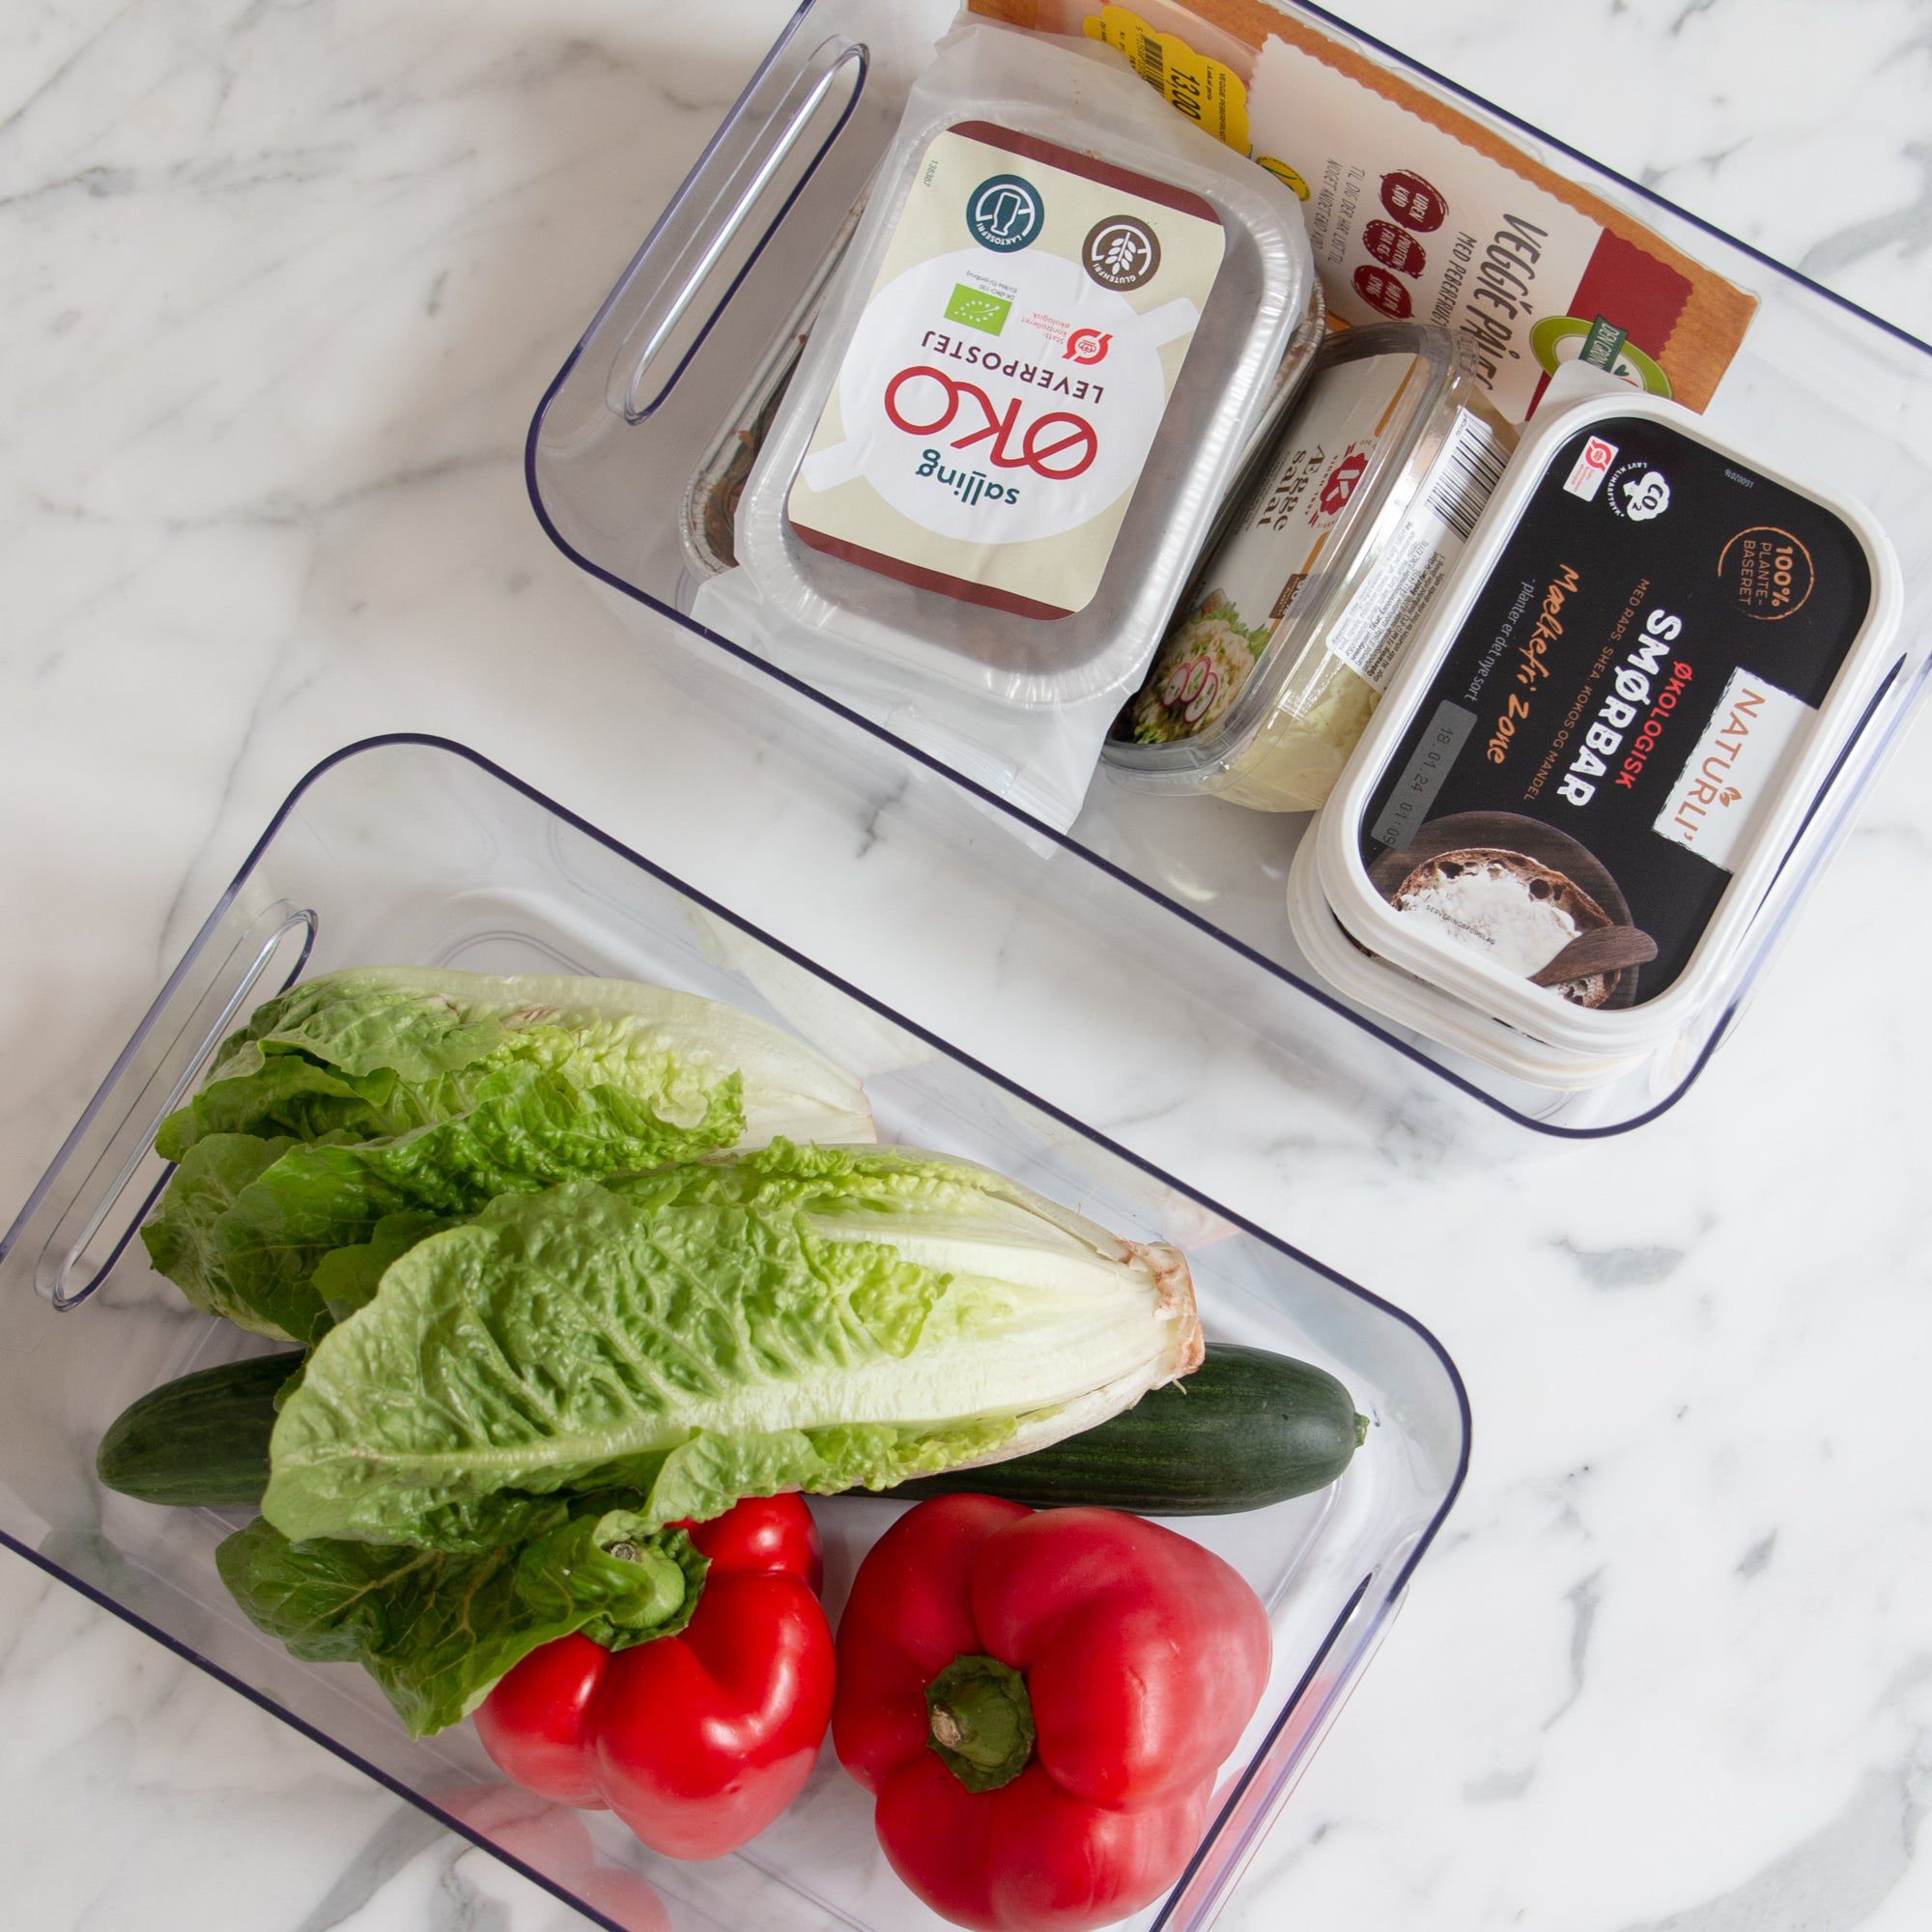
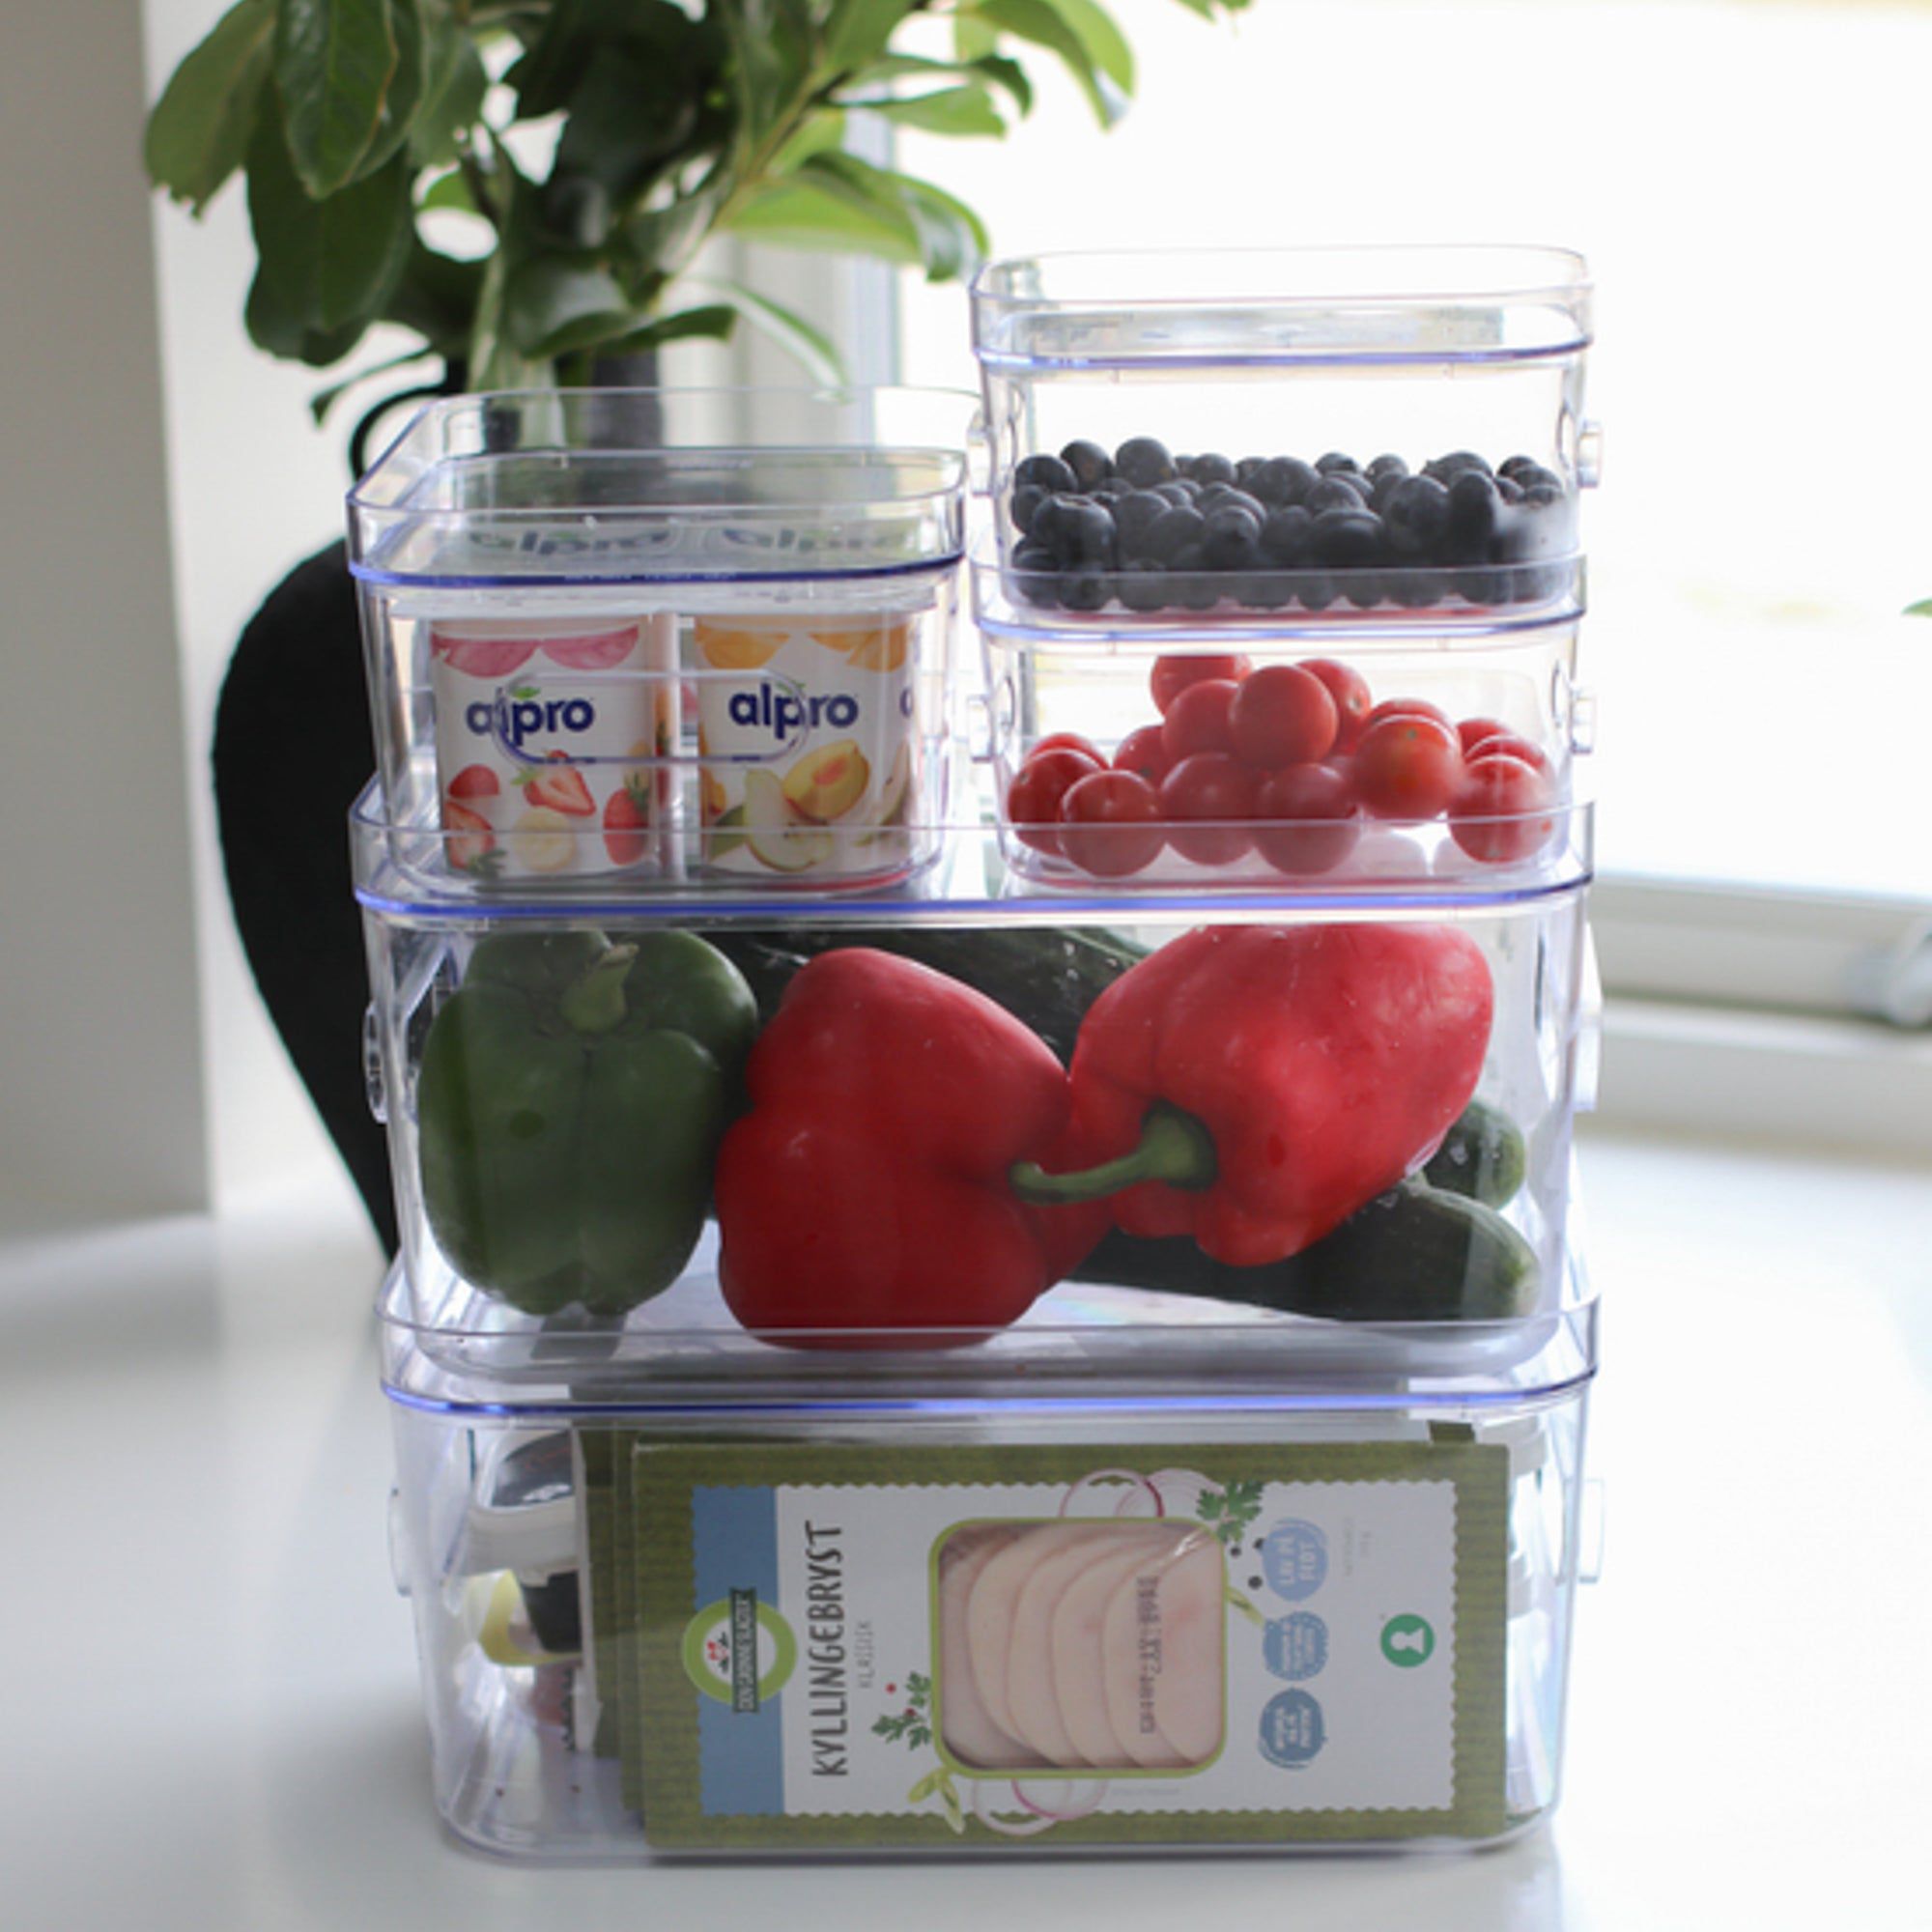
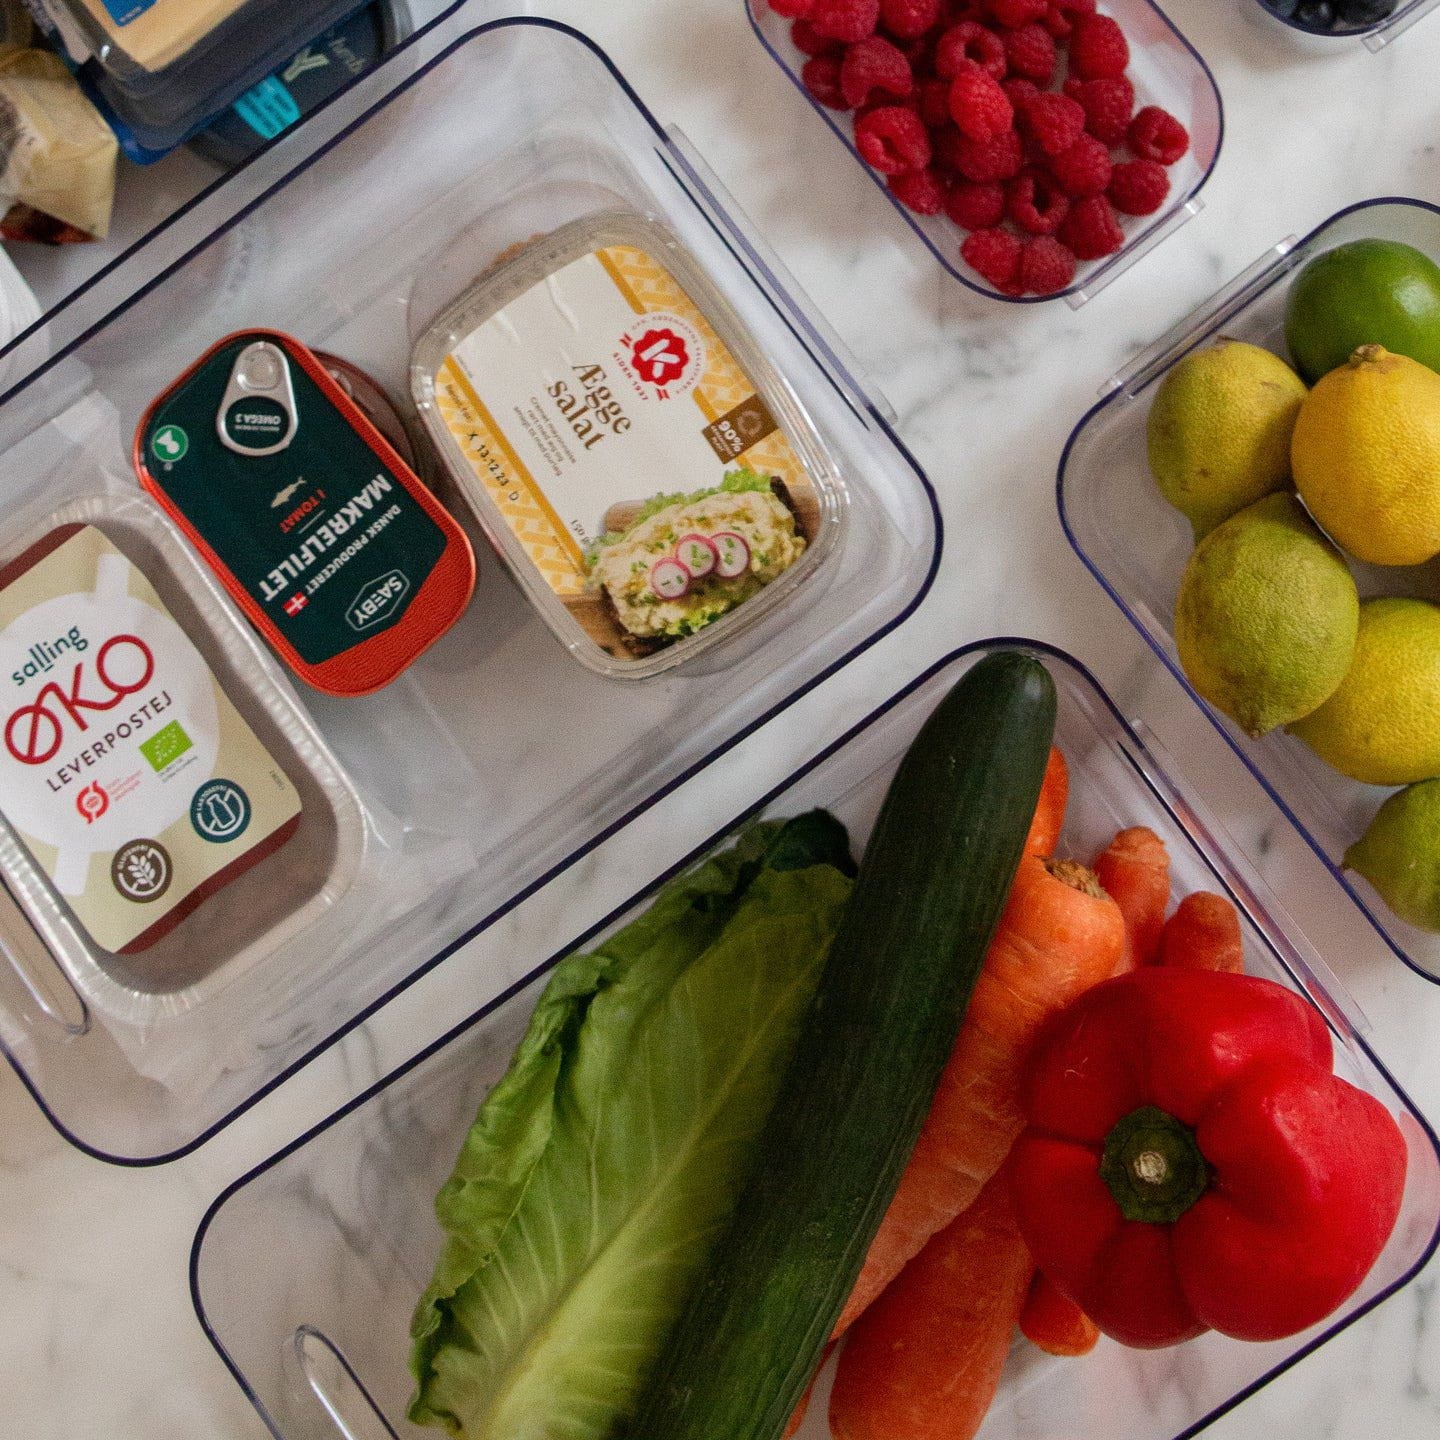
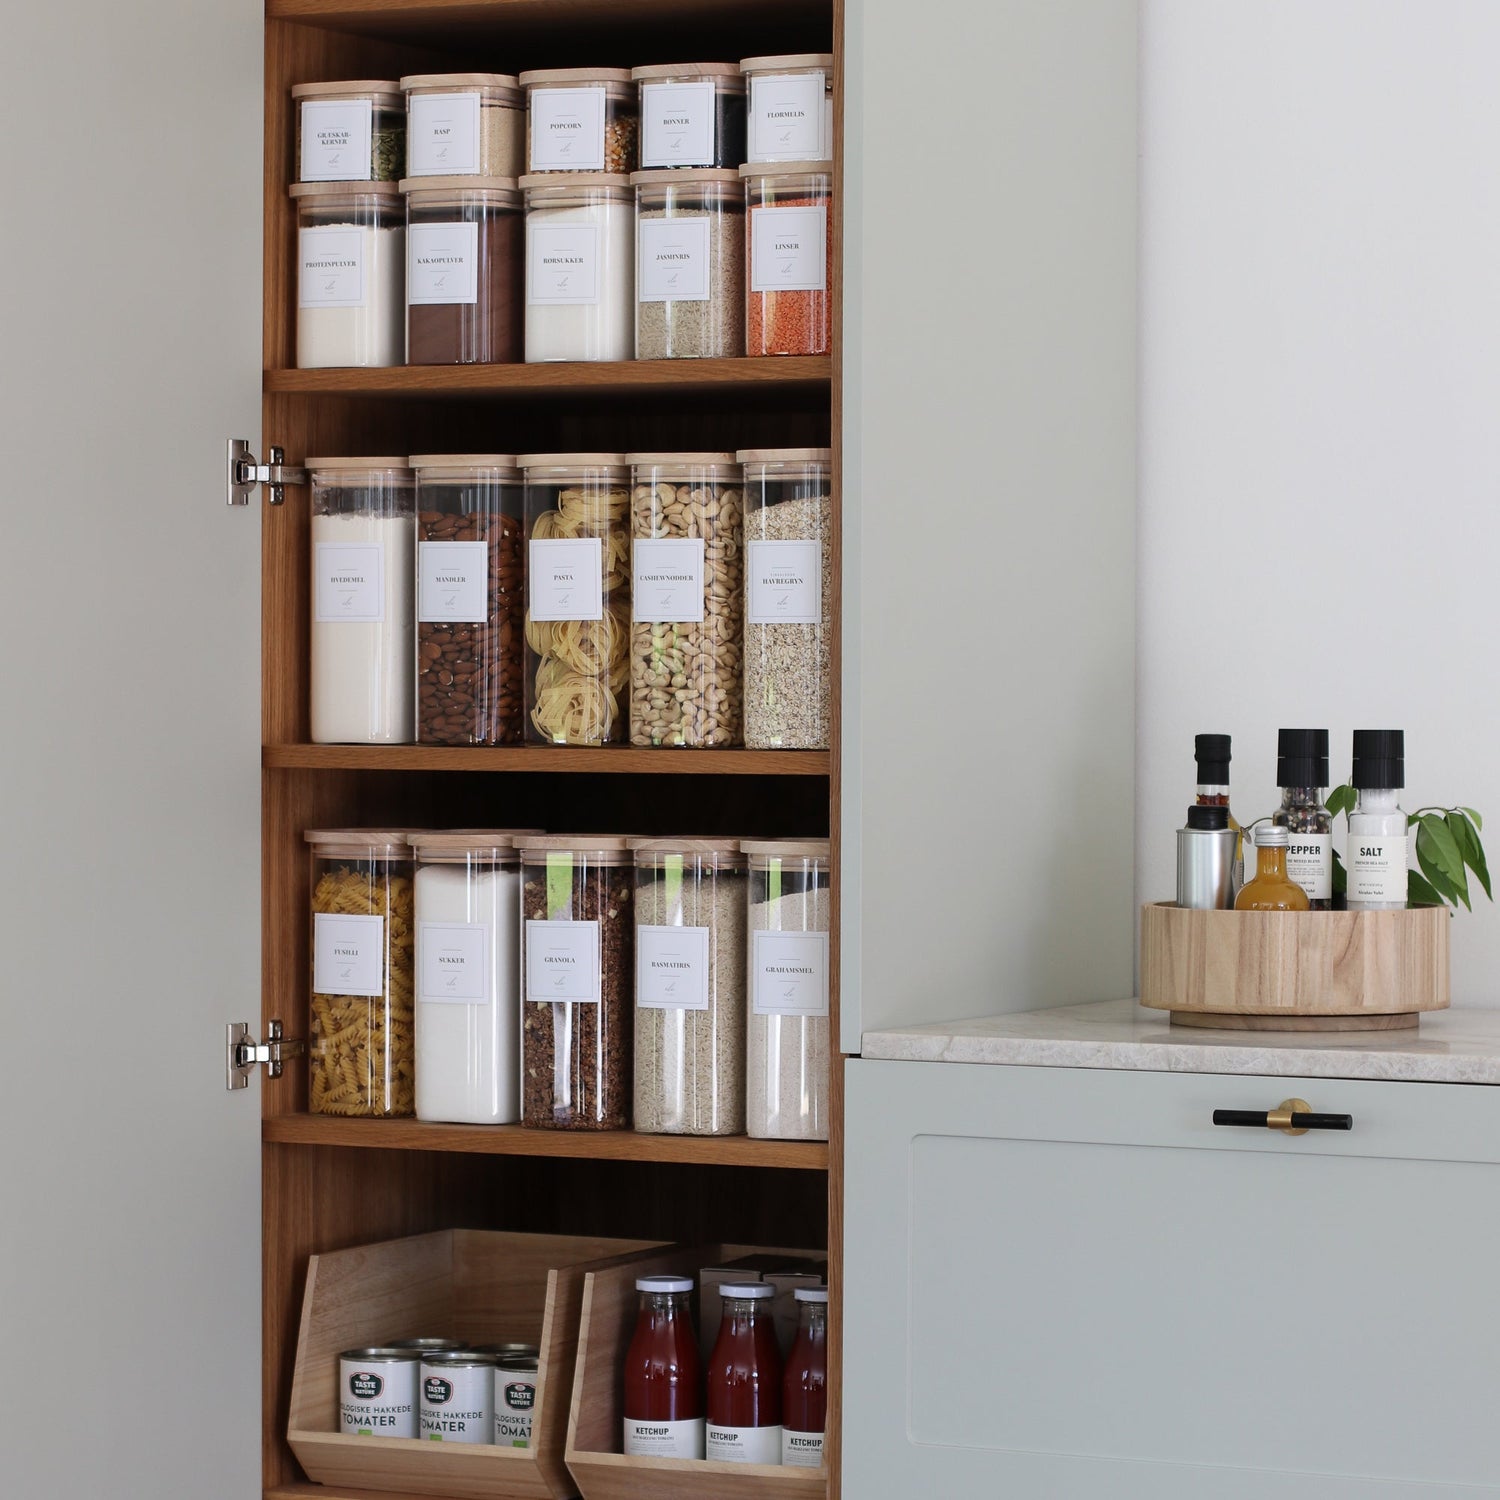
Divide your things into zones and fill dry goods in storage jars or boxes . For example, breakfast, baked goods, food supplements, preserves, etc. What you use regularly must of course be placed at the front and be easily accessible.
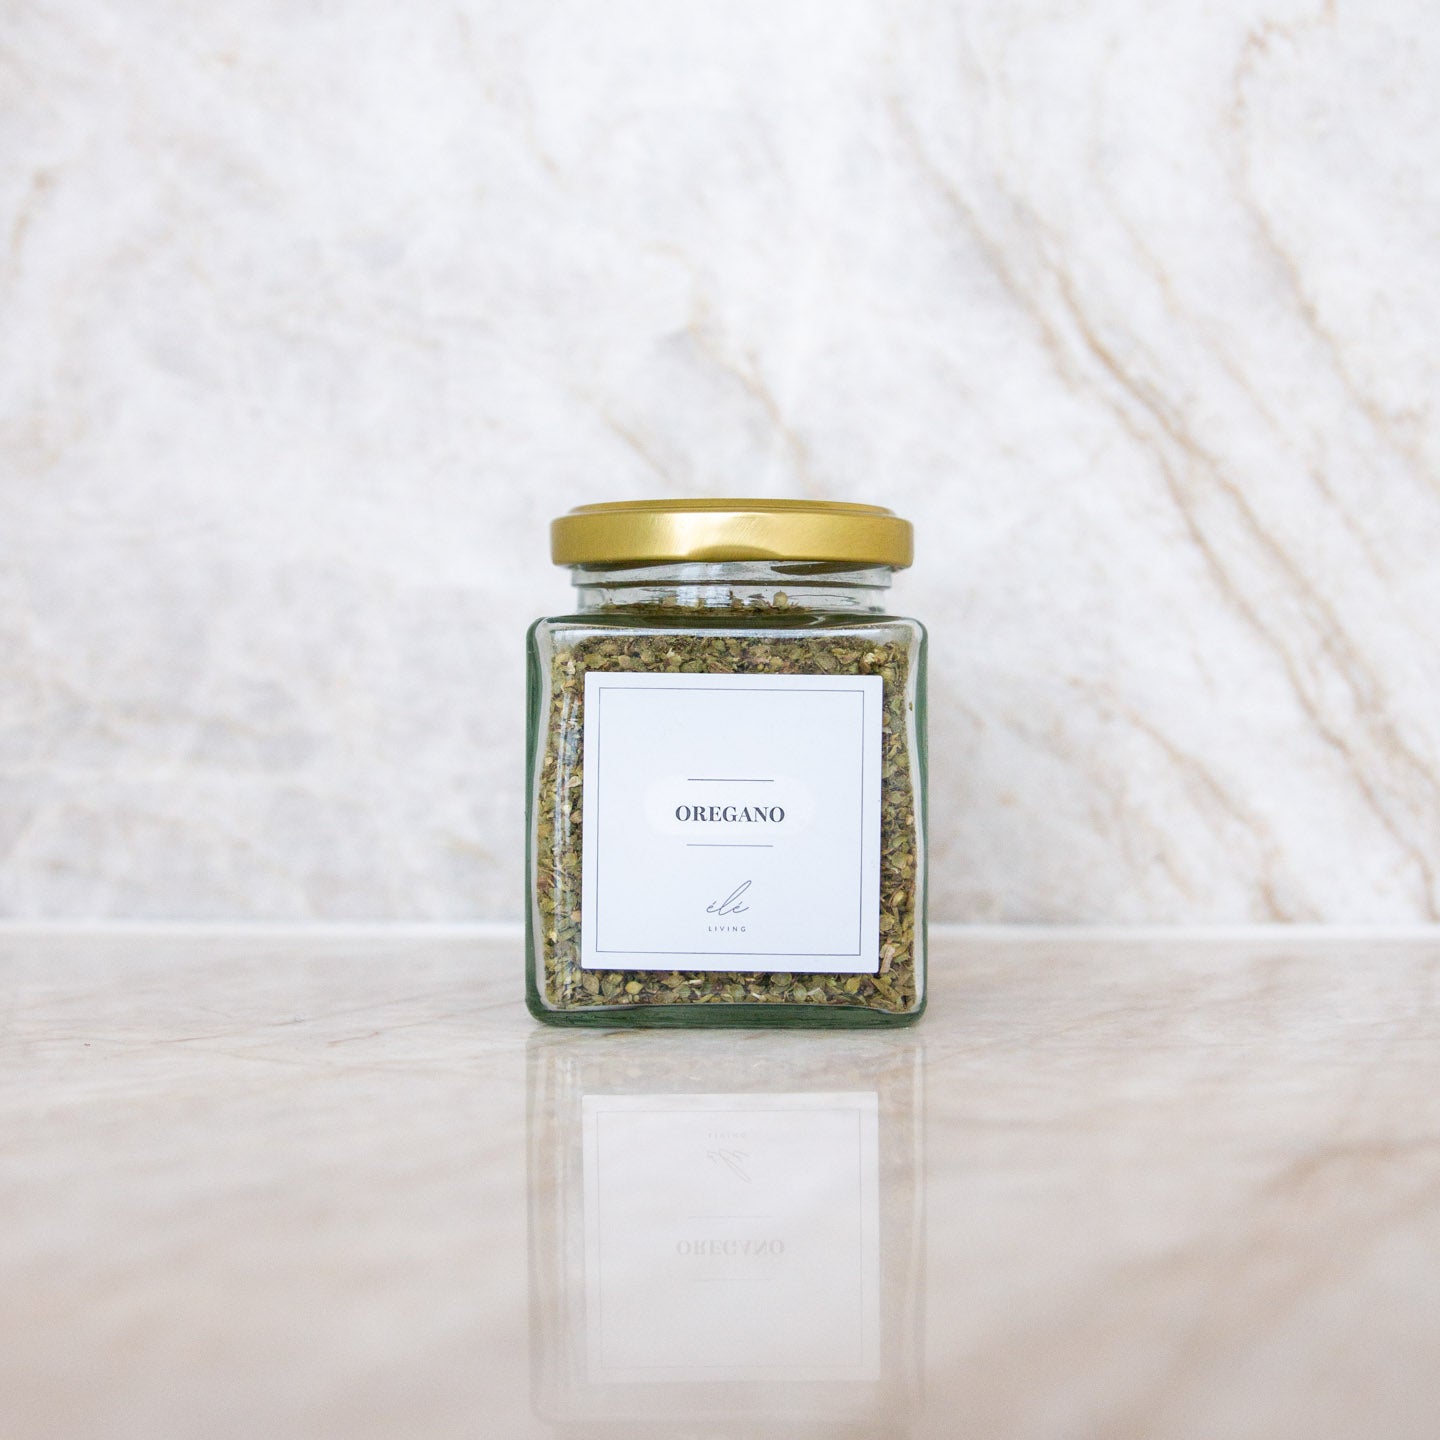
A tip could, for example, be to place the drawer with spices close to the stove where you stand and cook, so that you don't have to run back and forth. The same also applies to the kitchen cabinets and drawers. Be sure to place what you use most often at the front and dry goods that you may only use infrequently at the back.
Backstock, also called mini storage: In most cases it is necessary to dedicate a small drawer or shelf to backstock. Backstock functions as your small mini-storage, i.e. a store or a filling drawer for the things that you either have too much of, or that you have not yet filled your jars ,containers or boxes . When you dedicate a fixed space to your small storage, you avoid unnecessary clutter in both cupboards and drawers.
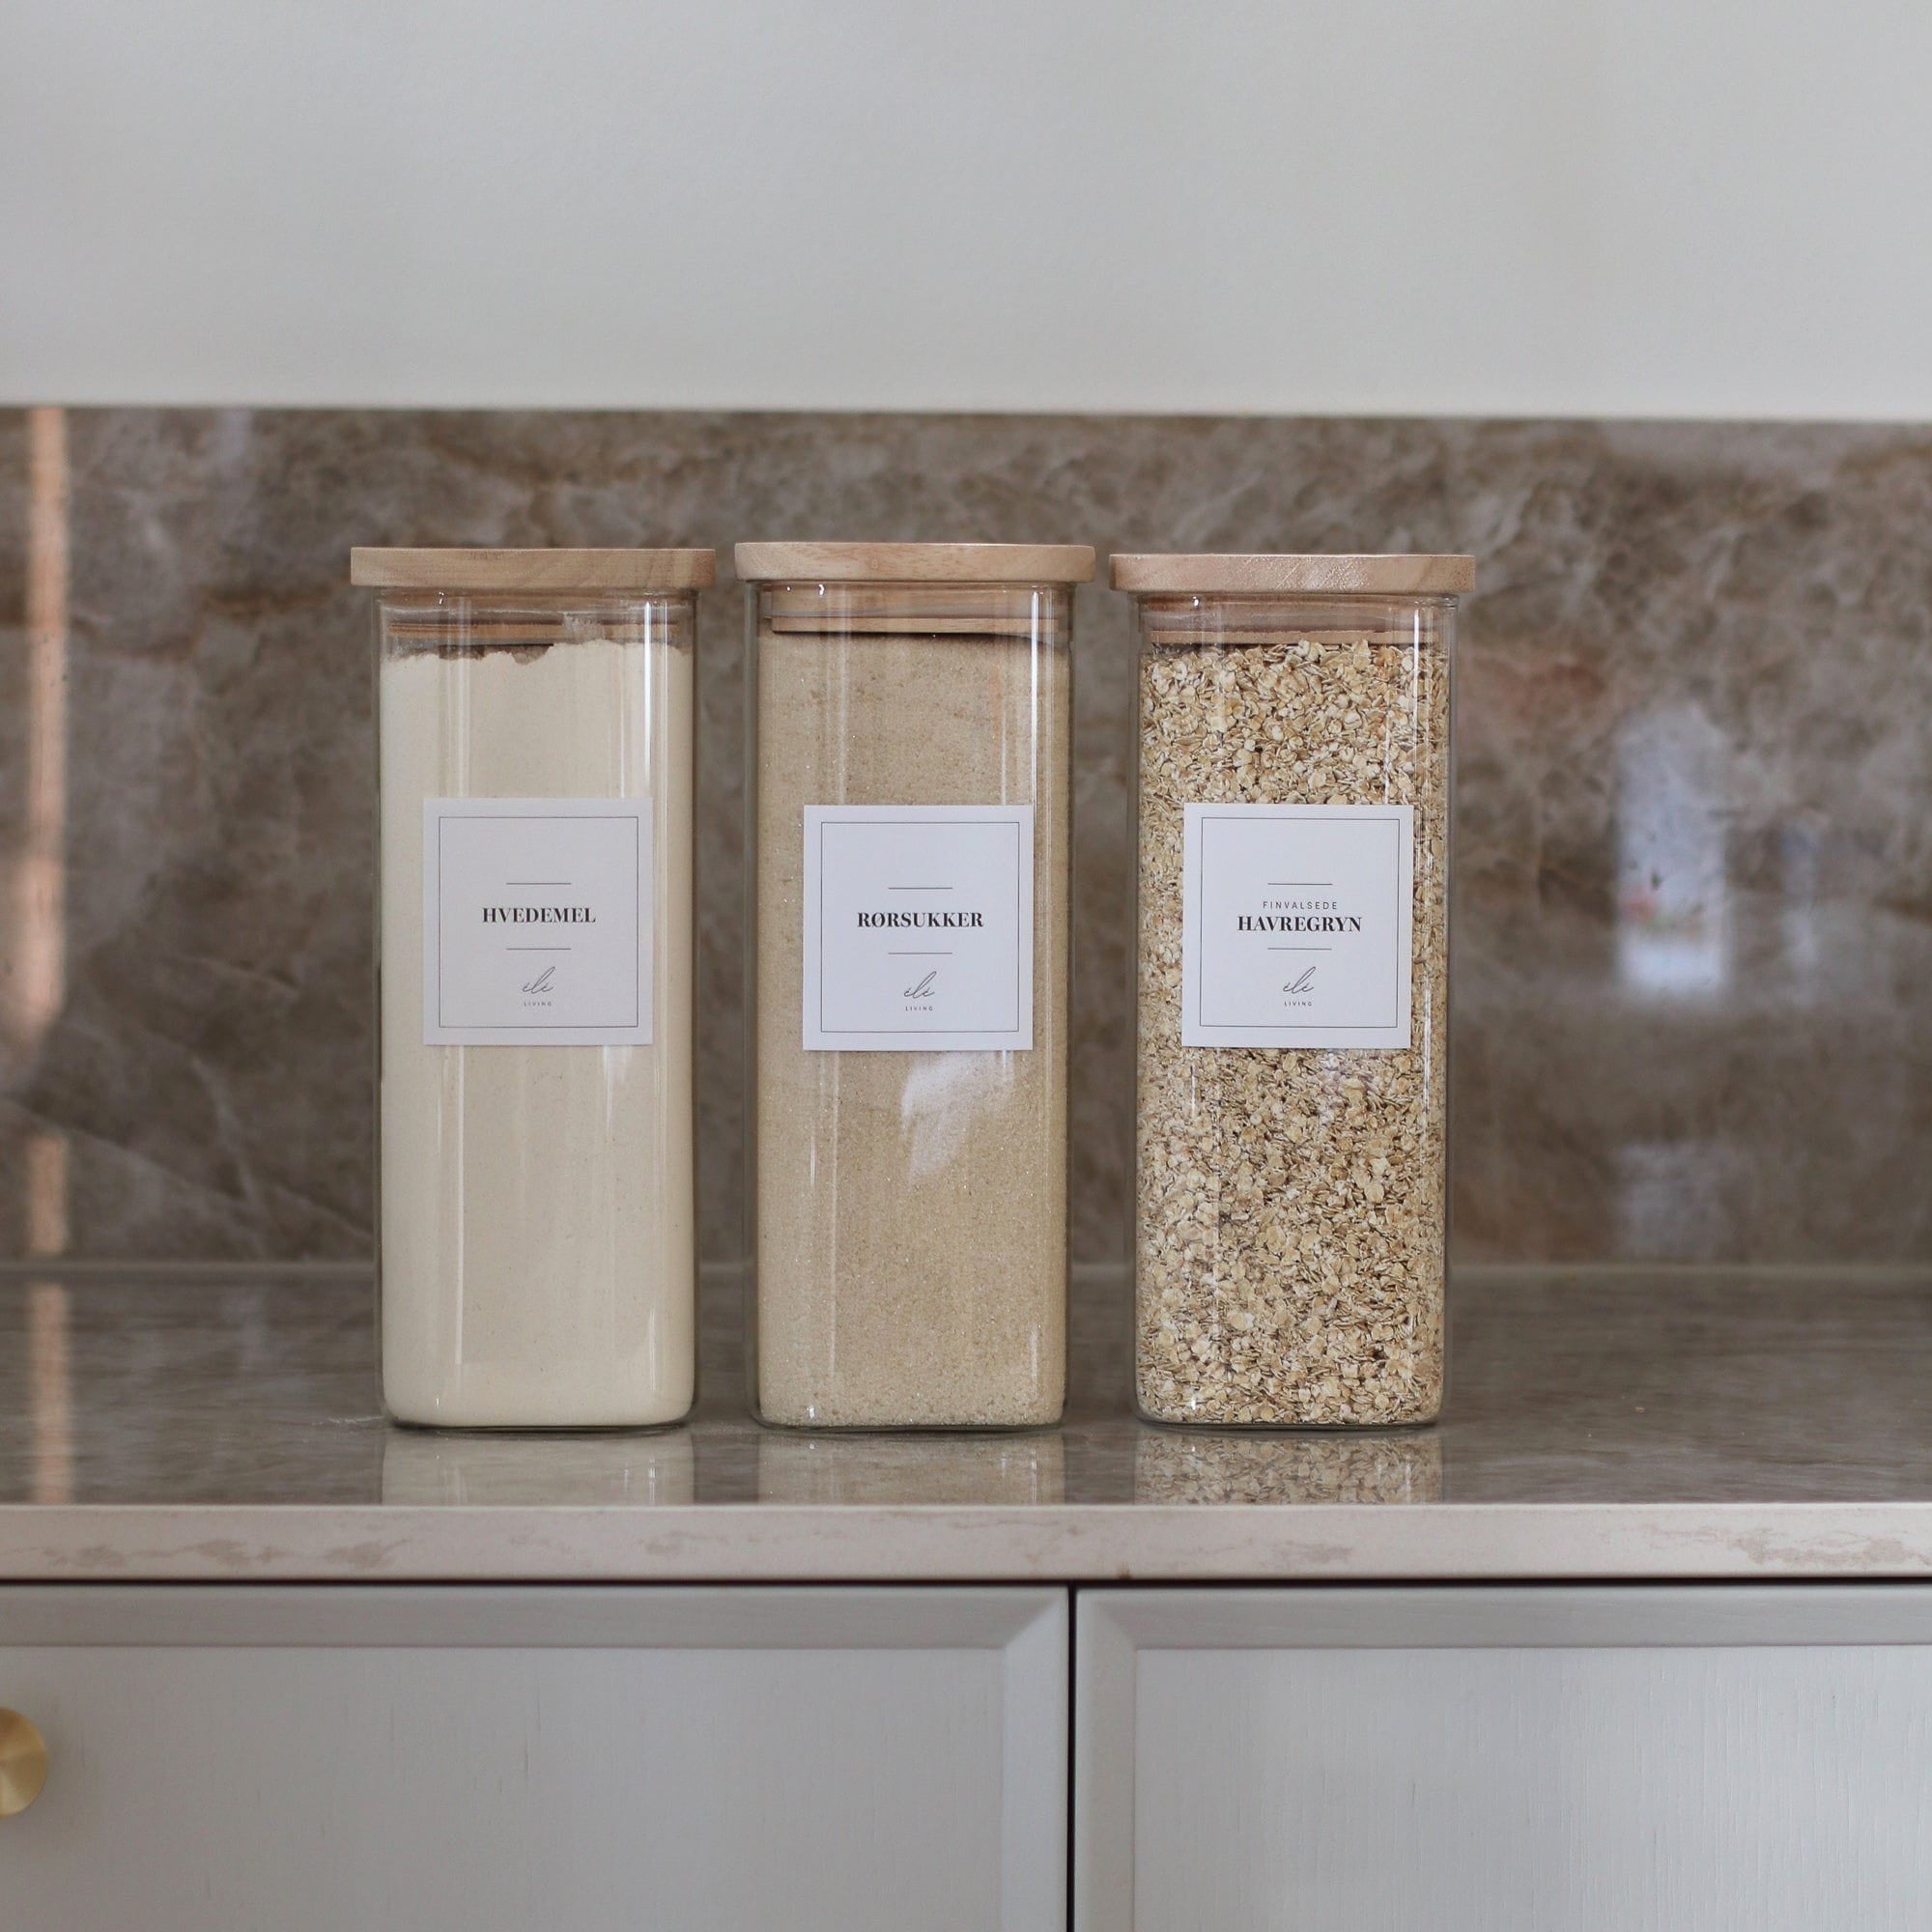
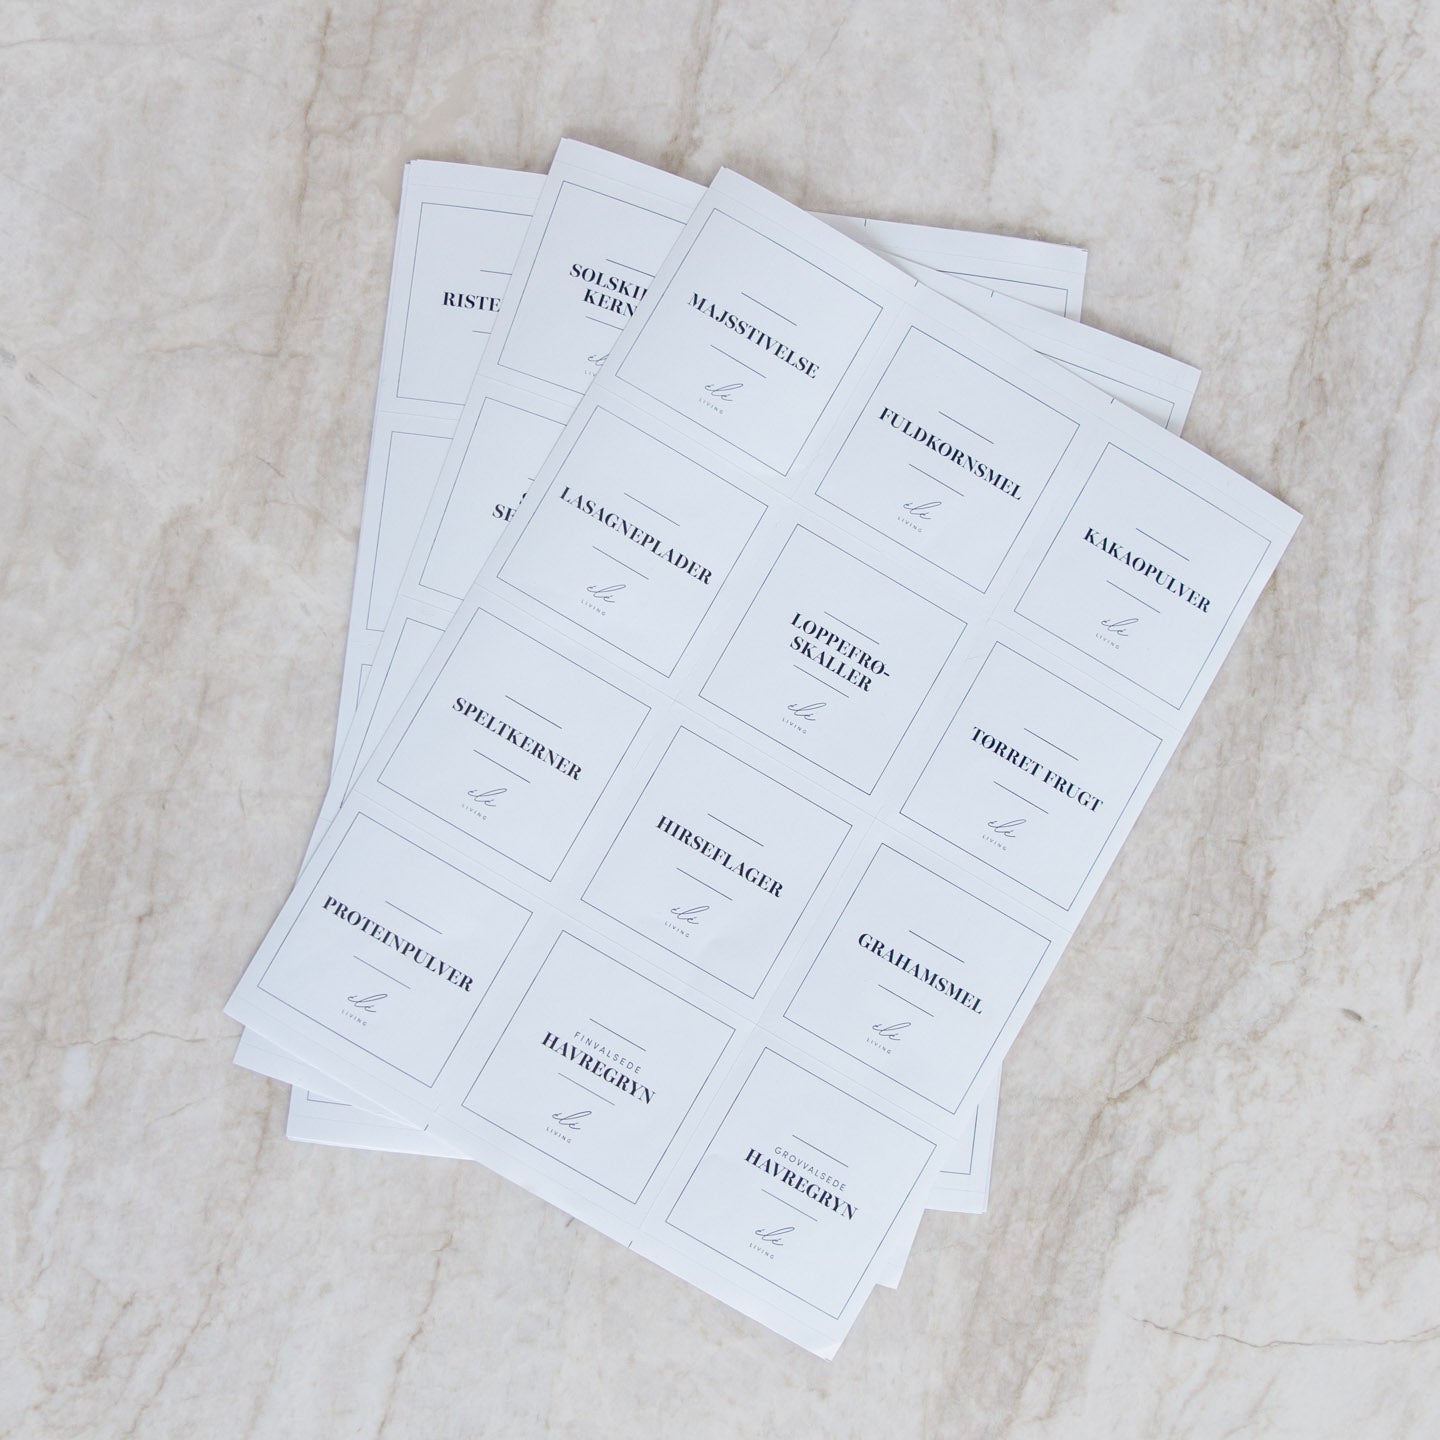
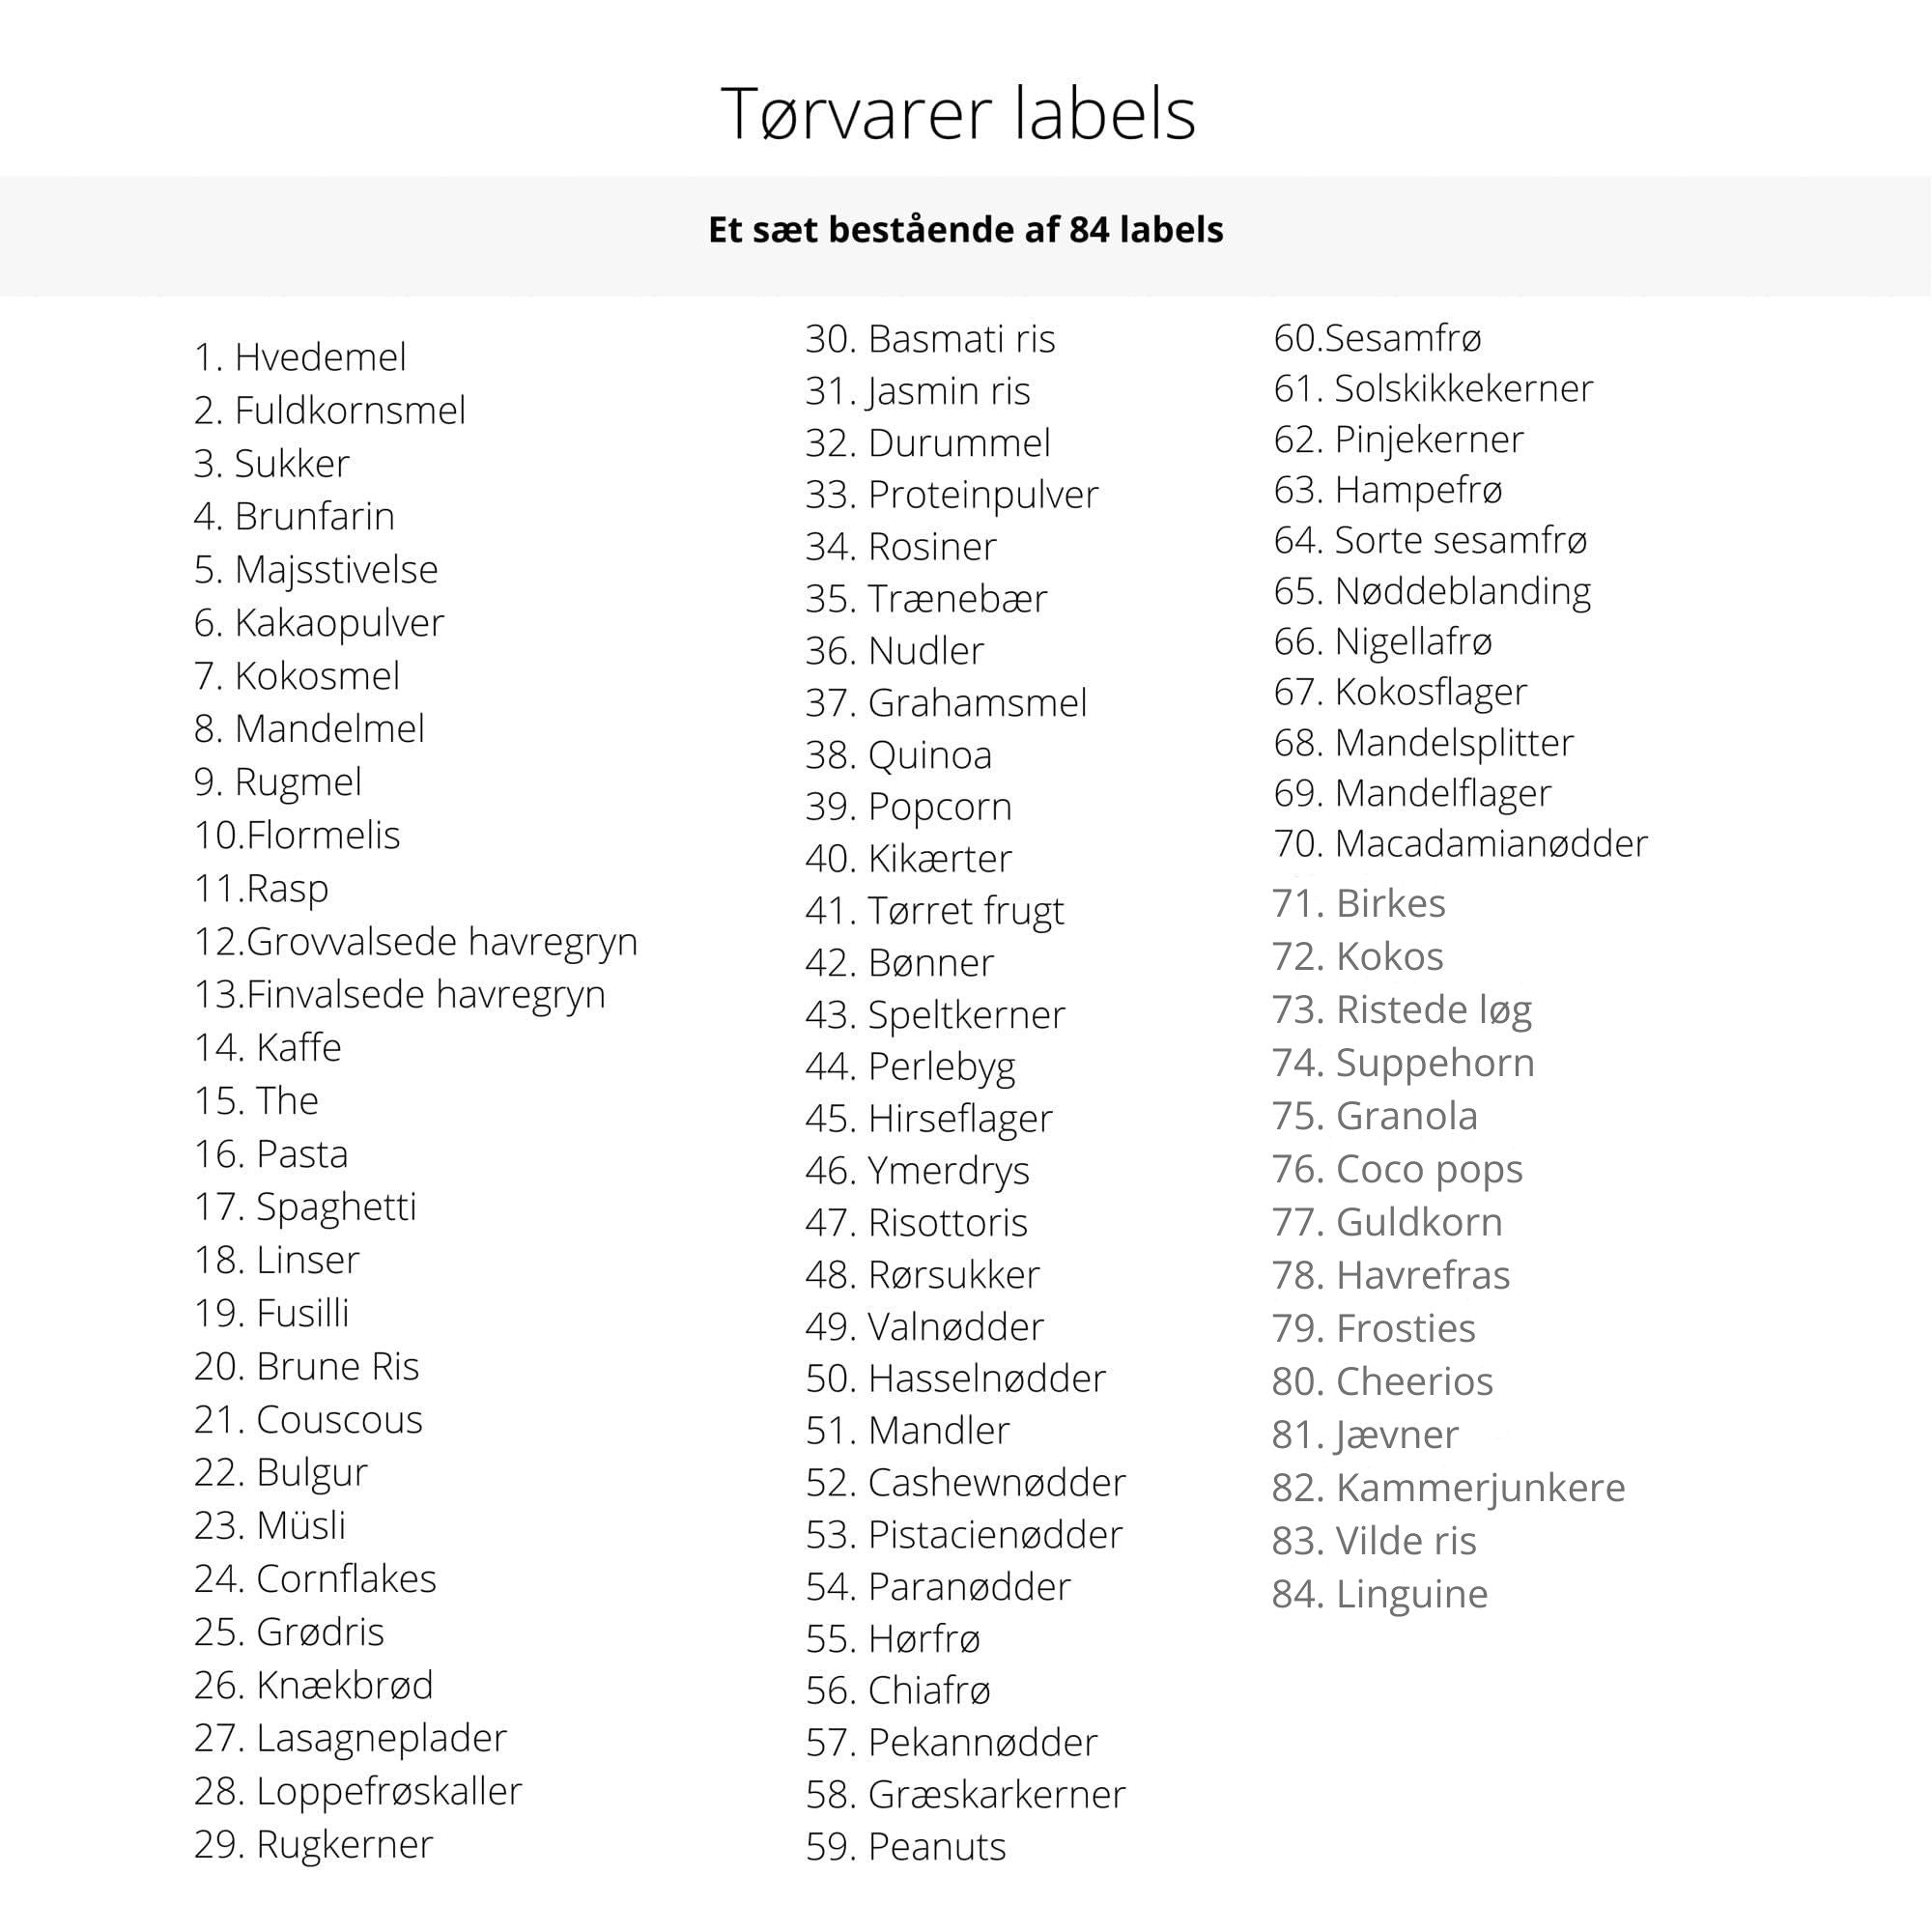
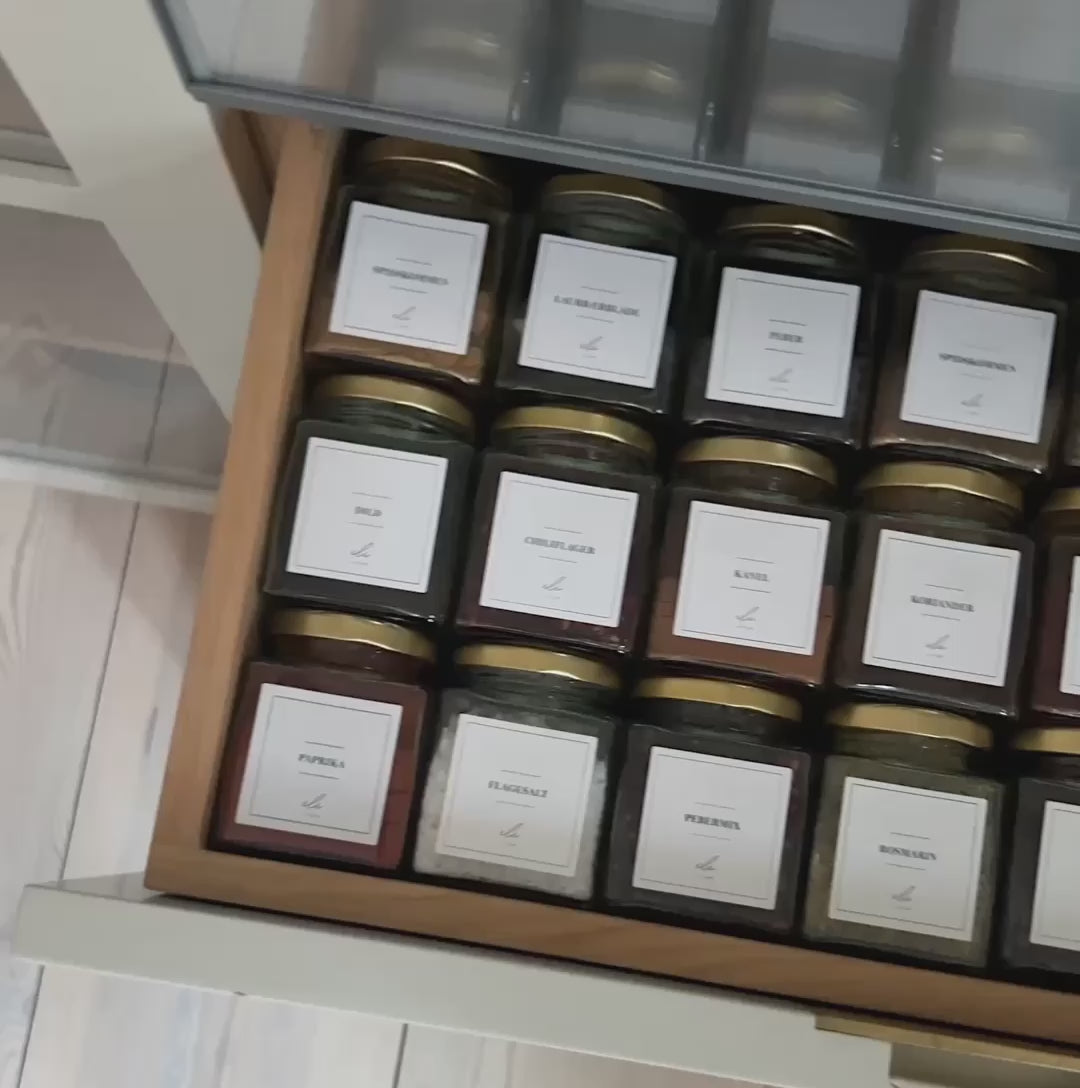
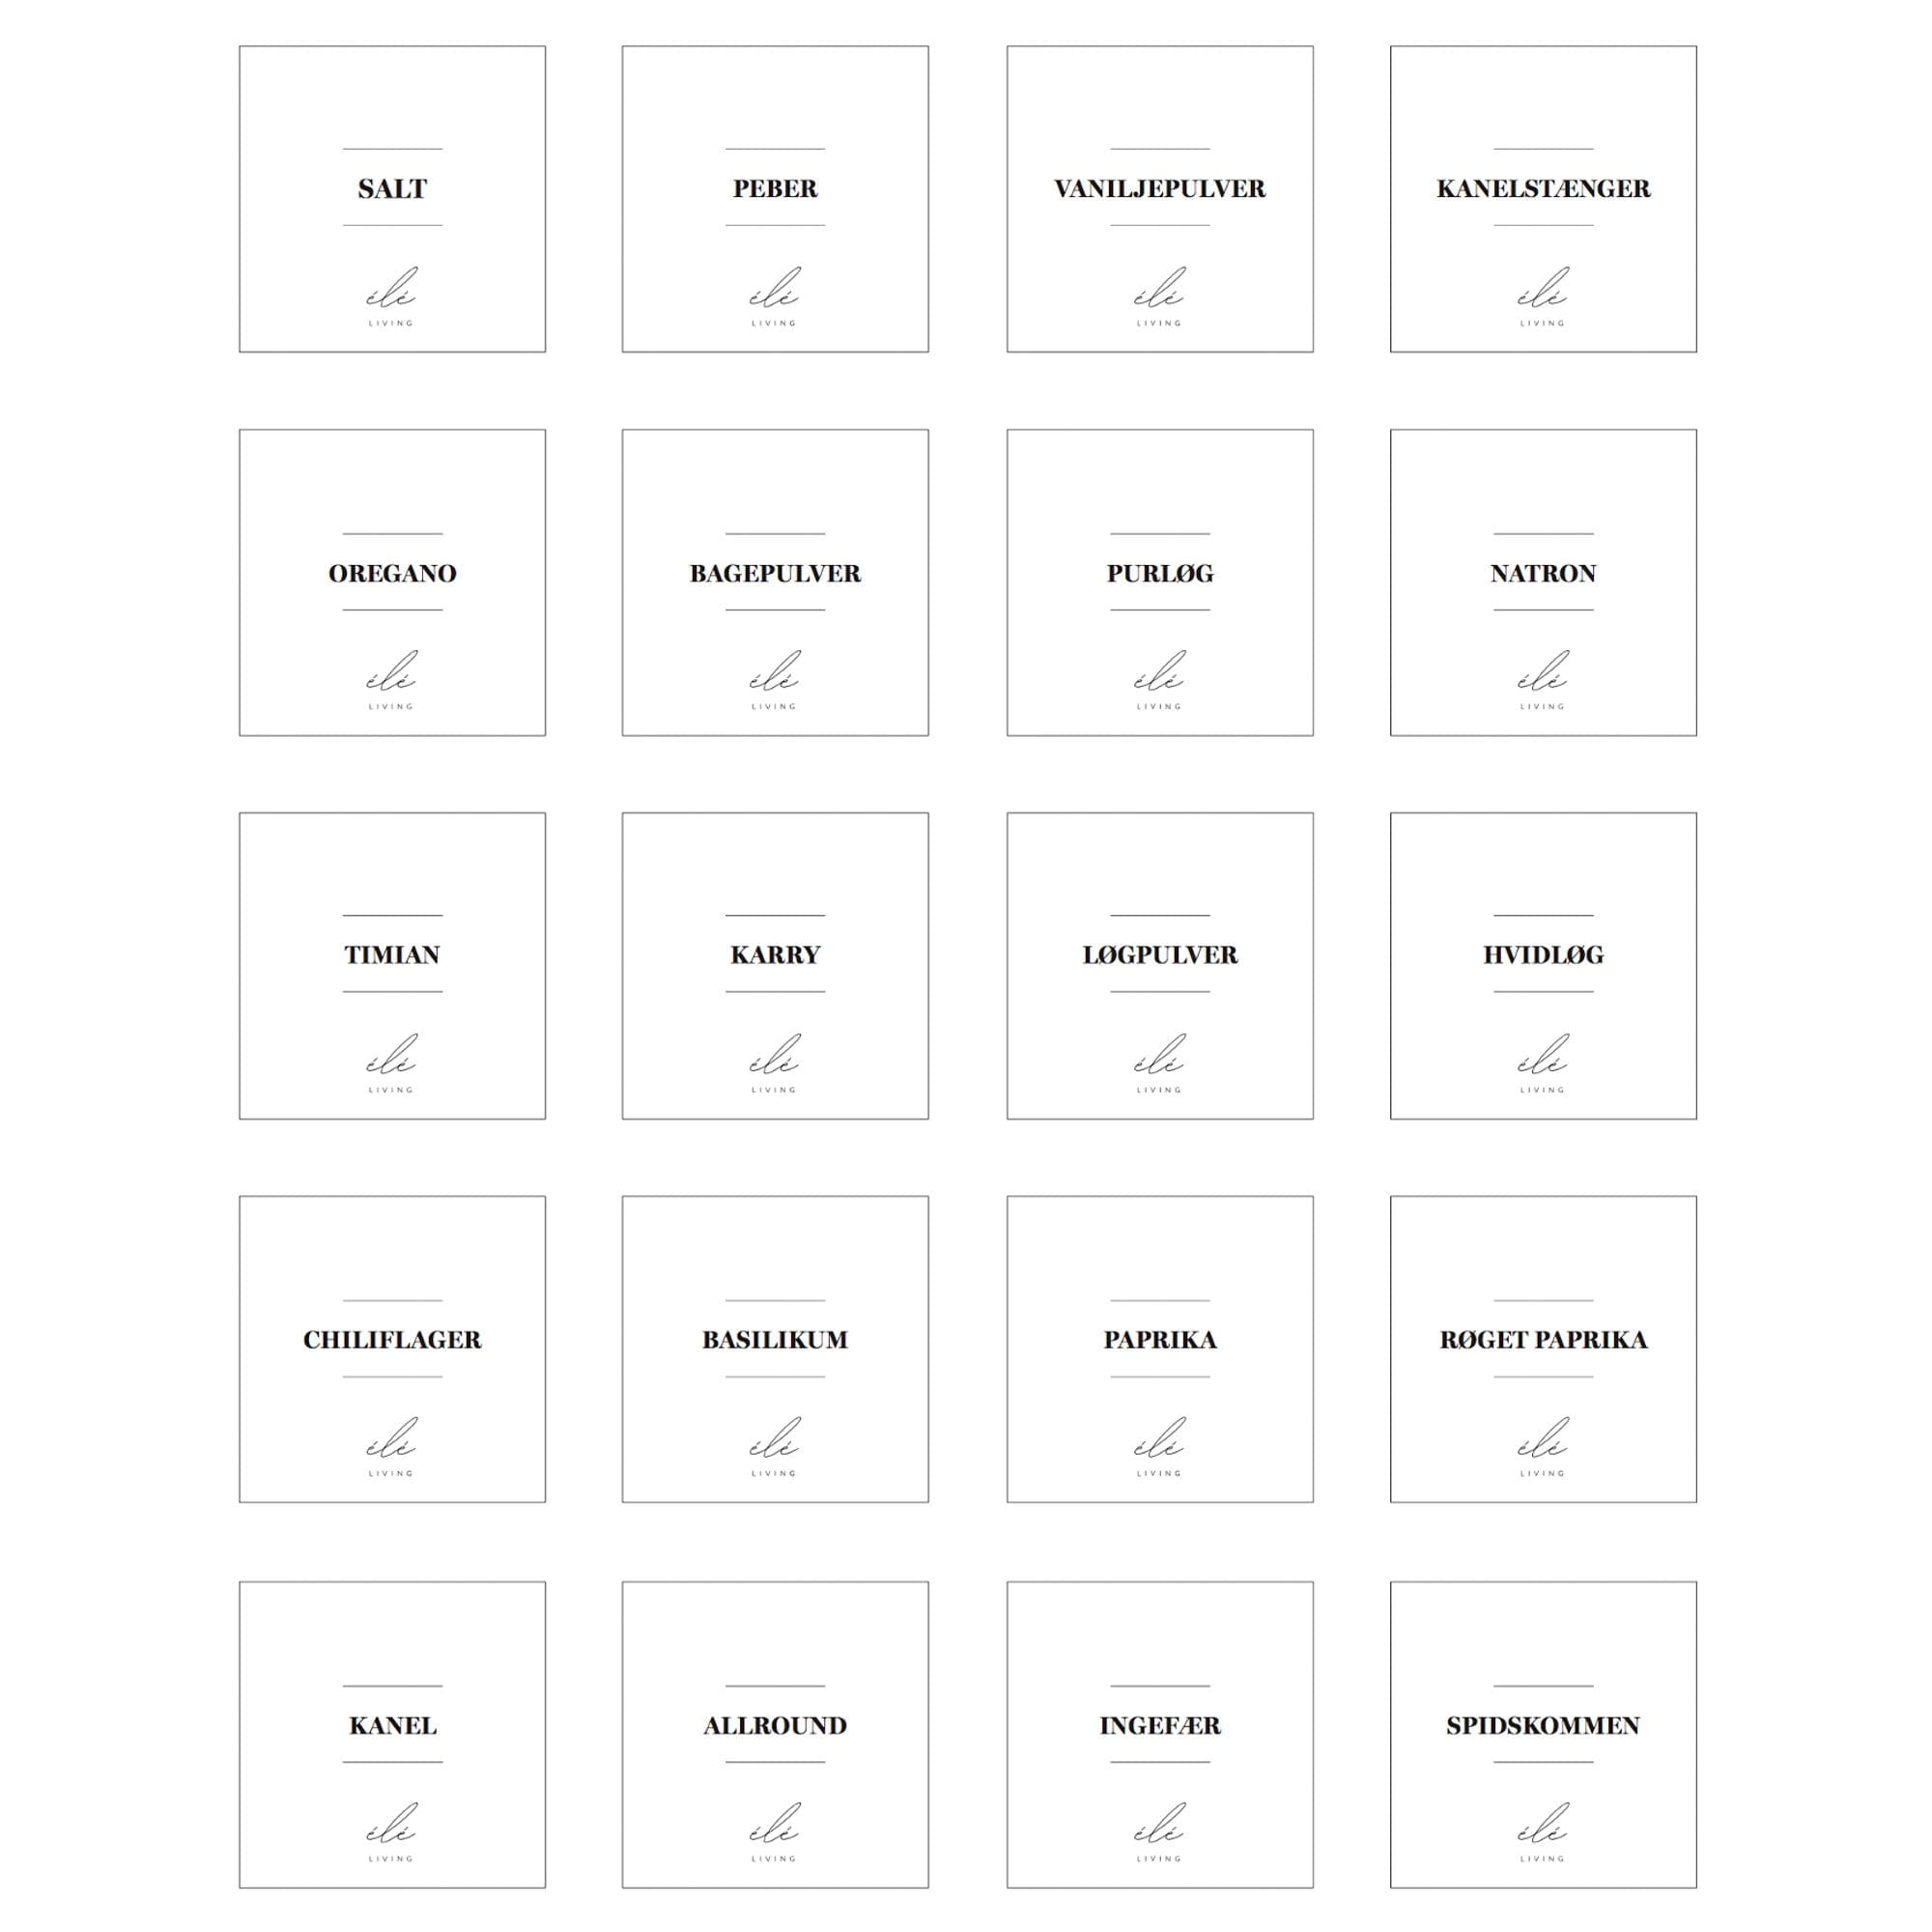
Step 4: Put labels on
We cannot emphasize enough how important a role labels play in the big picture. Fixed seats and distinctive labels create a clear framework and provide both a good overview and aesthetics for the soul.
An organized home generally creates an overview and a much greater profit in everyday life.
Bonus tip : Organizing is actually pretty simple, but if you find it all feels a little overwhelming, start with one room or closet at a time. Follow the guide here and repeat it in your other rooms. Take it all at your own pace and enjoy the process. We promise that it will be worth it once the system is created.
If you have any questions, we are always ready to help.